
Cozy Cabins - Log Cabin Challenge
This is the Island Batik Ambassadors November project...to incorporate a log cabin block or log cabin variations into your project. My project was inspired by photos I took on a trip to the Wisconsin Museum of Quilts & Fiber Art with my guild in September.

Wisconsin Road Trip Art Quilt
Getting Started
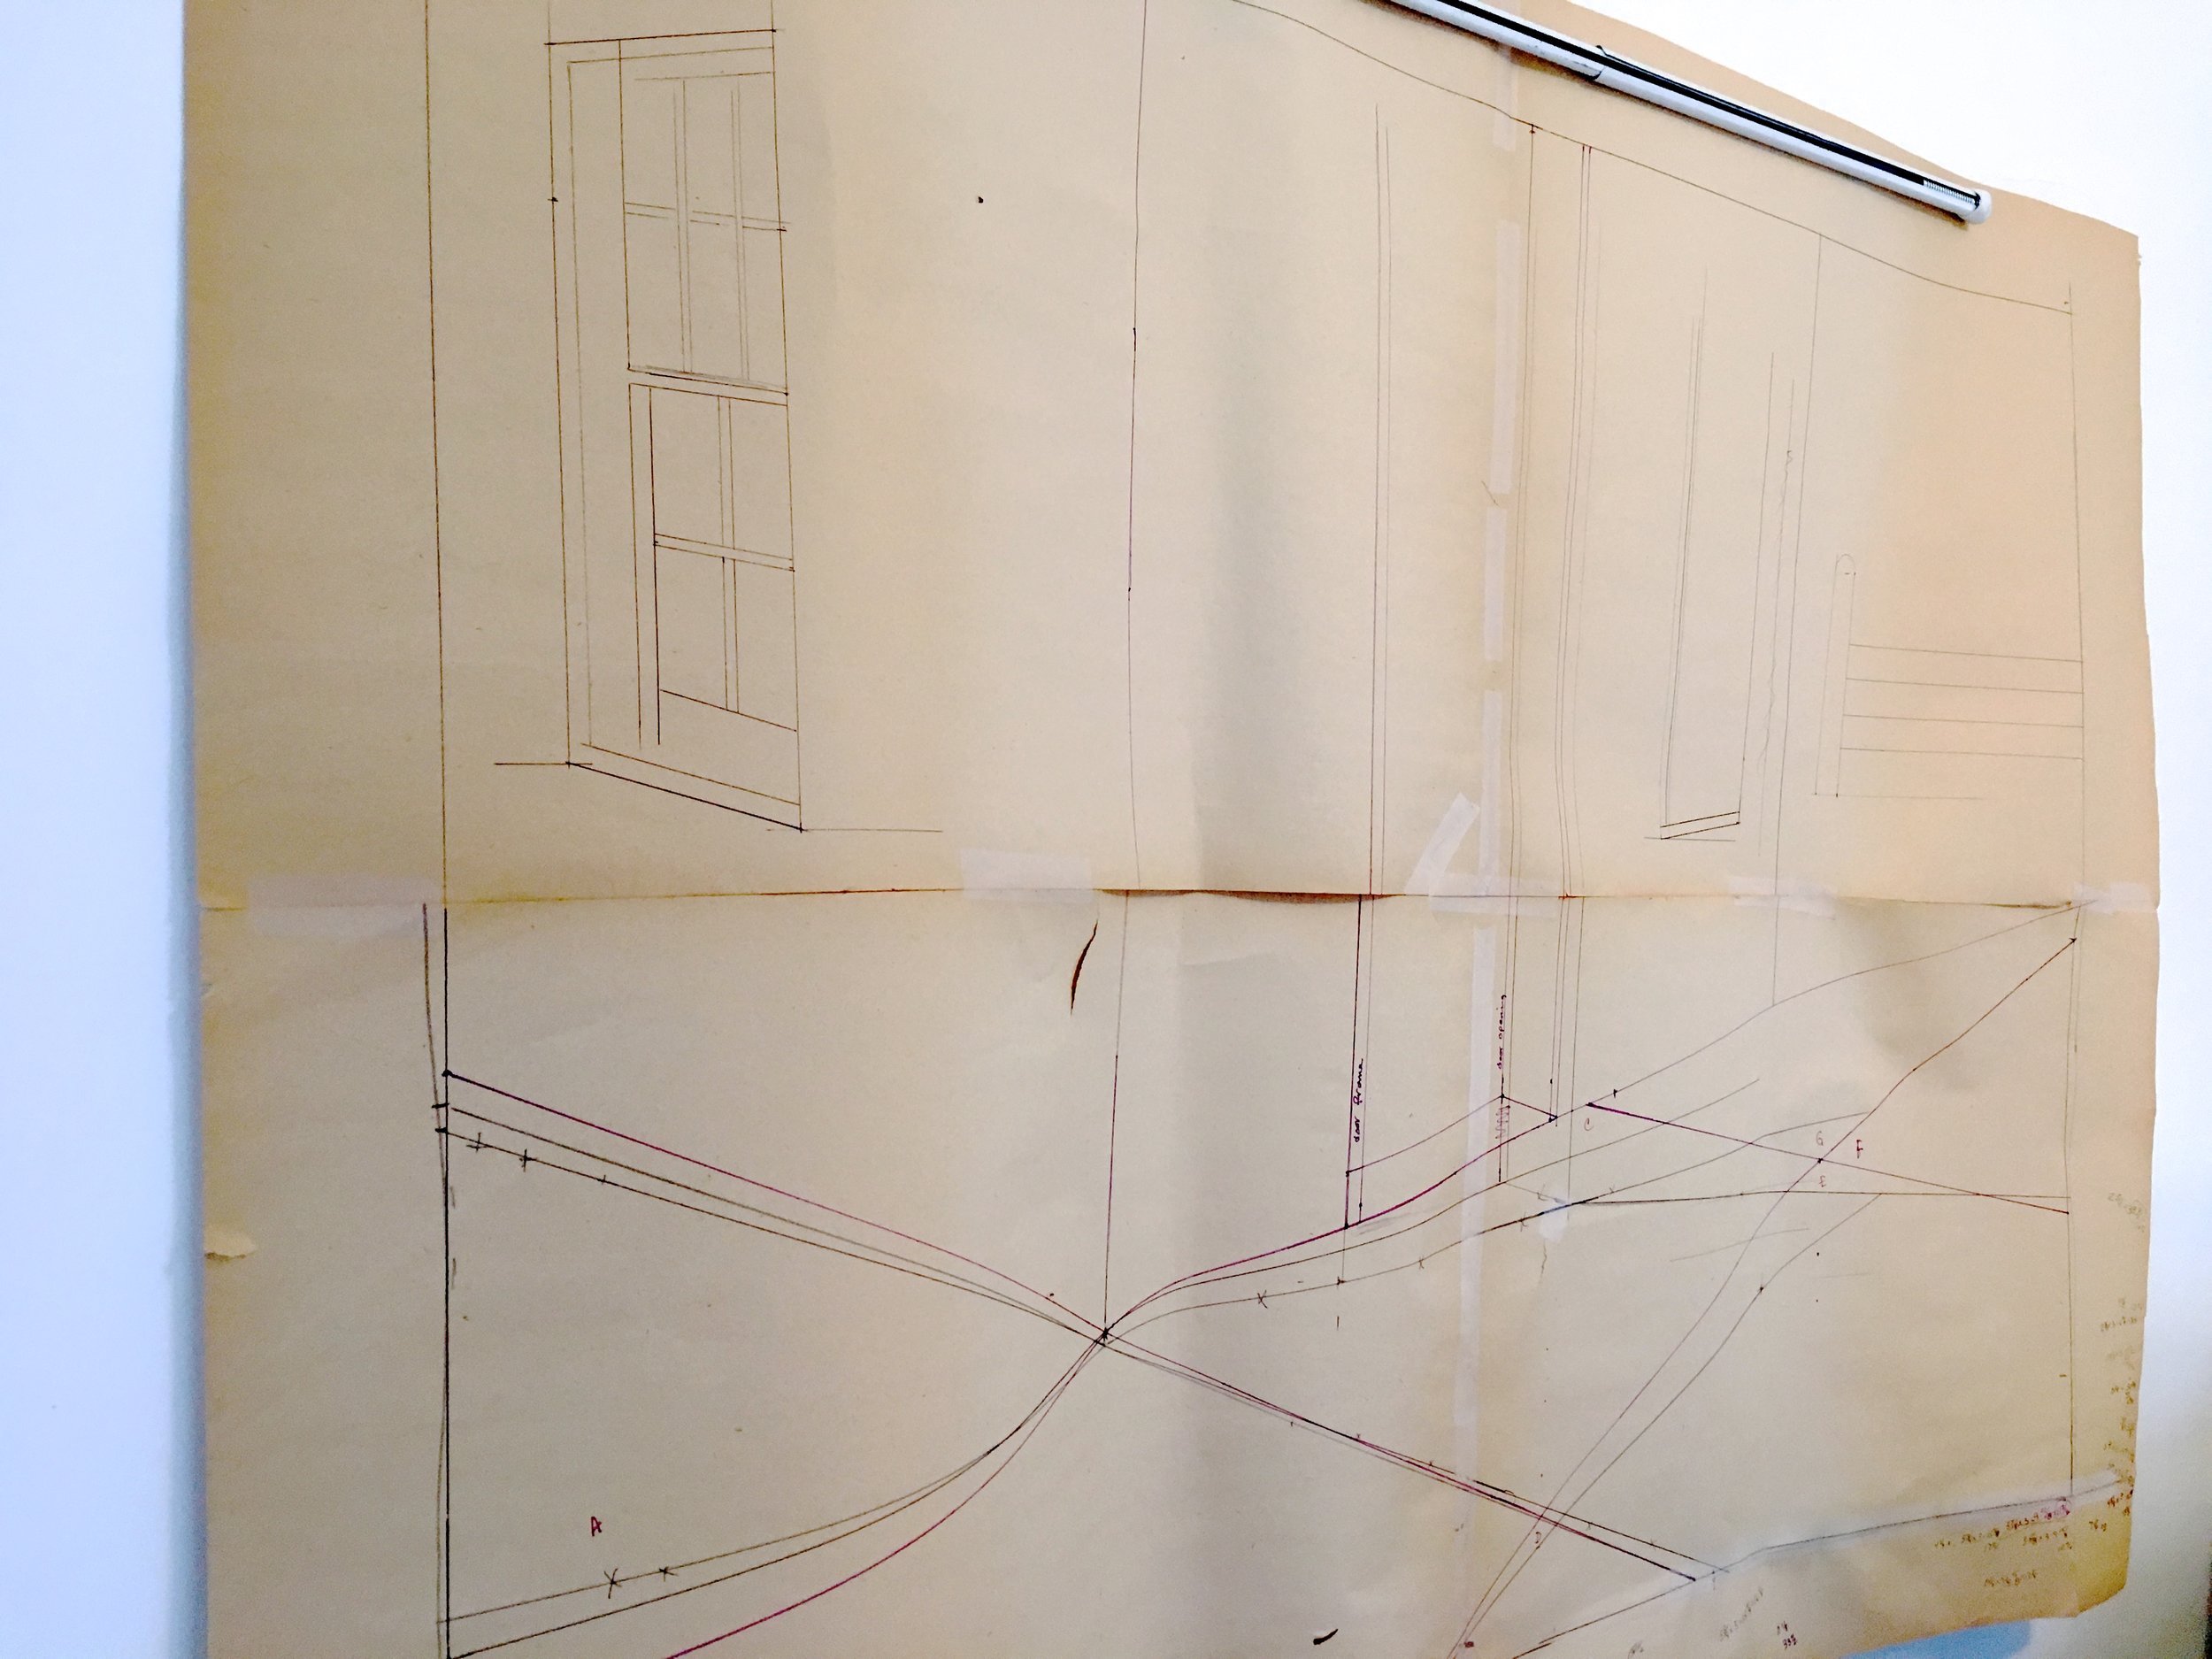

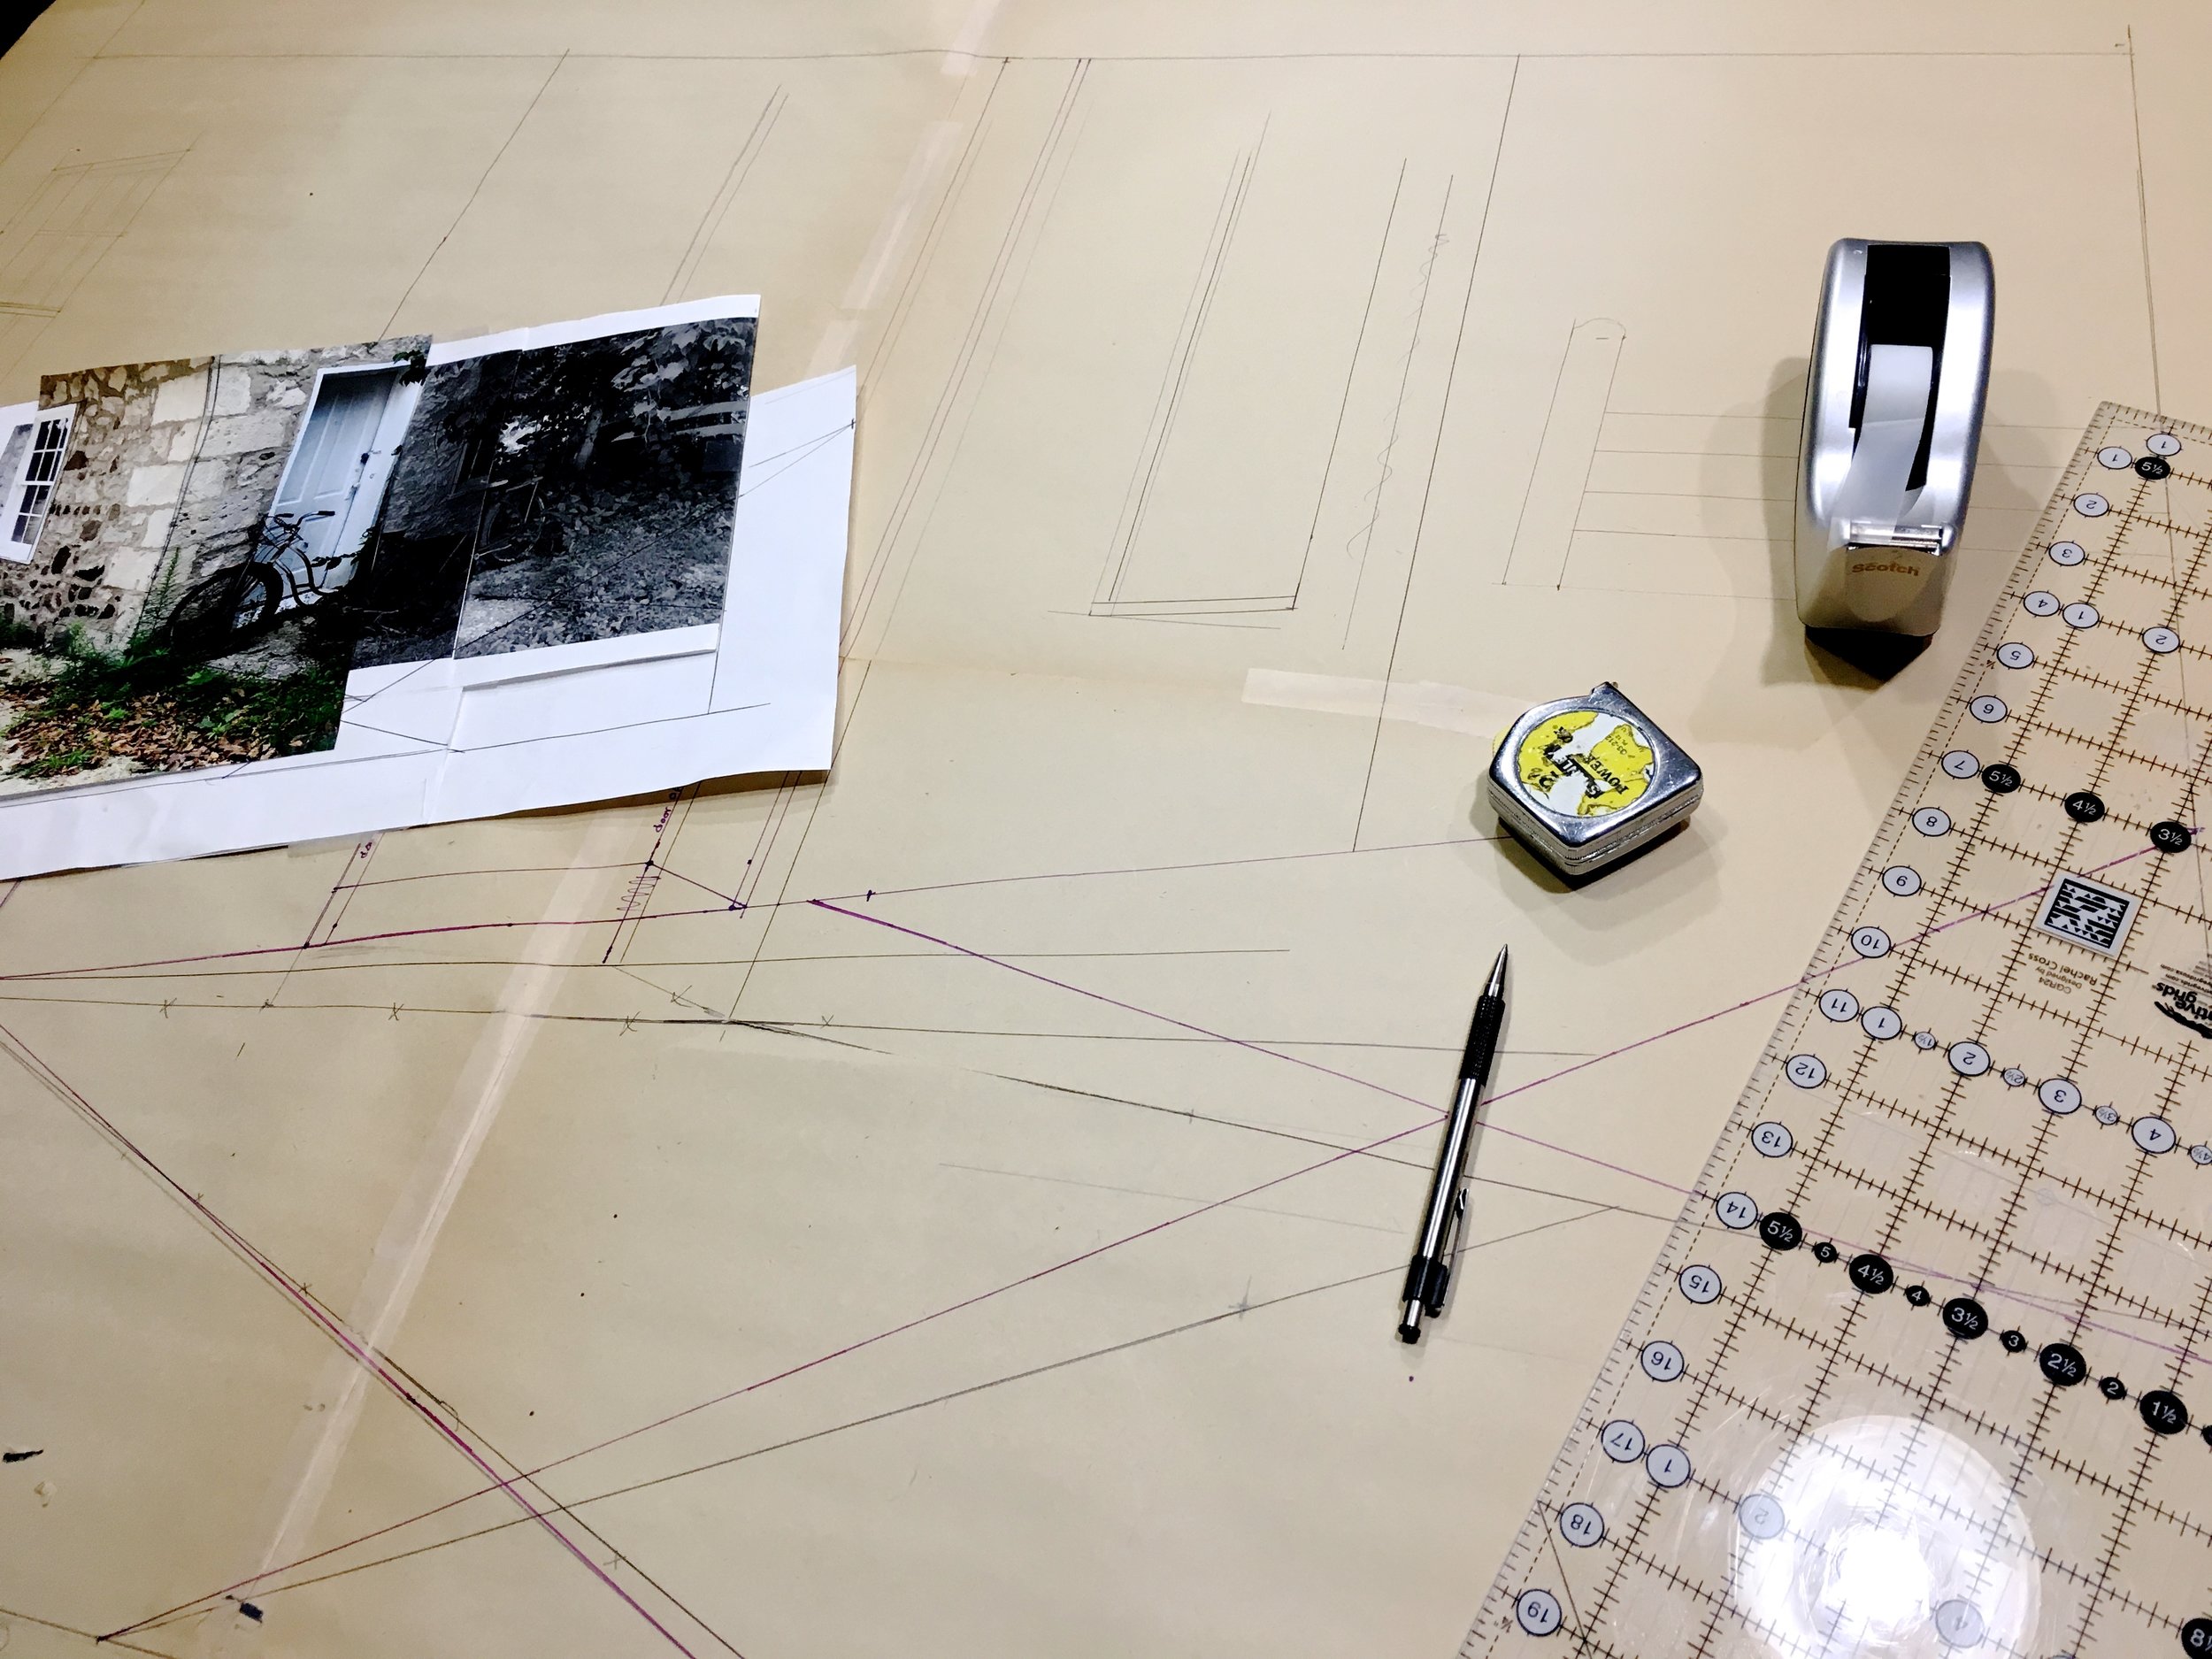
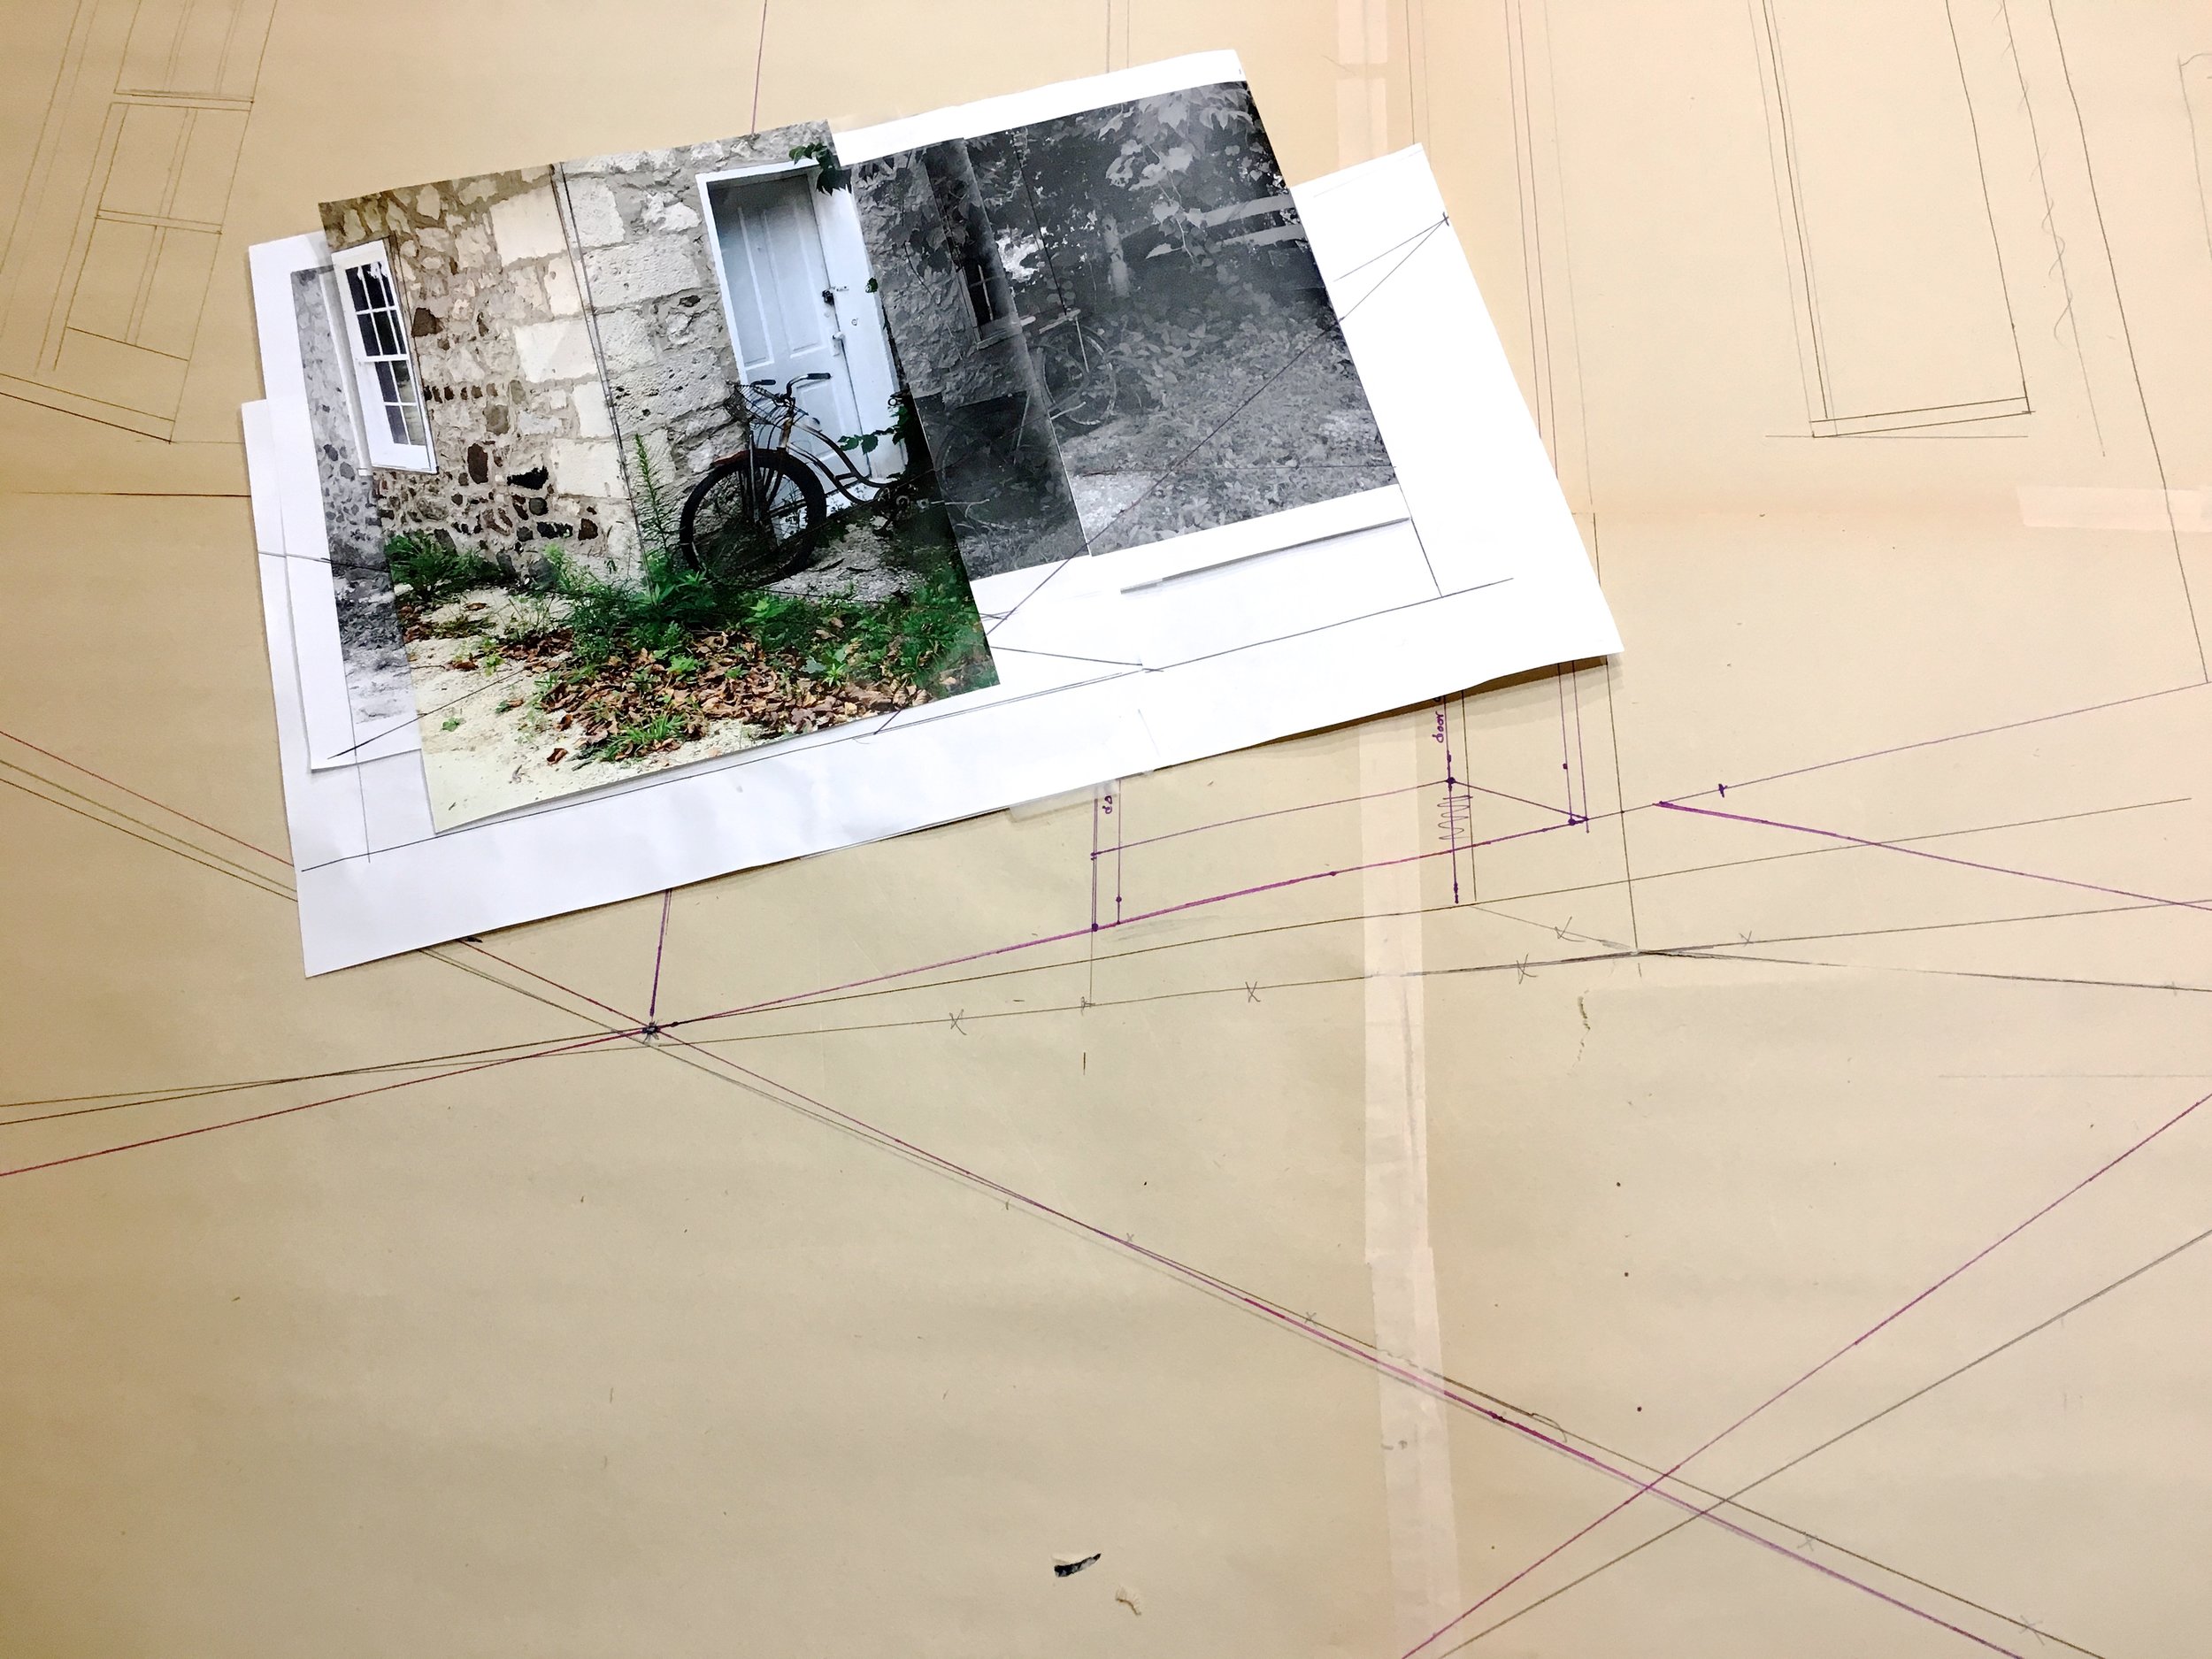
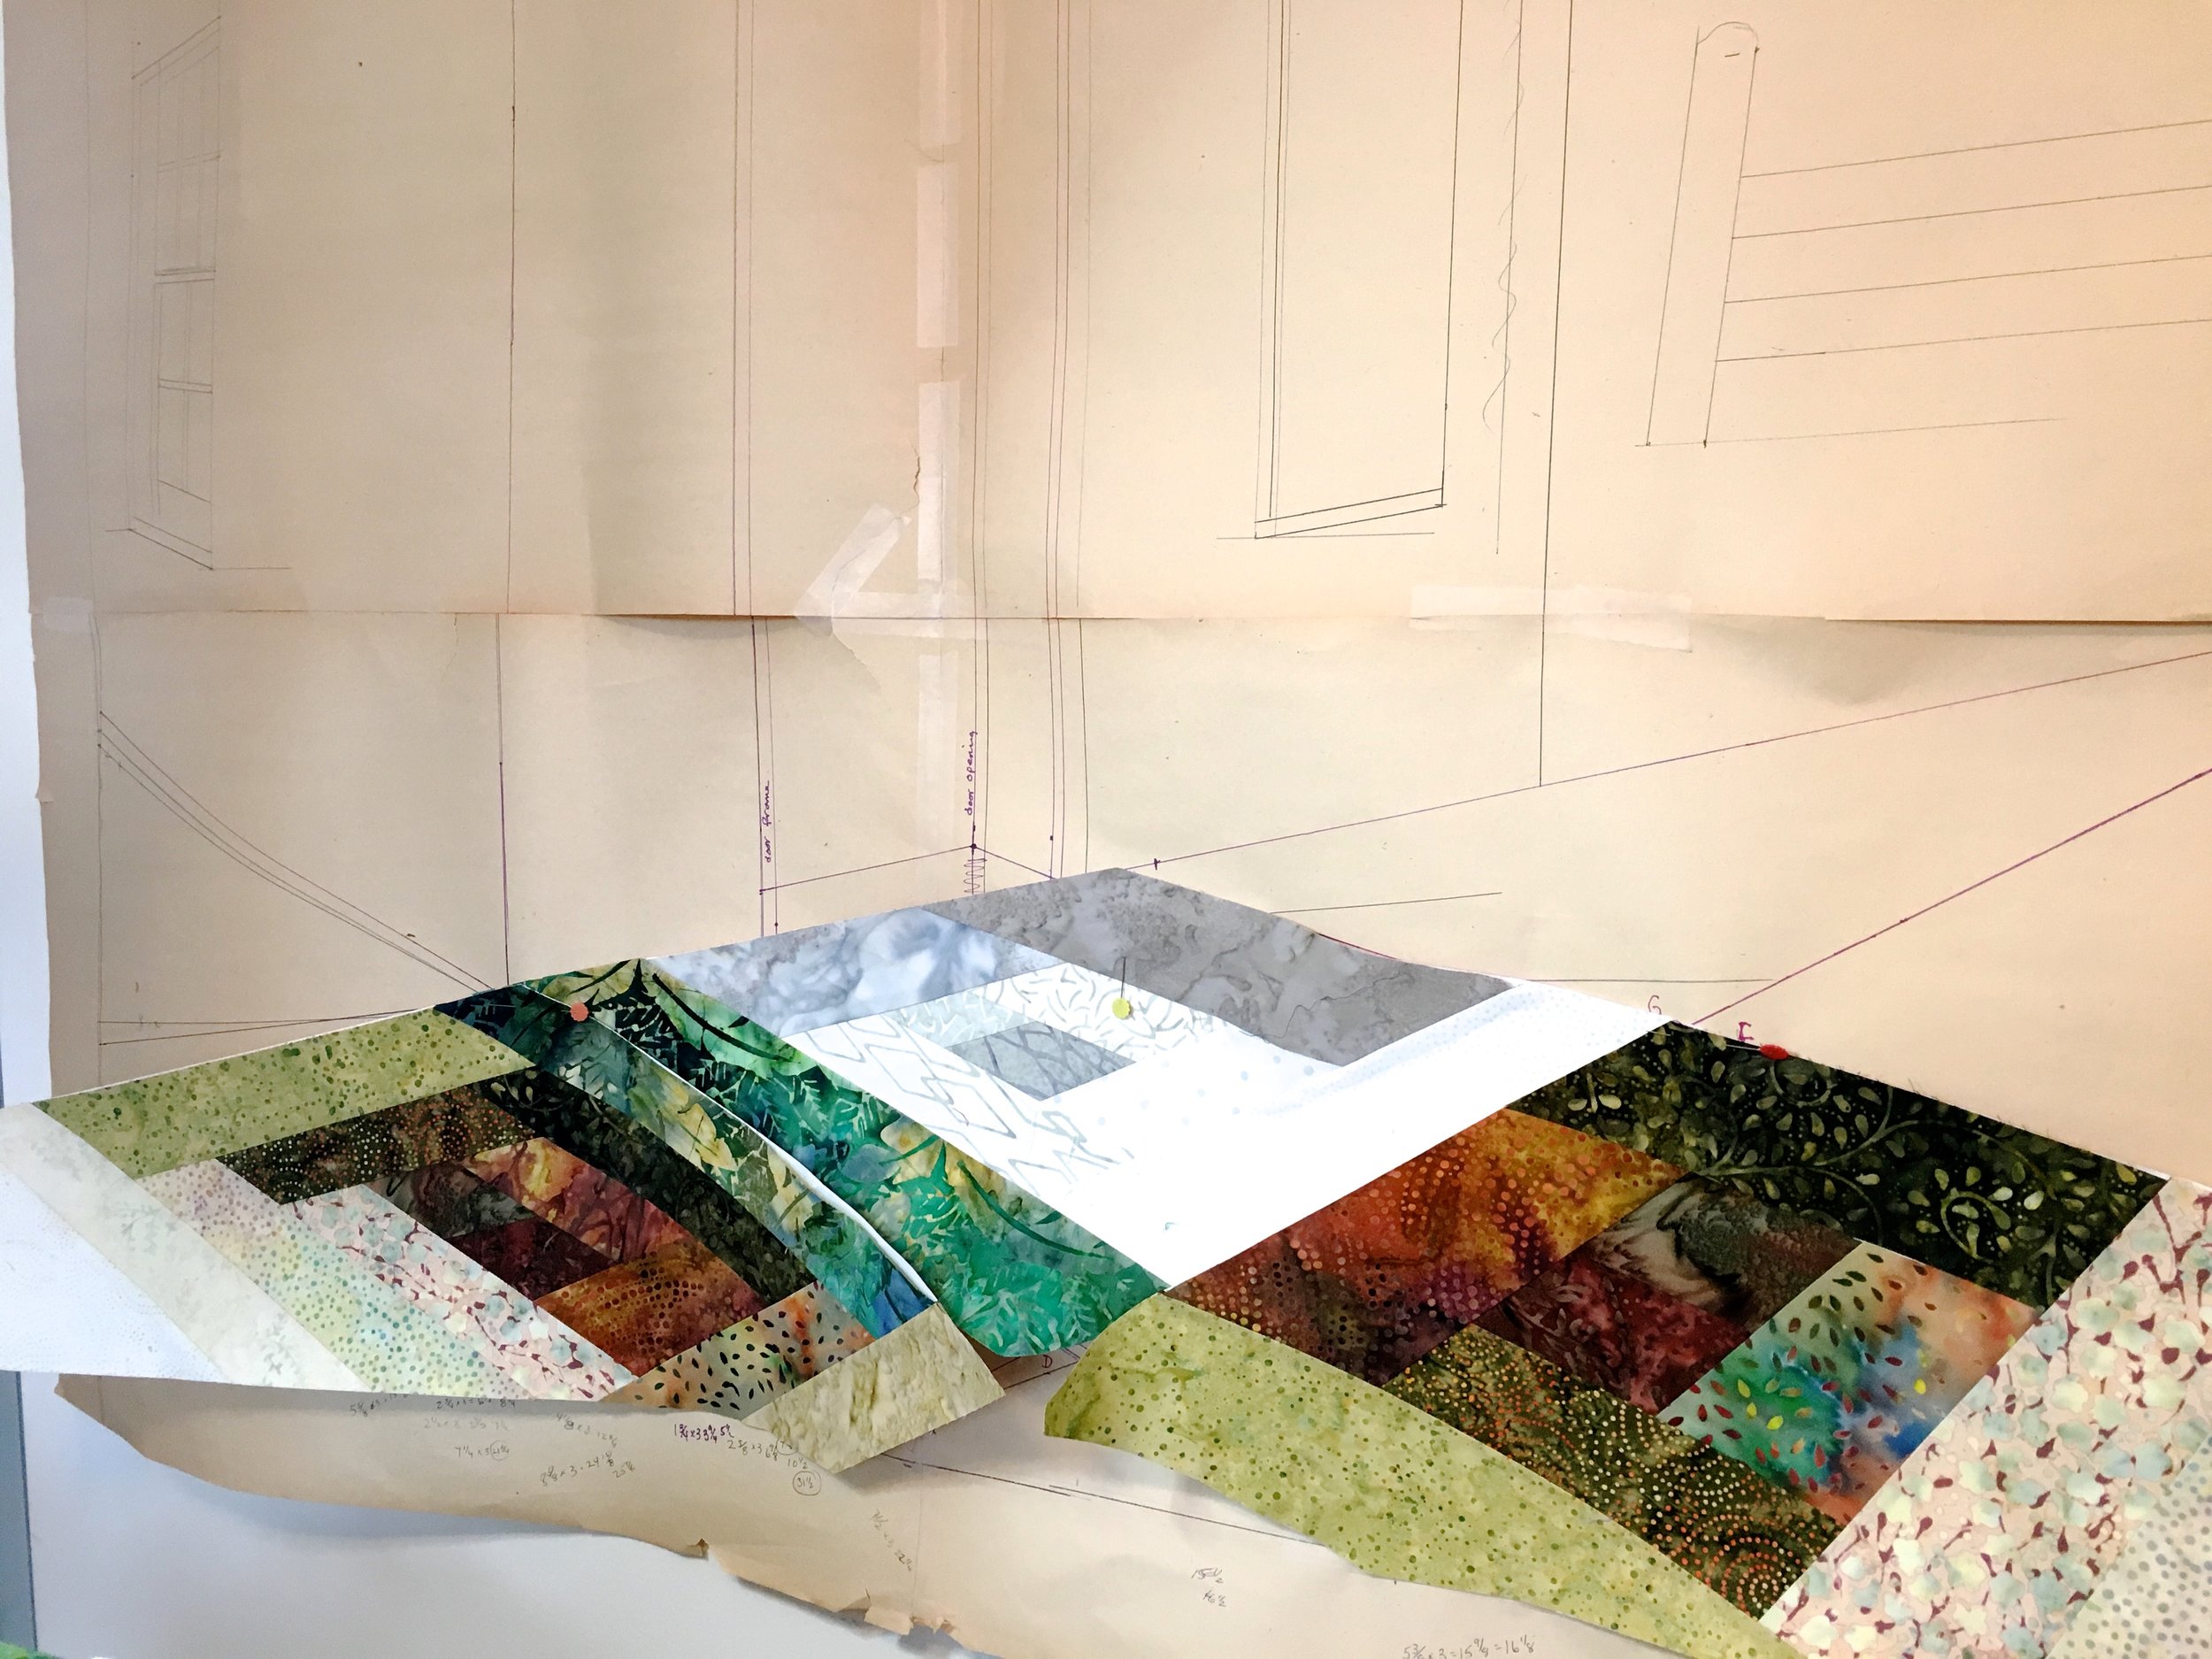
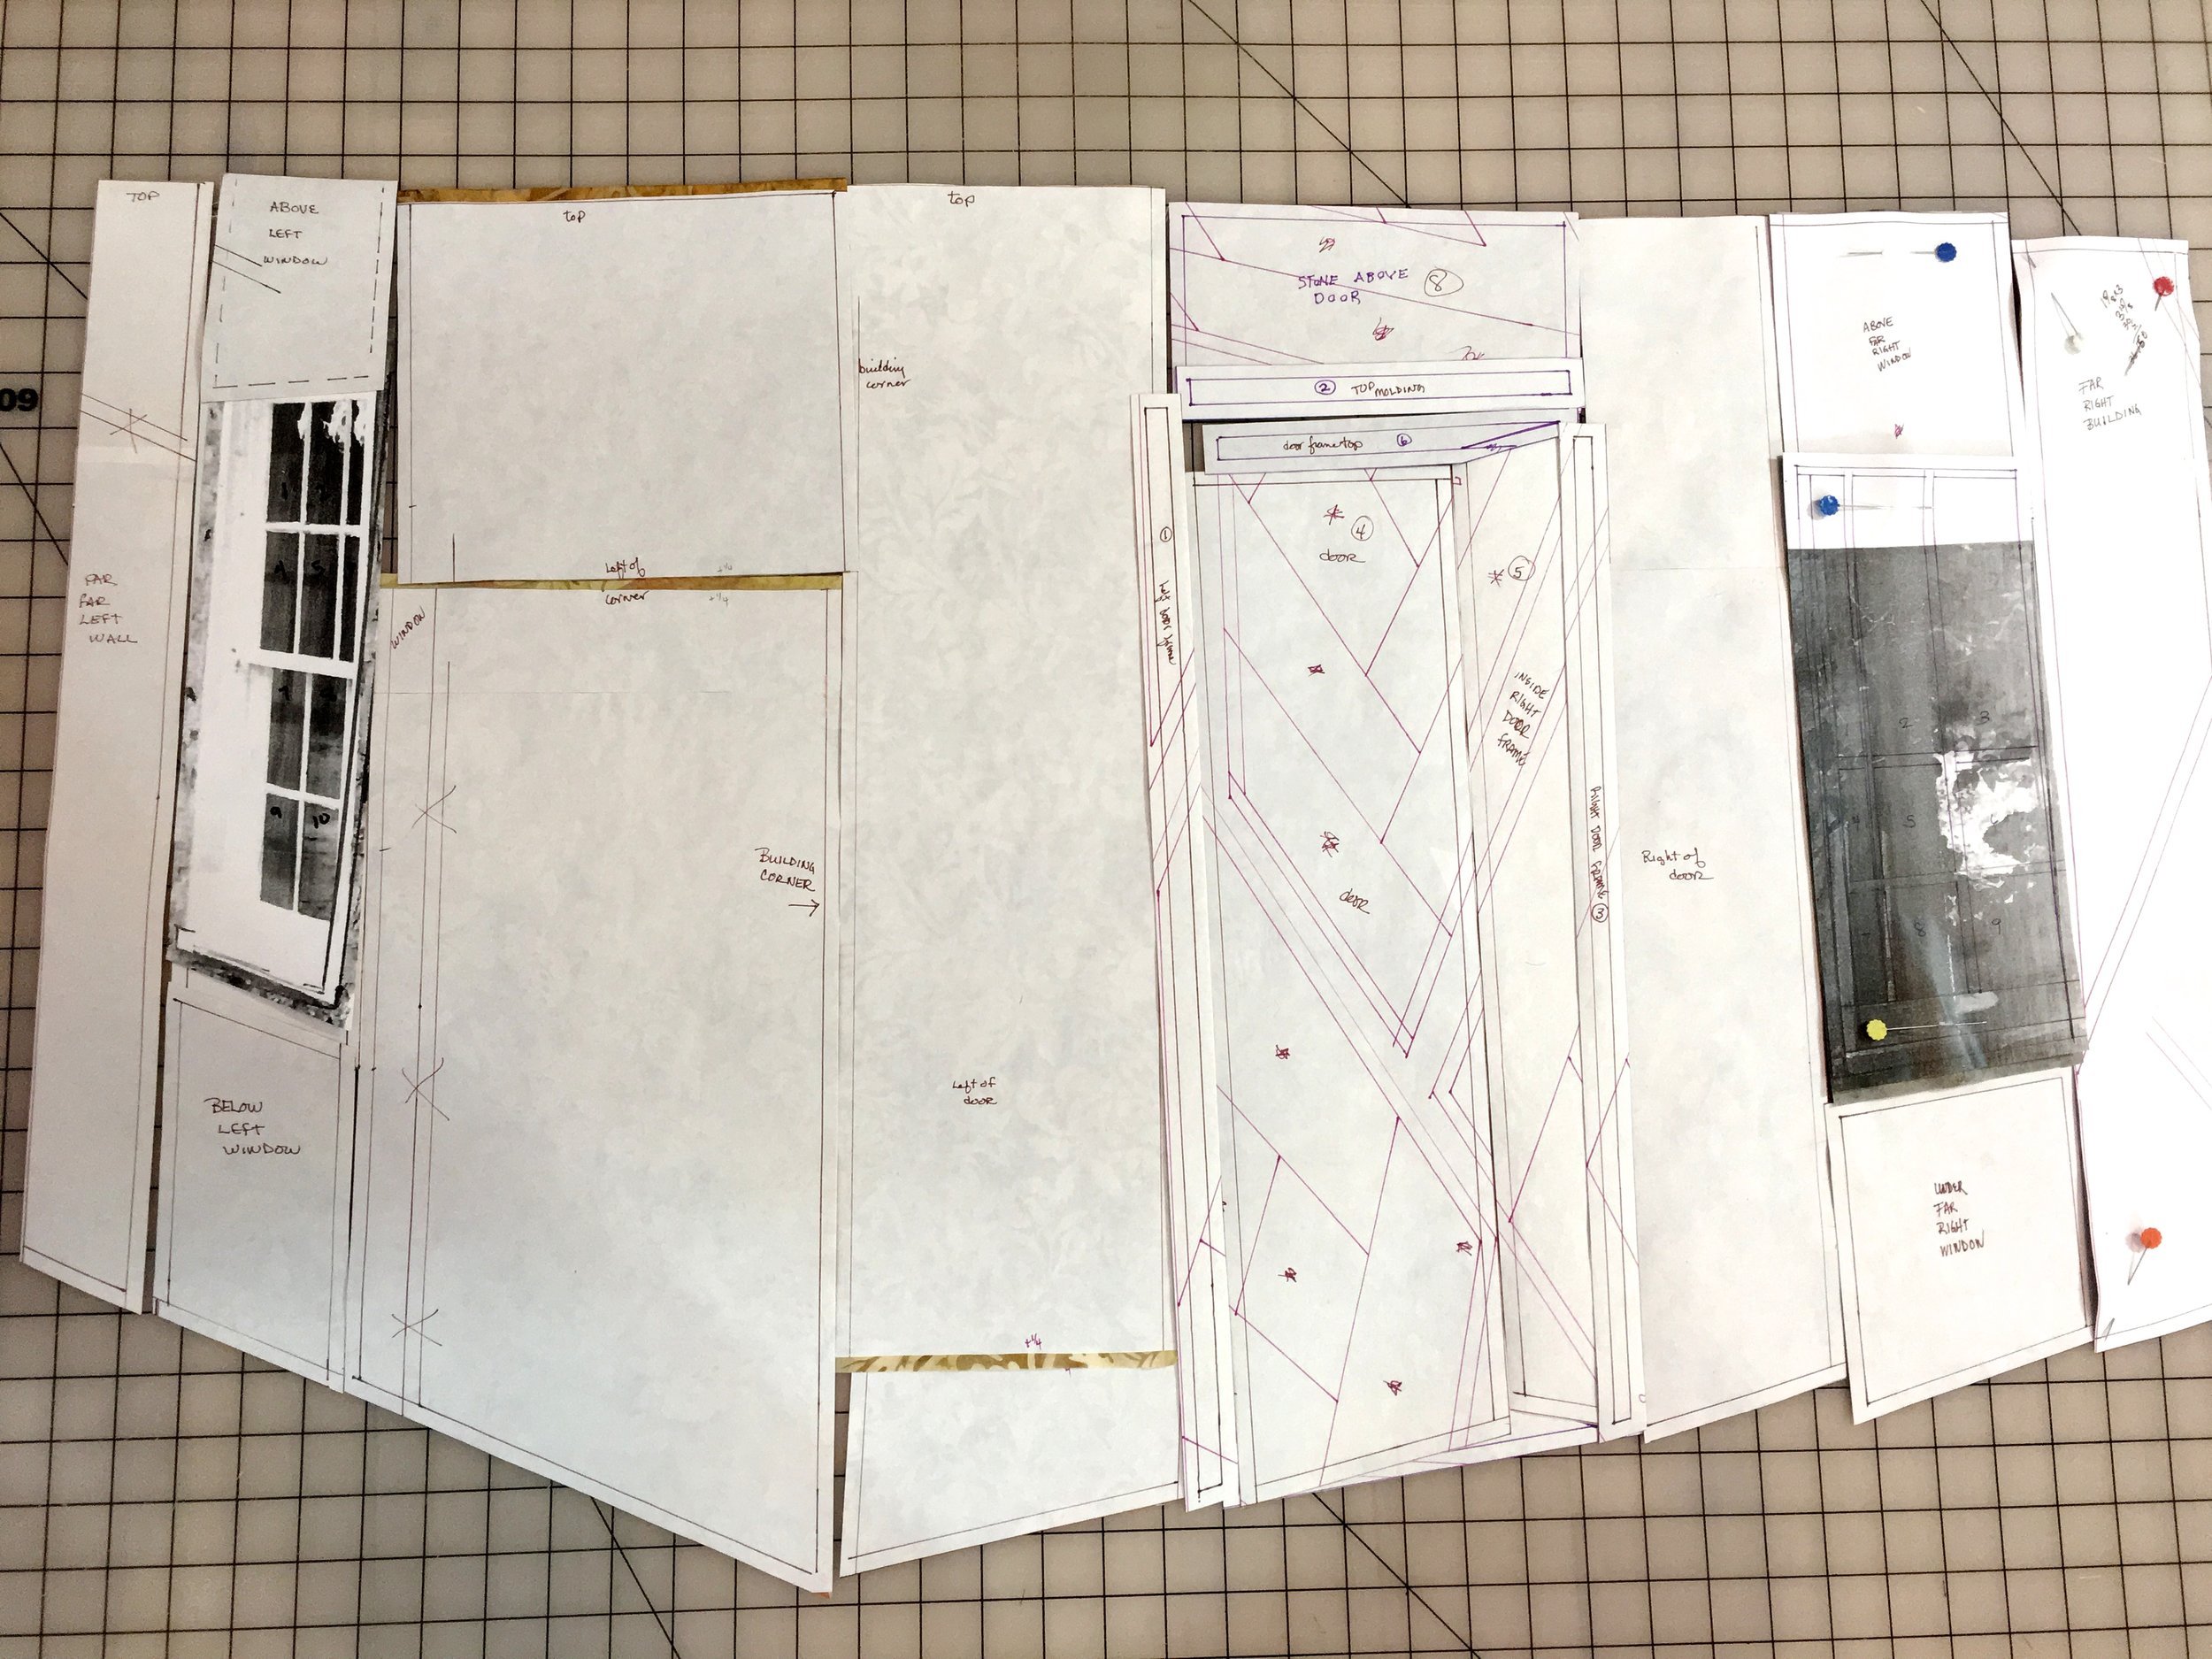
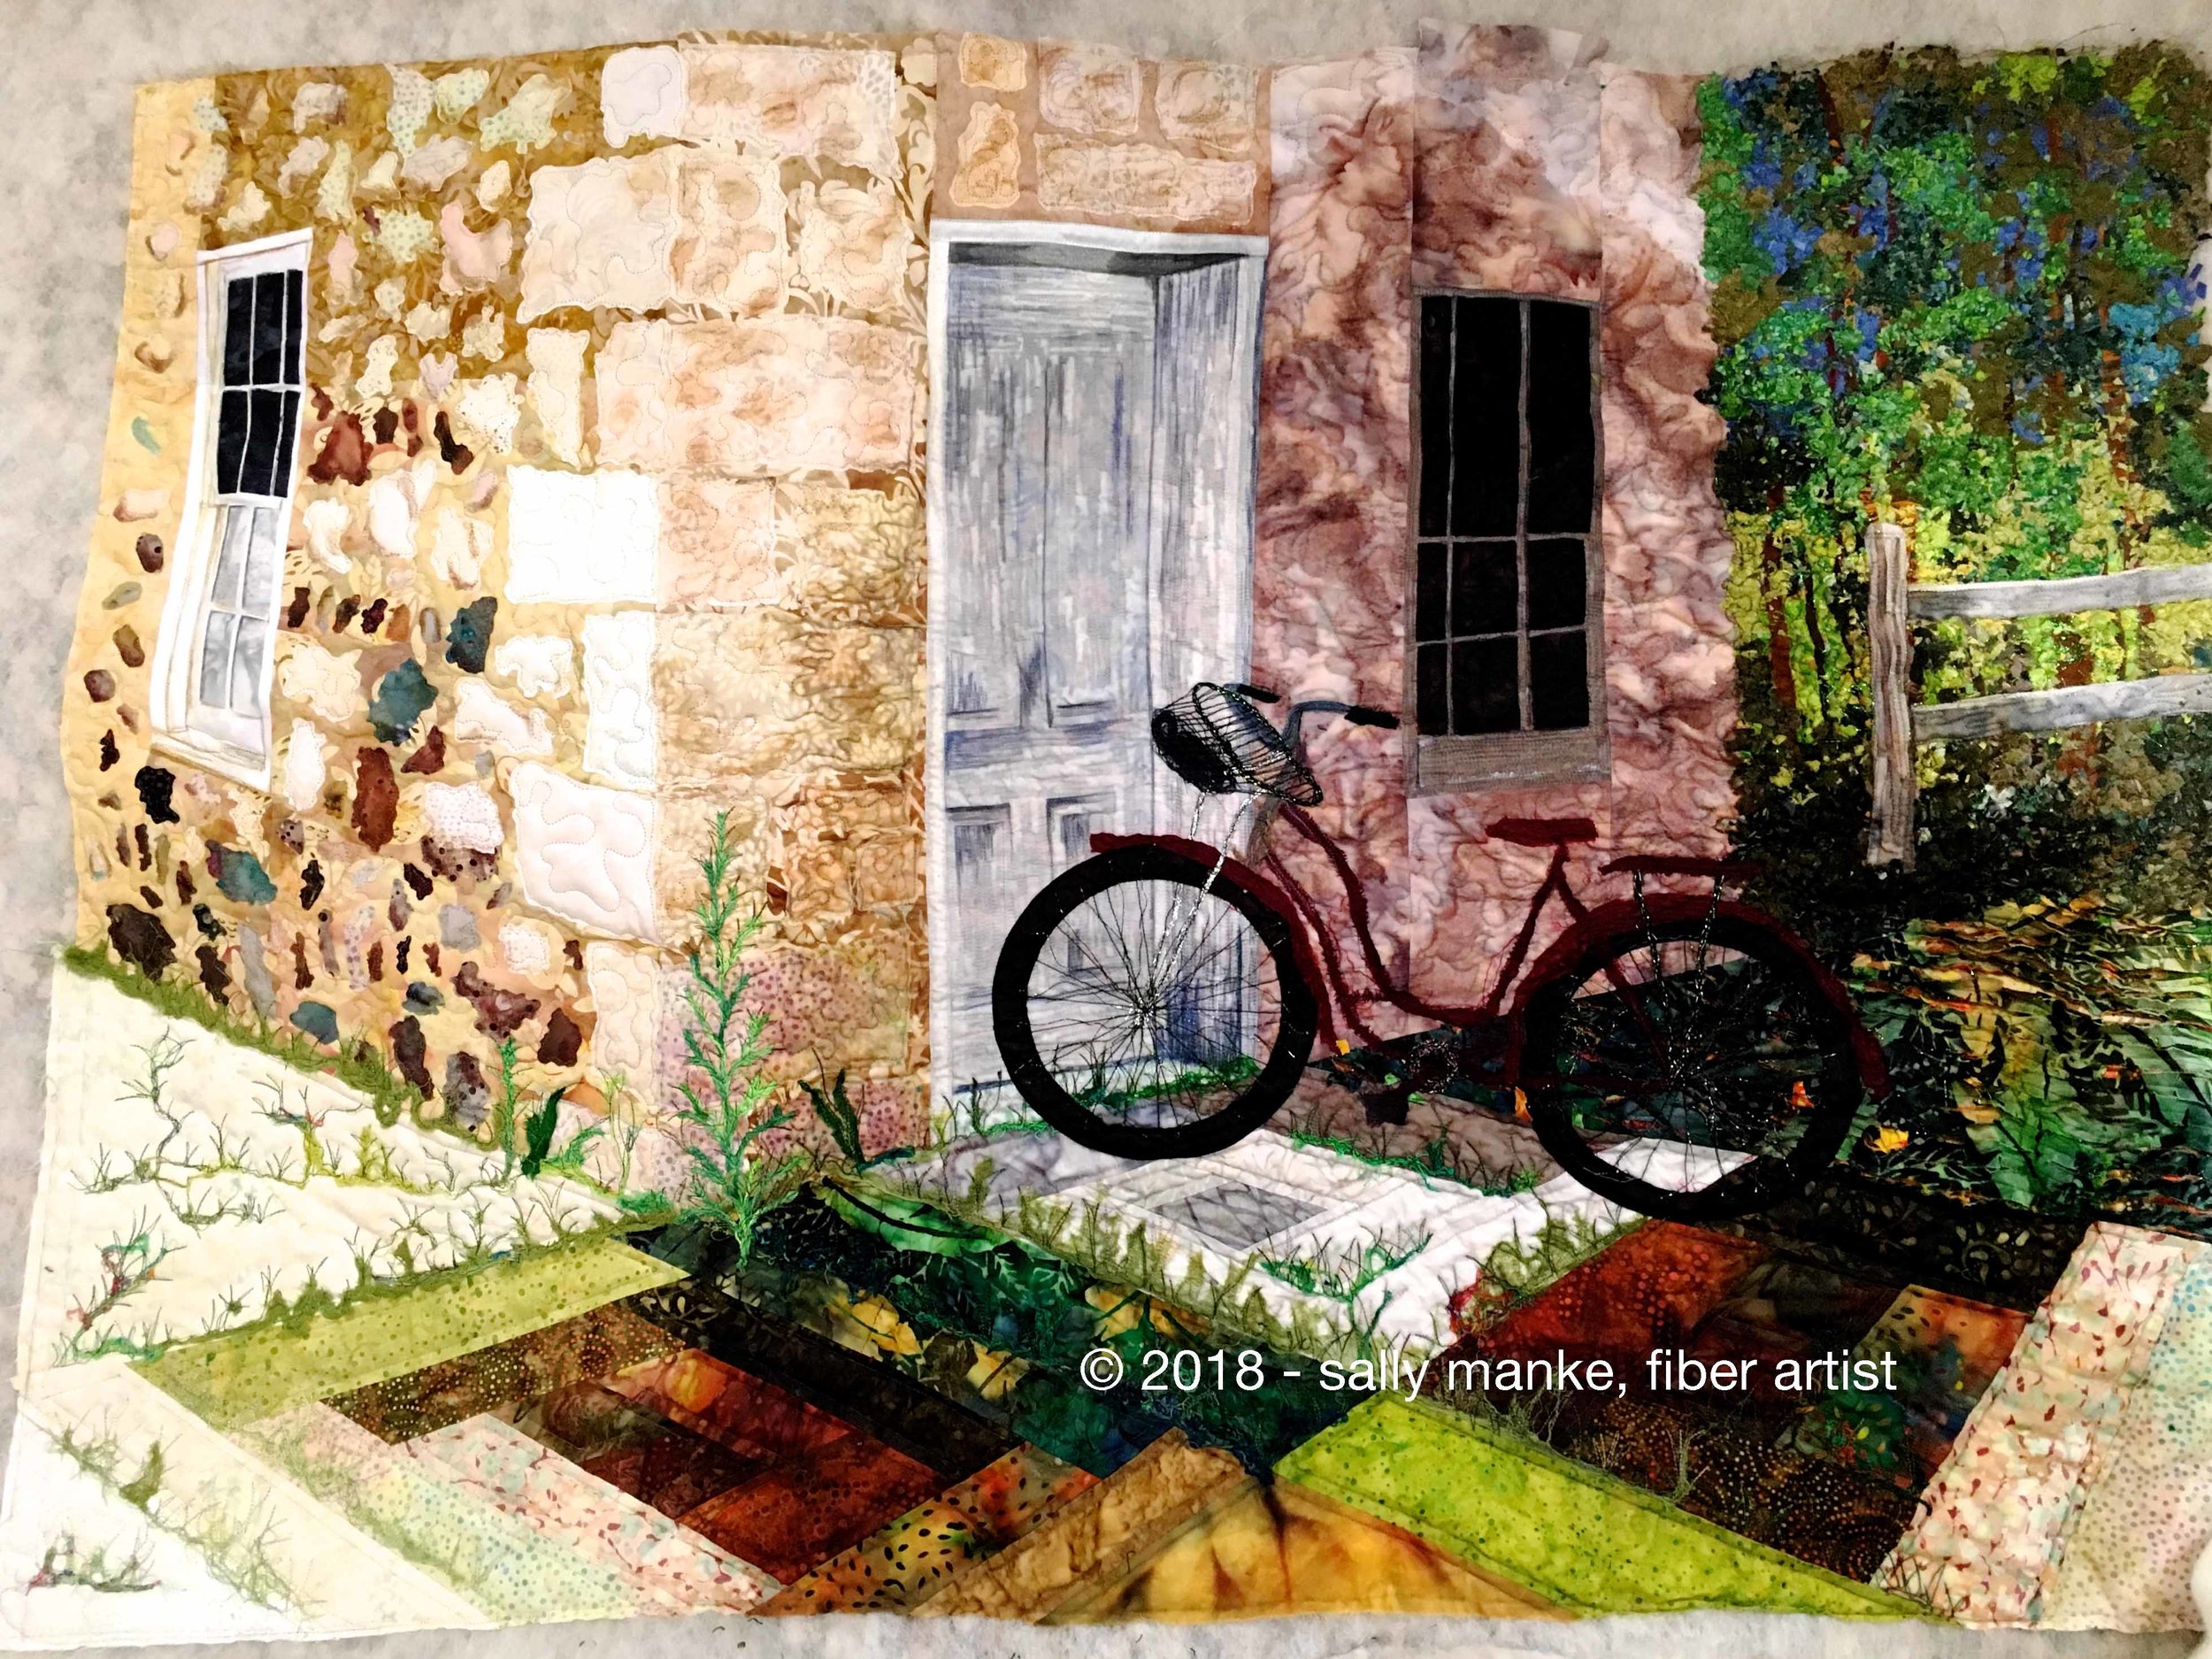
Lots of photos and planning to get started. The old stone building, sagging door and windows are sketched in using perspective first. The Fence and foreground also use perspective to show depth.

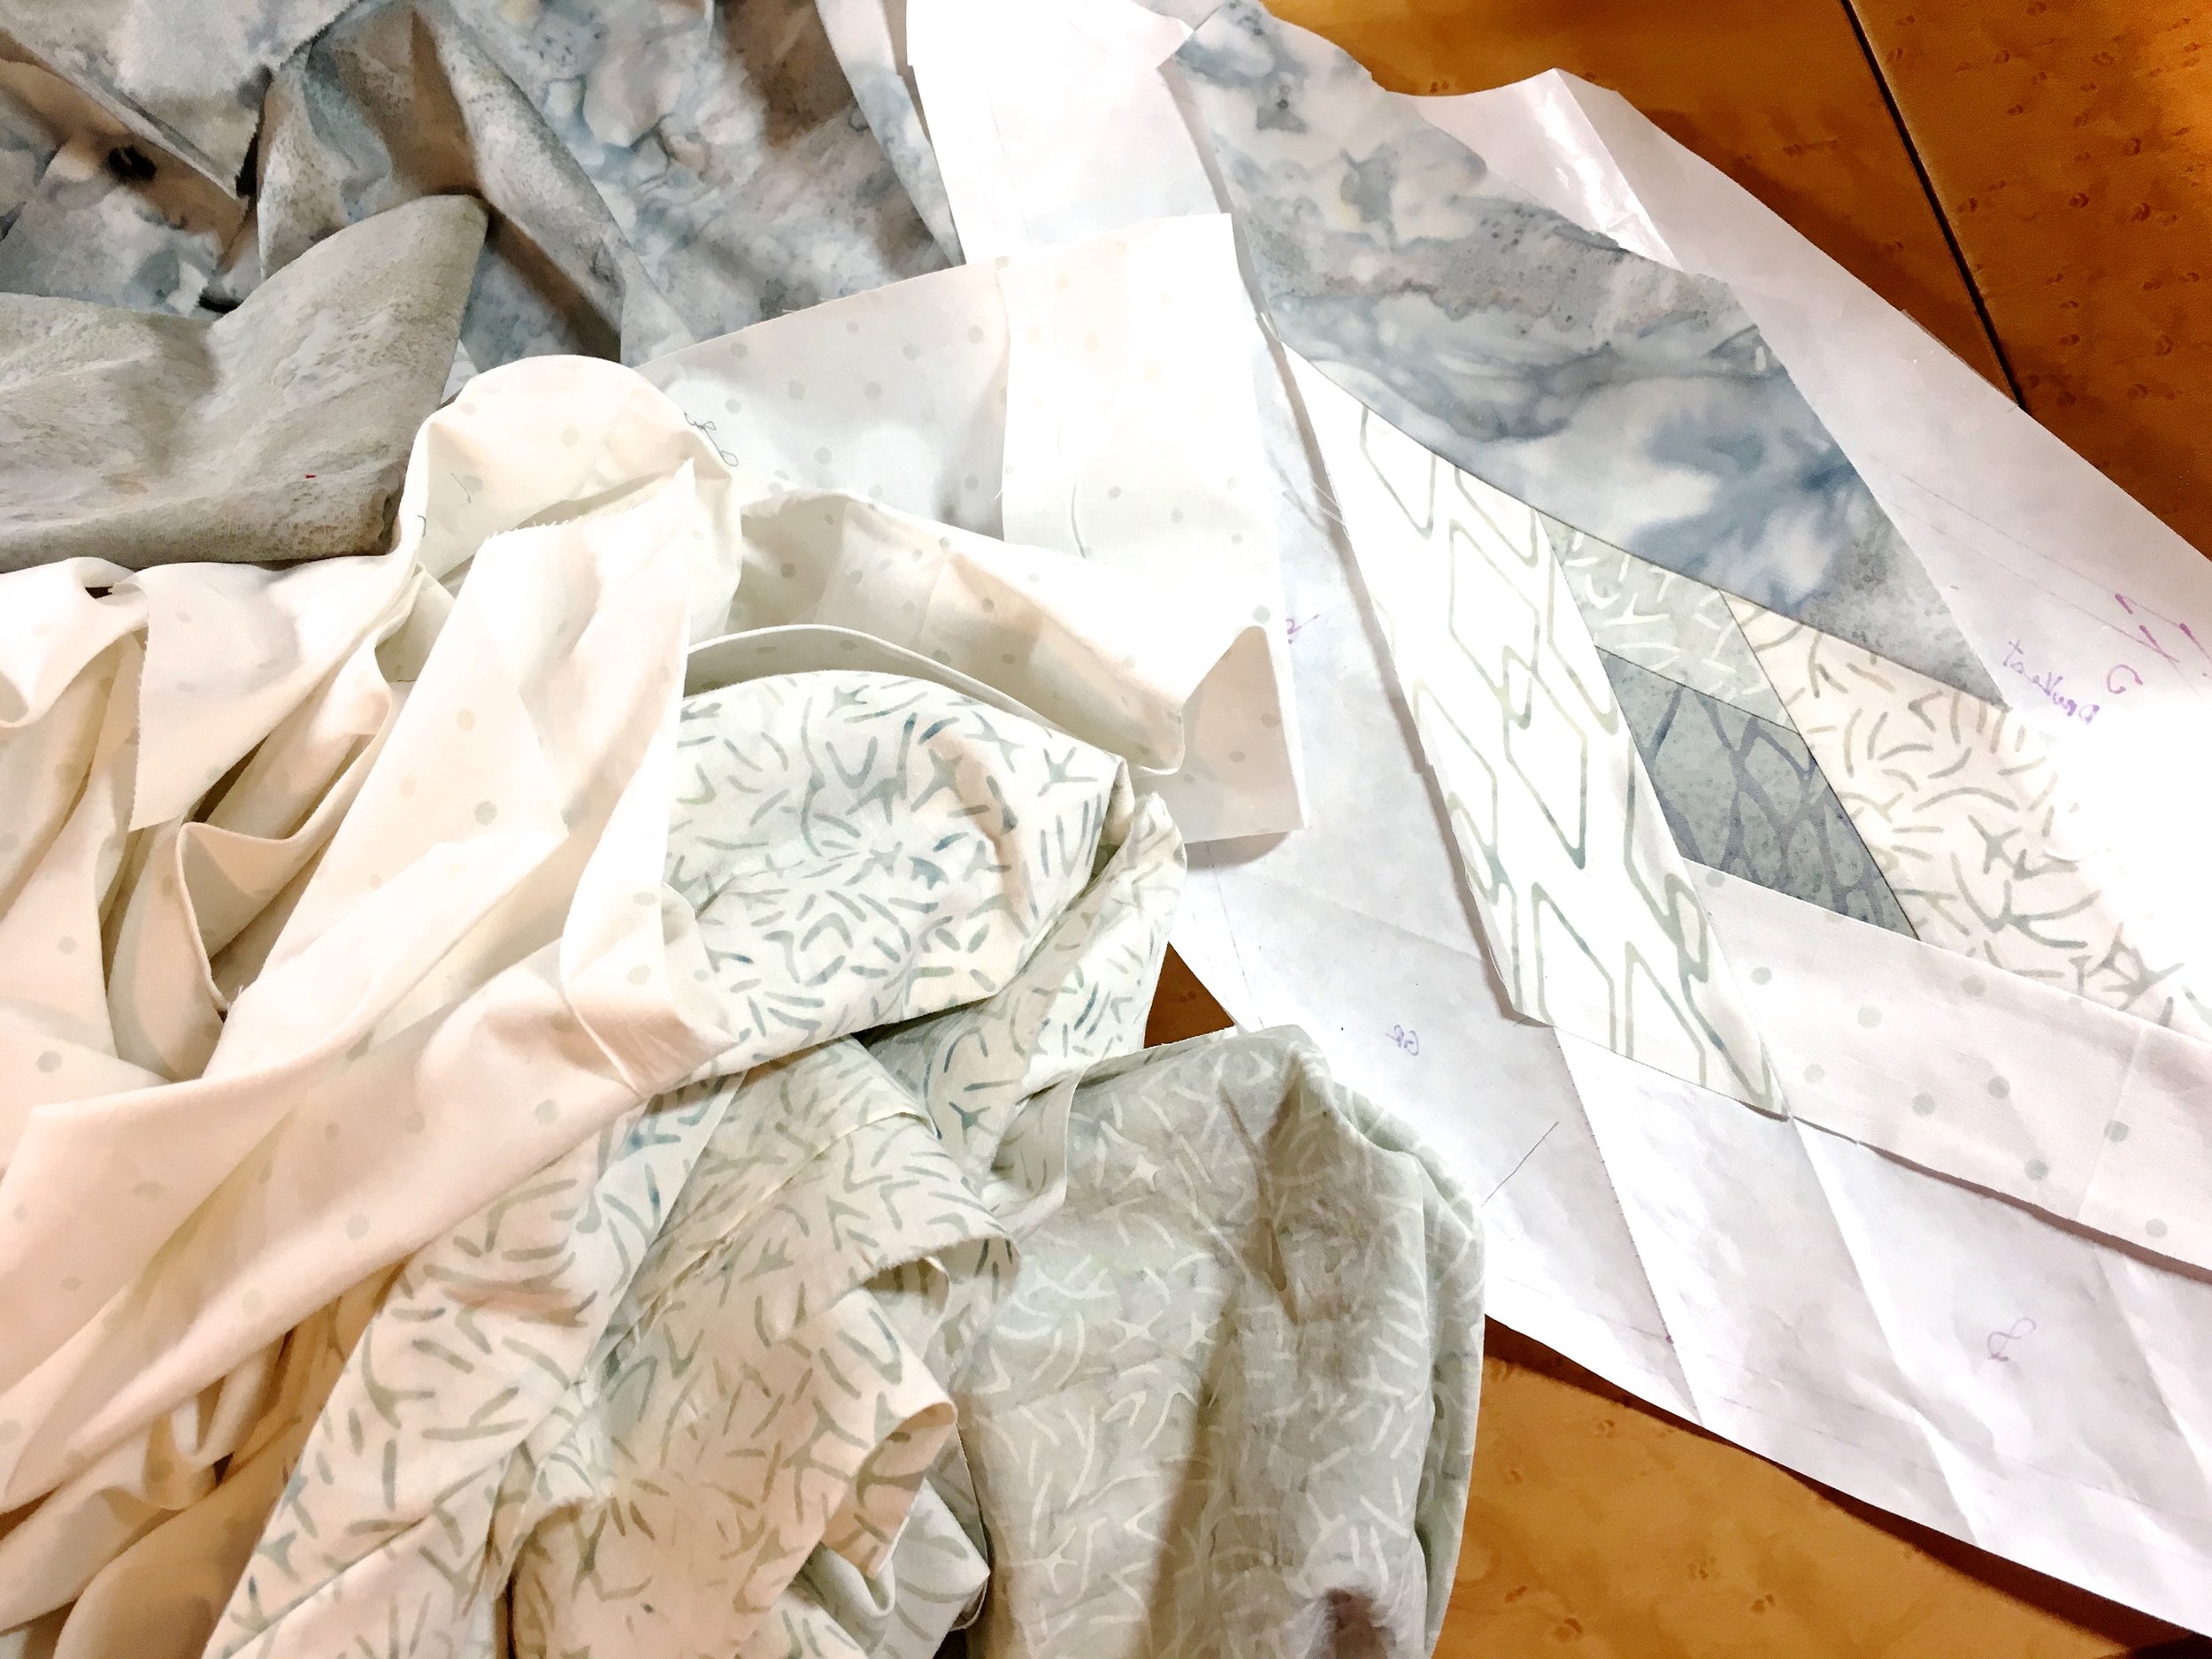
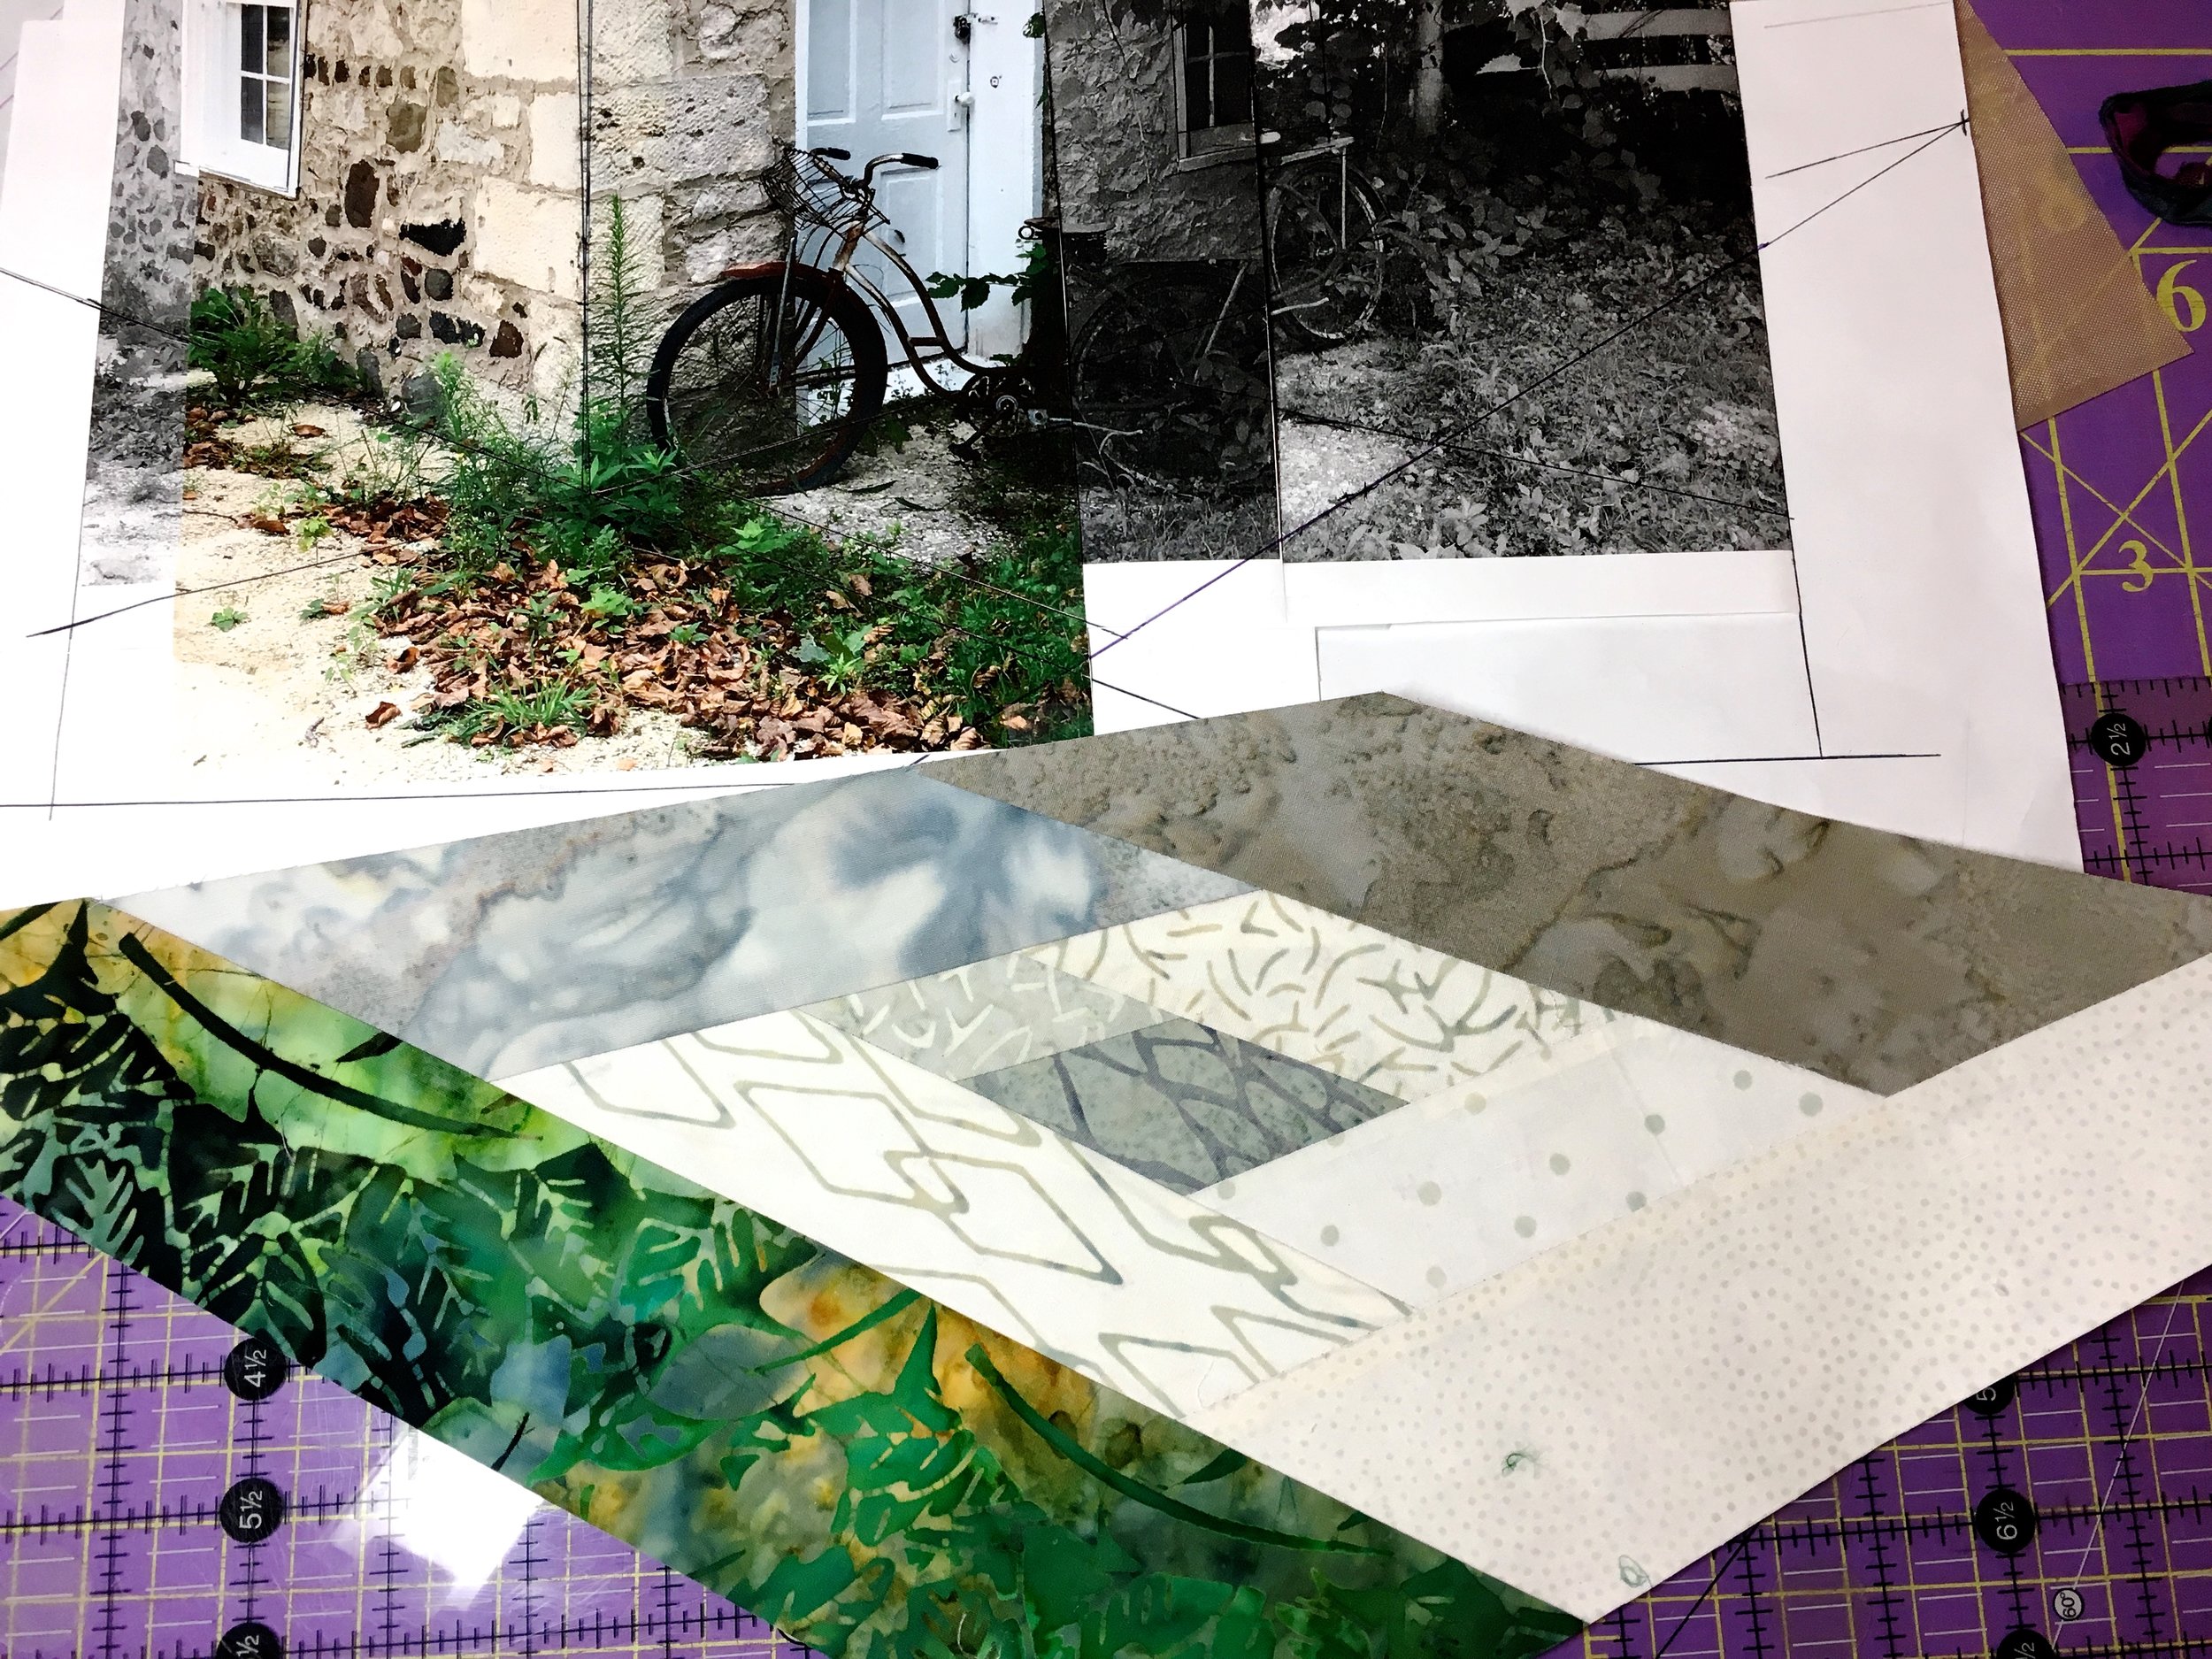
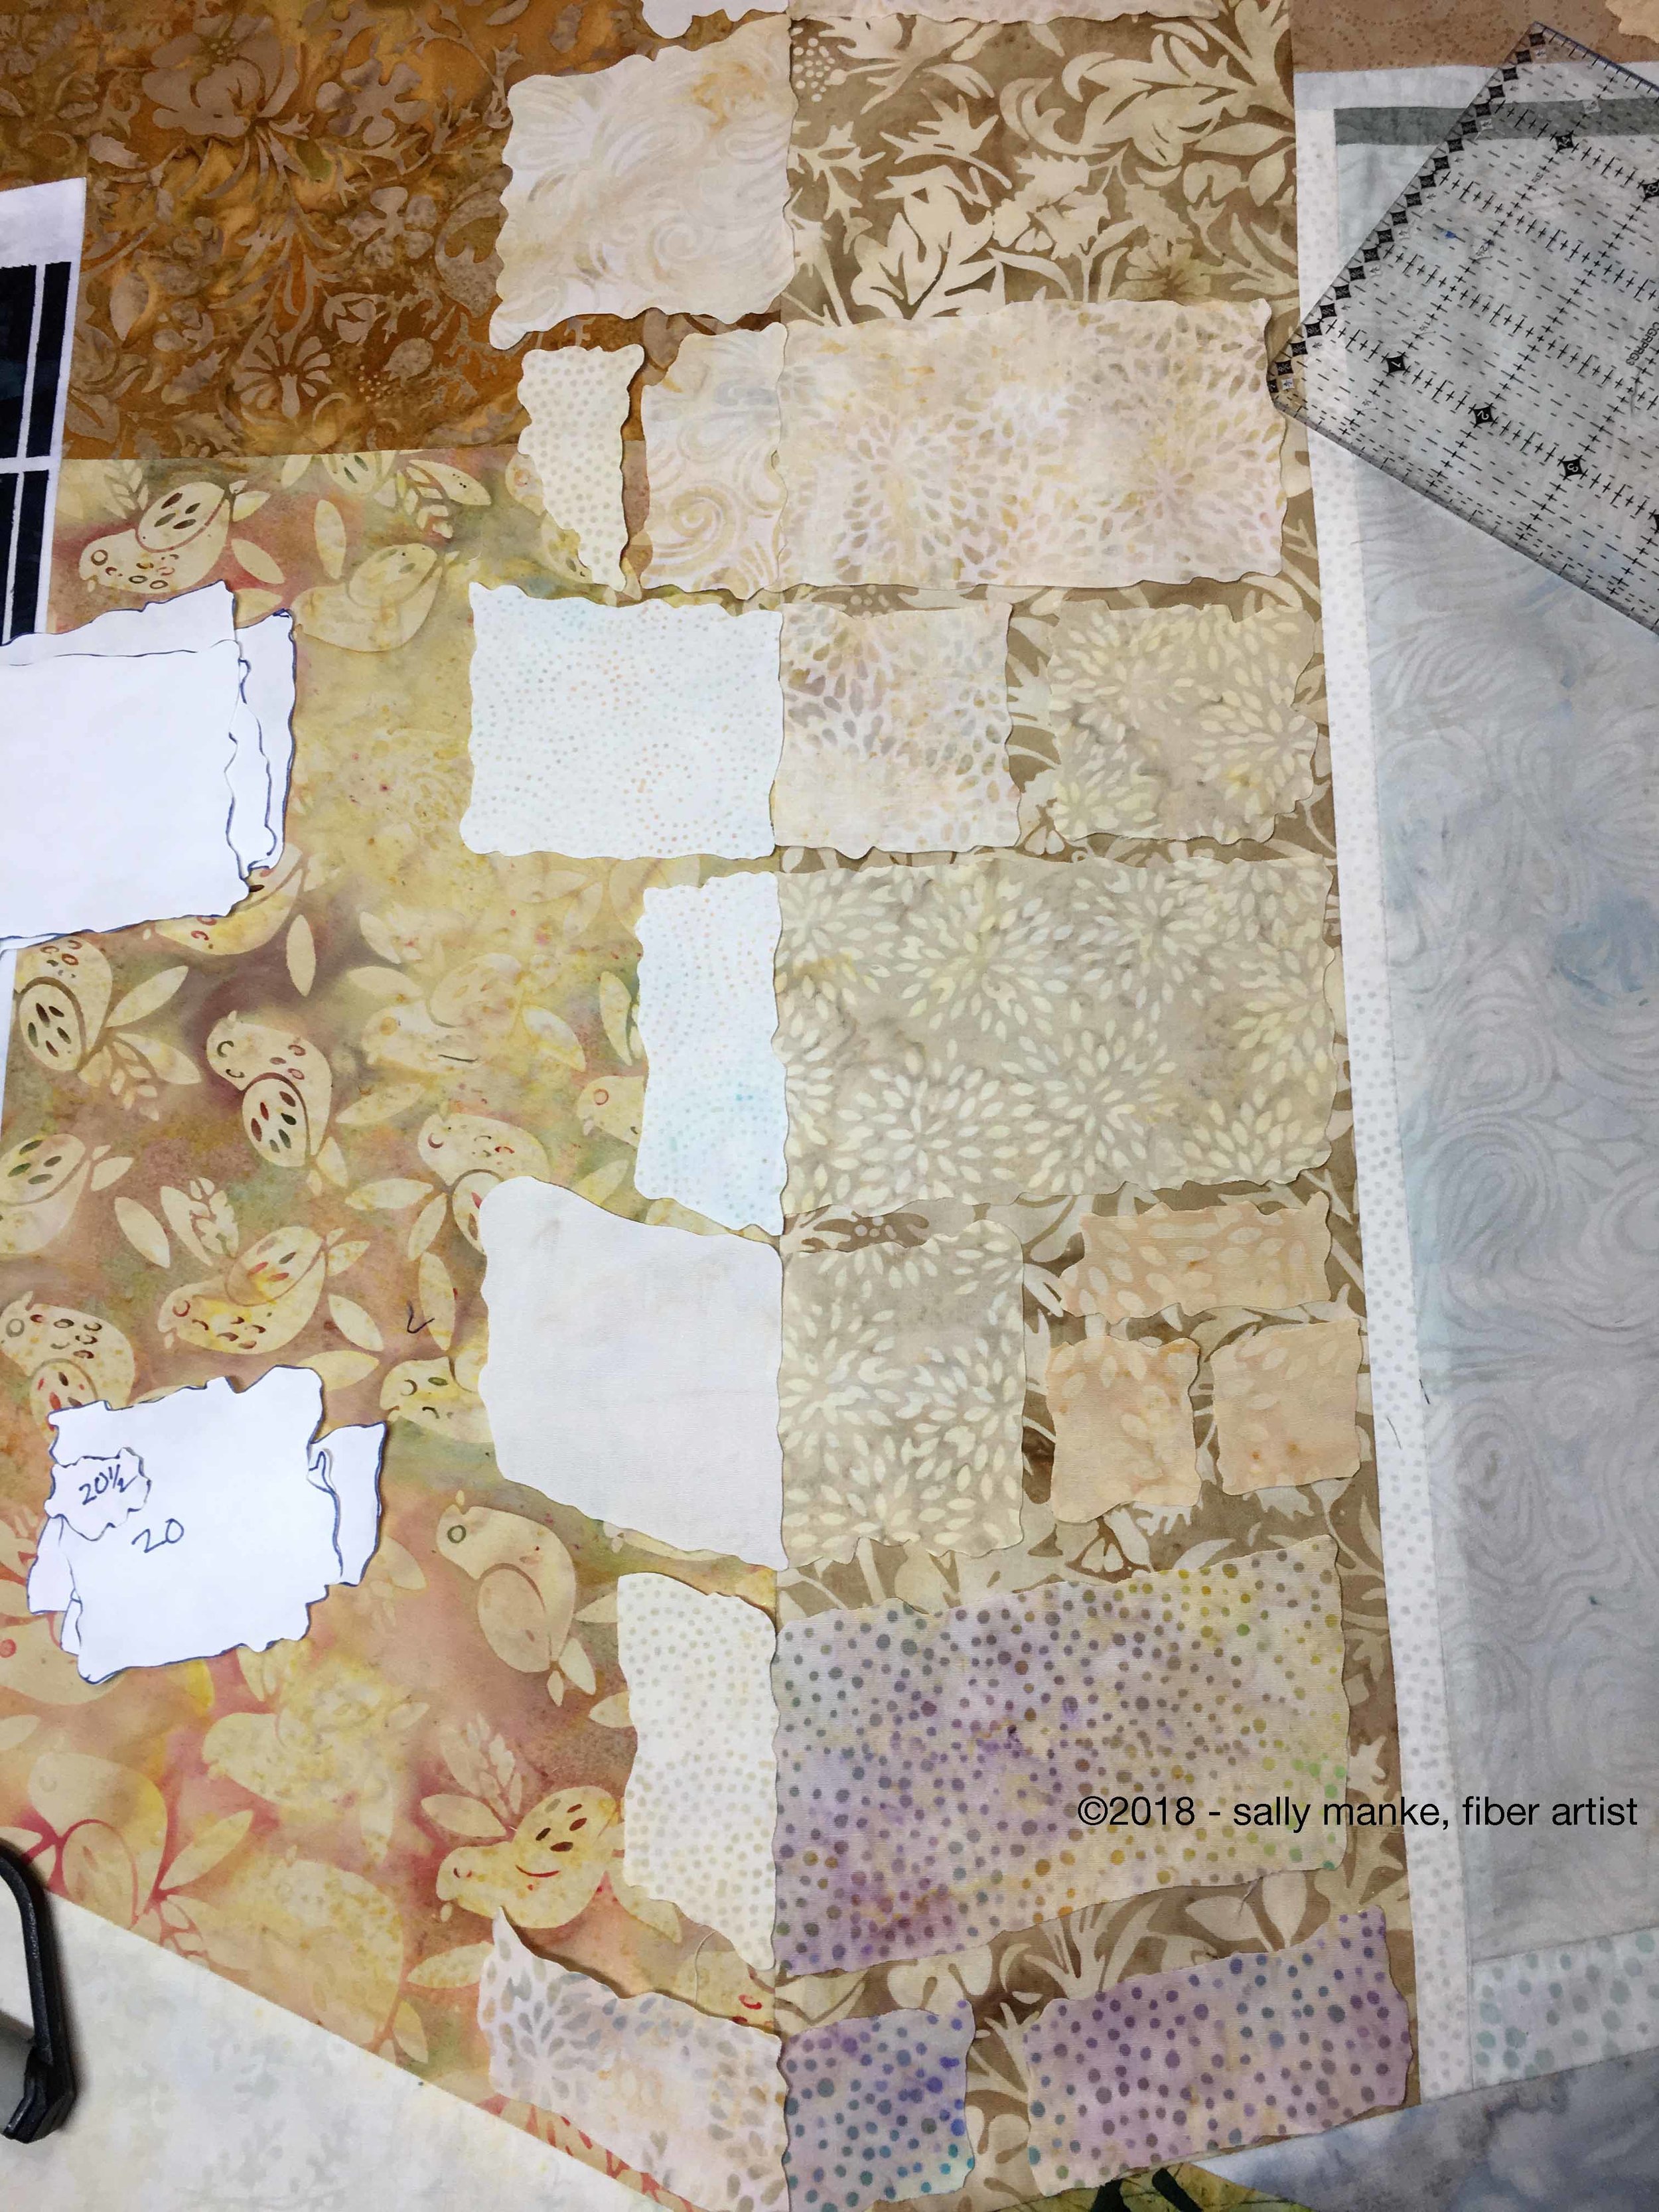
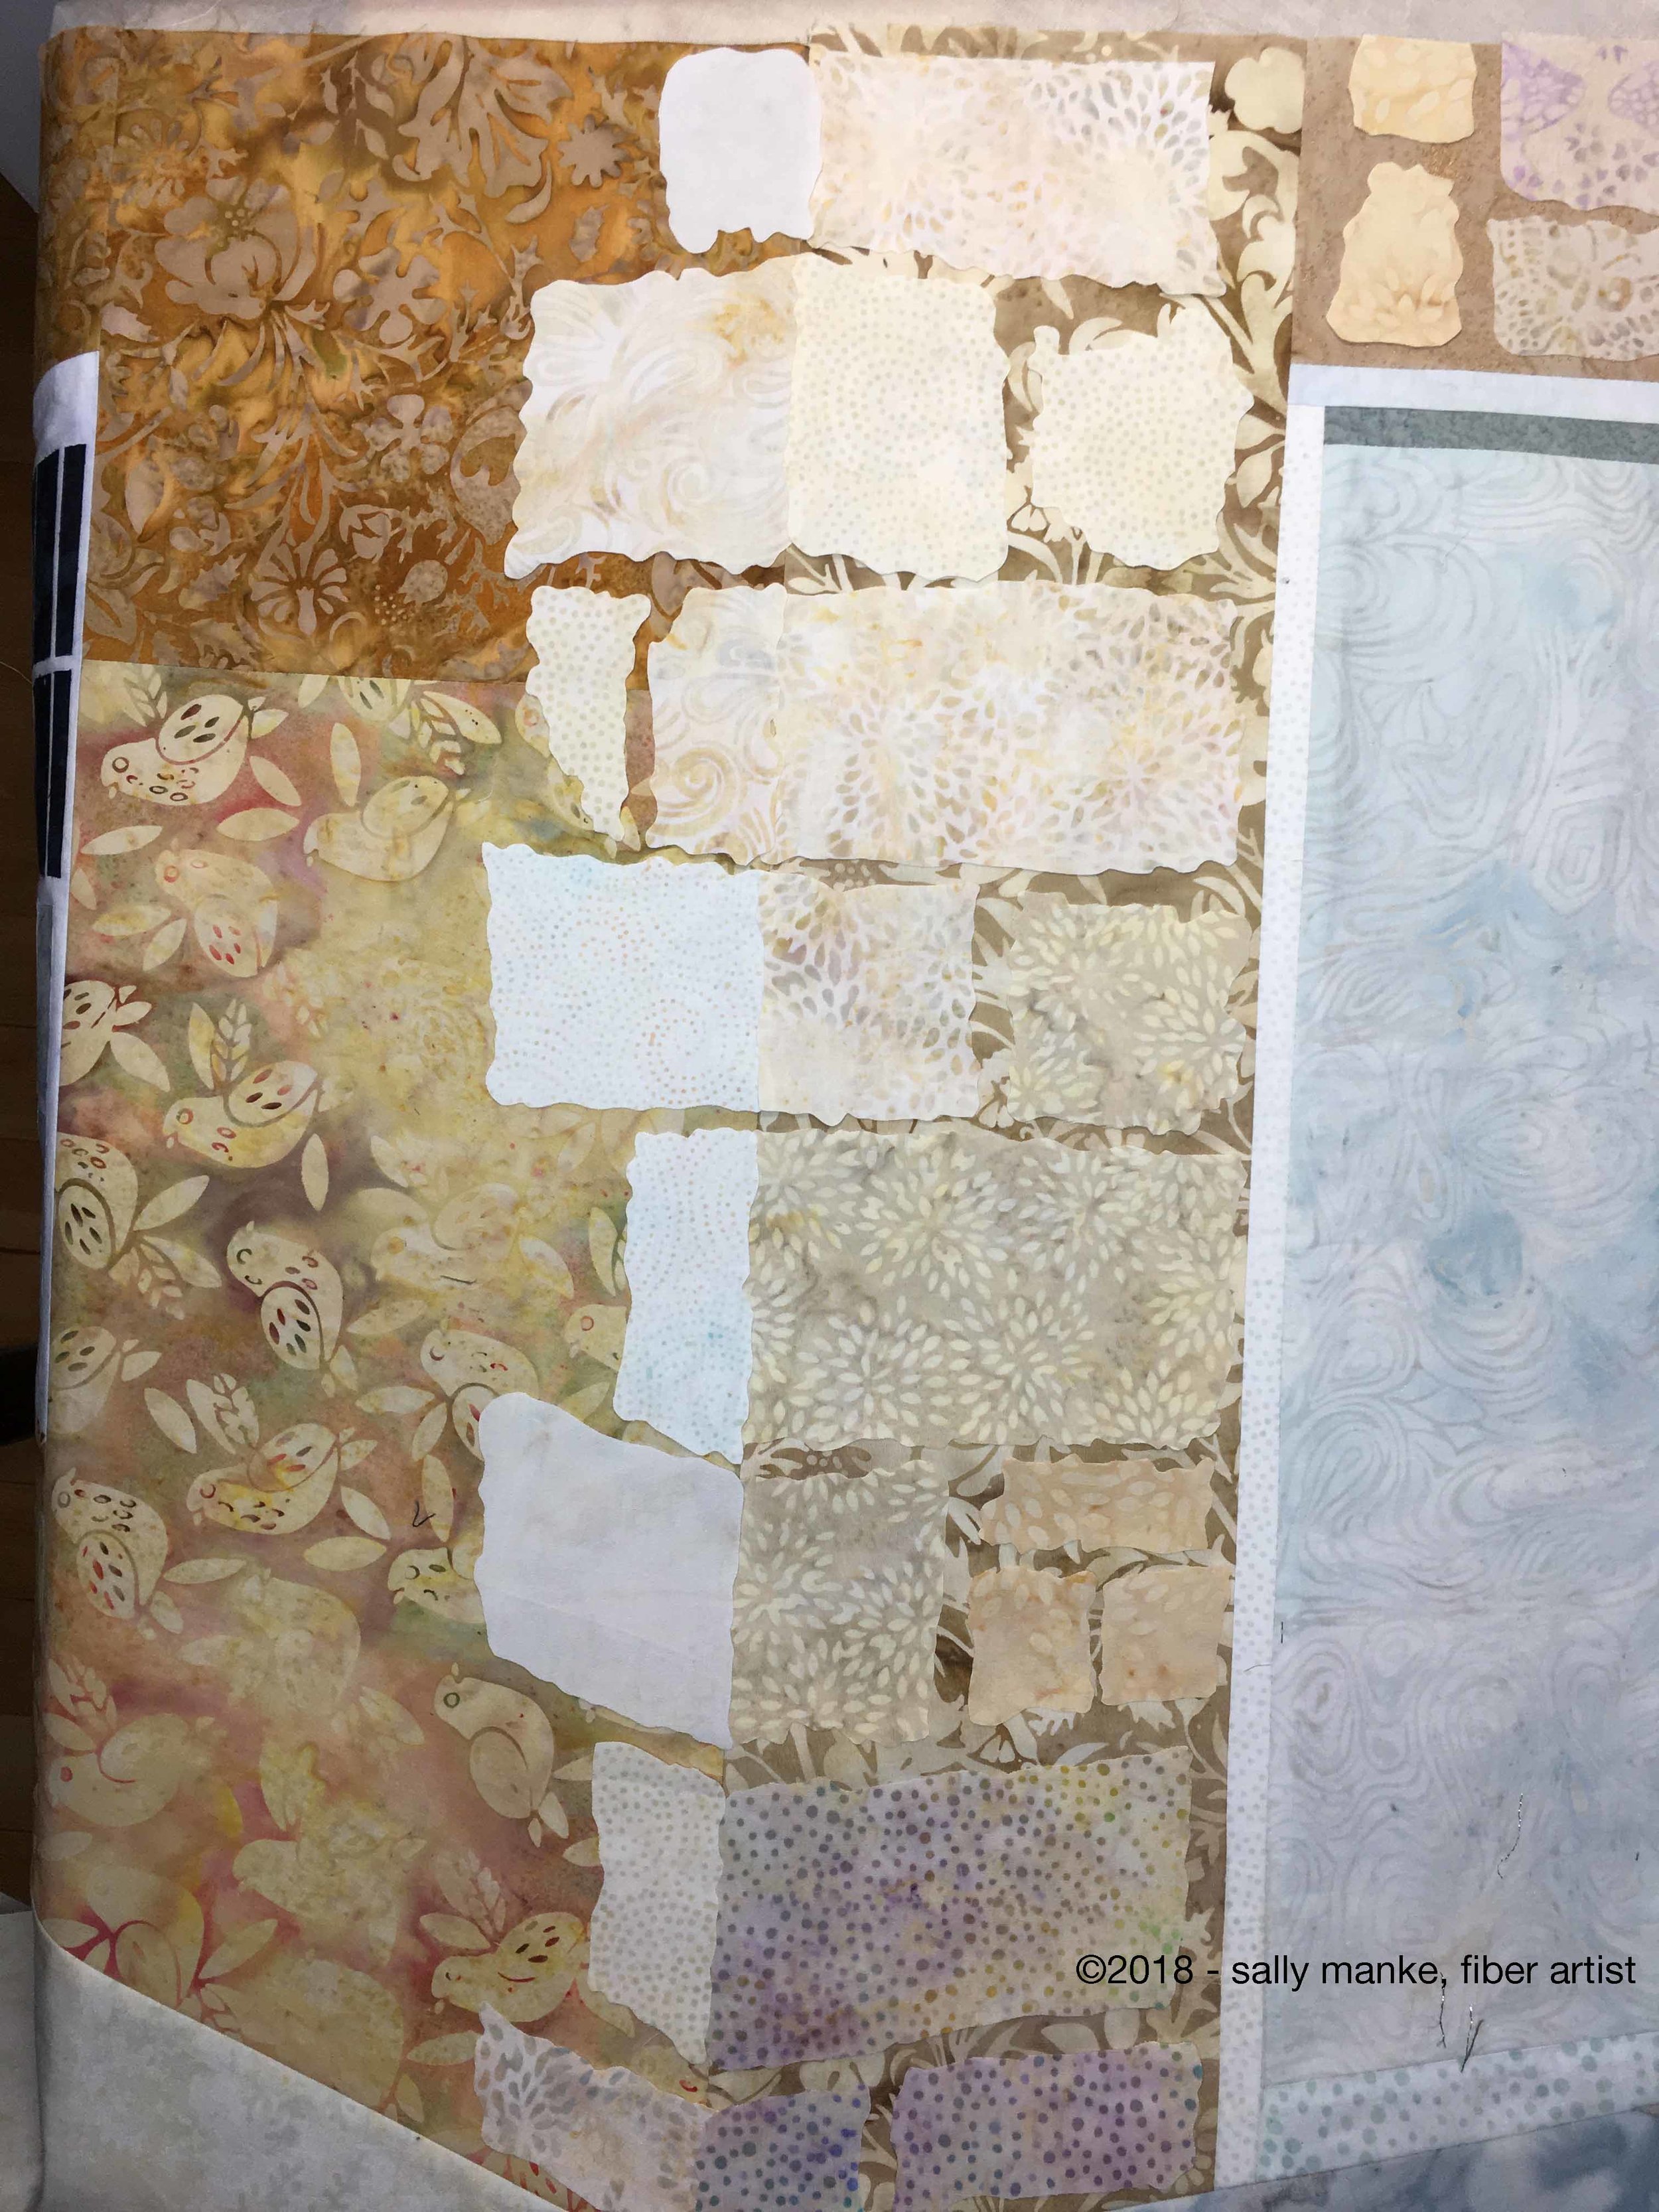
Freezer paper patterns are created to construct the log cabin blocks. Gray and white Island Batiks are used to simulate 'old cement’.
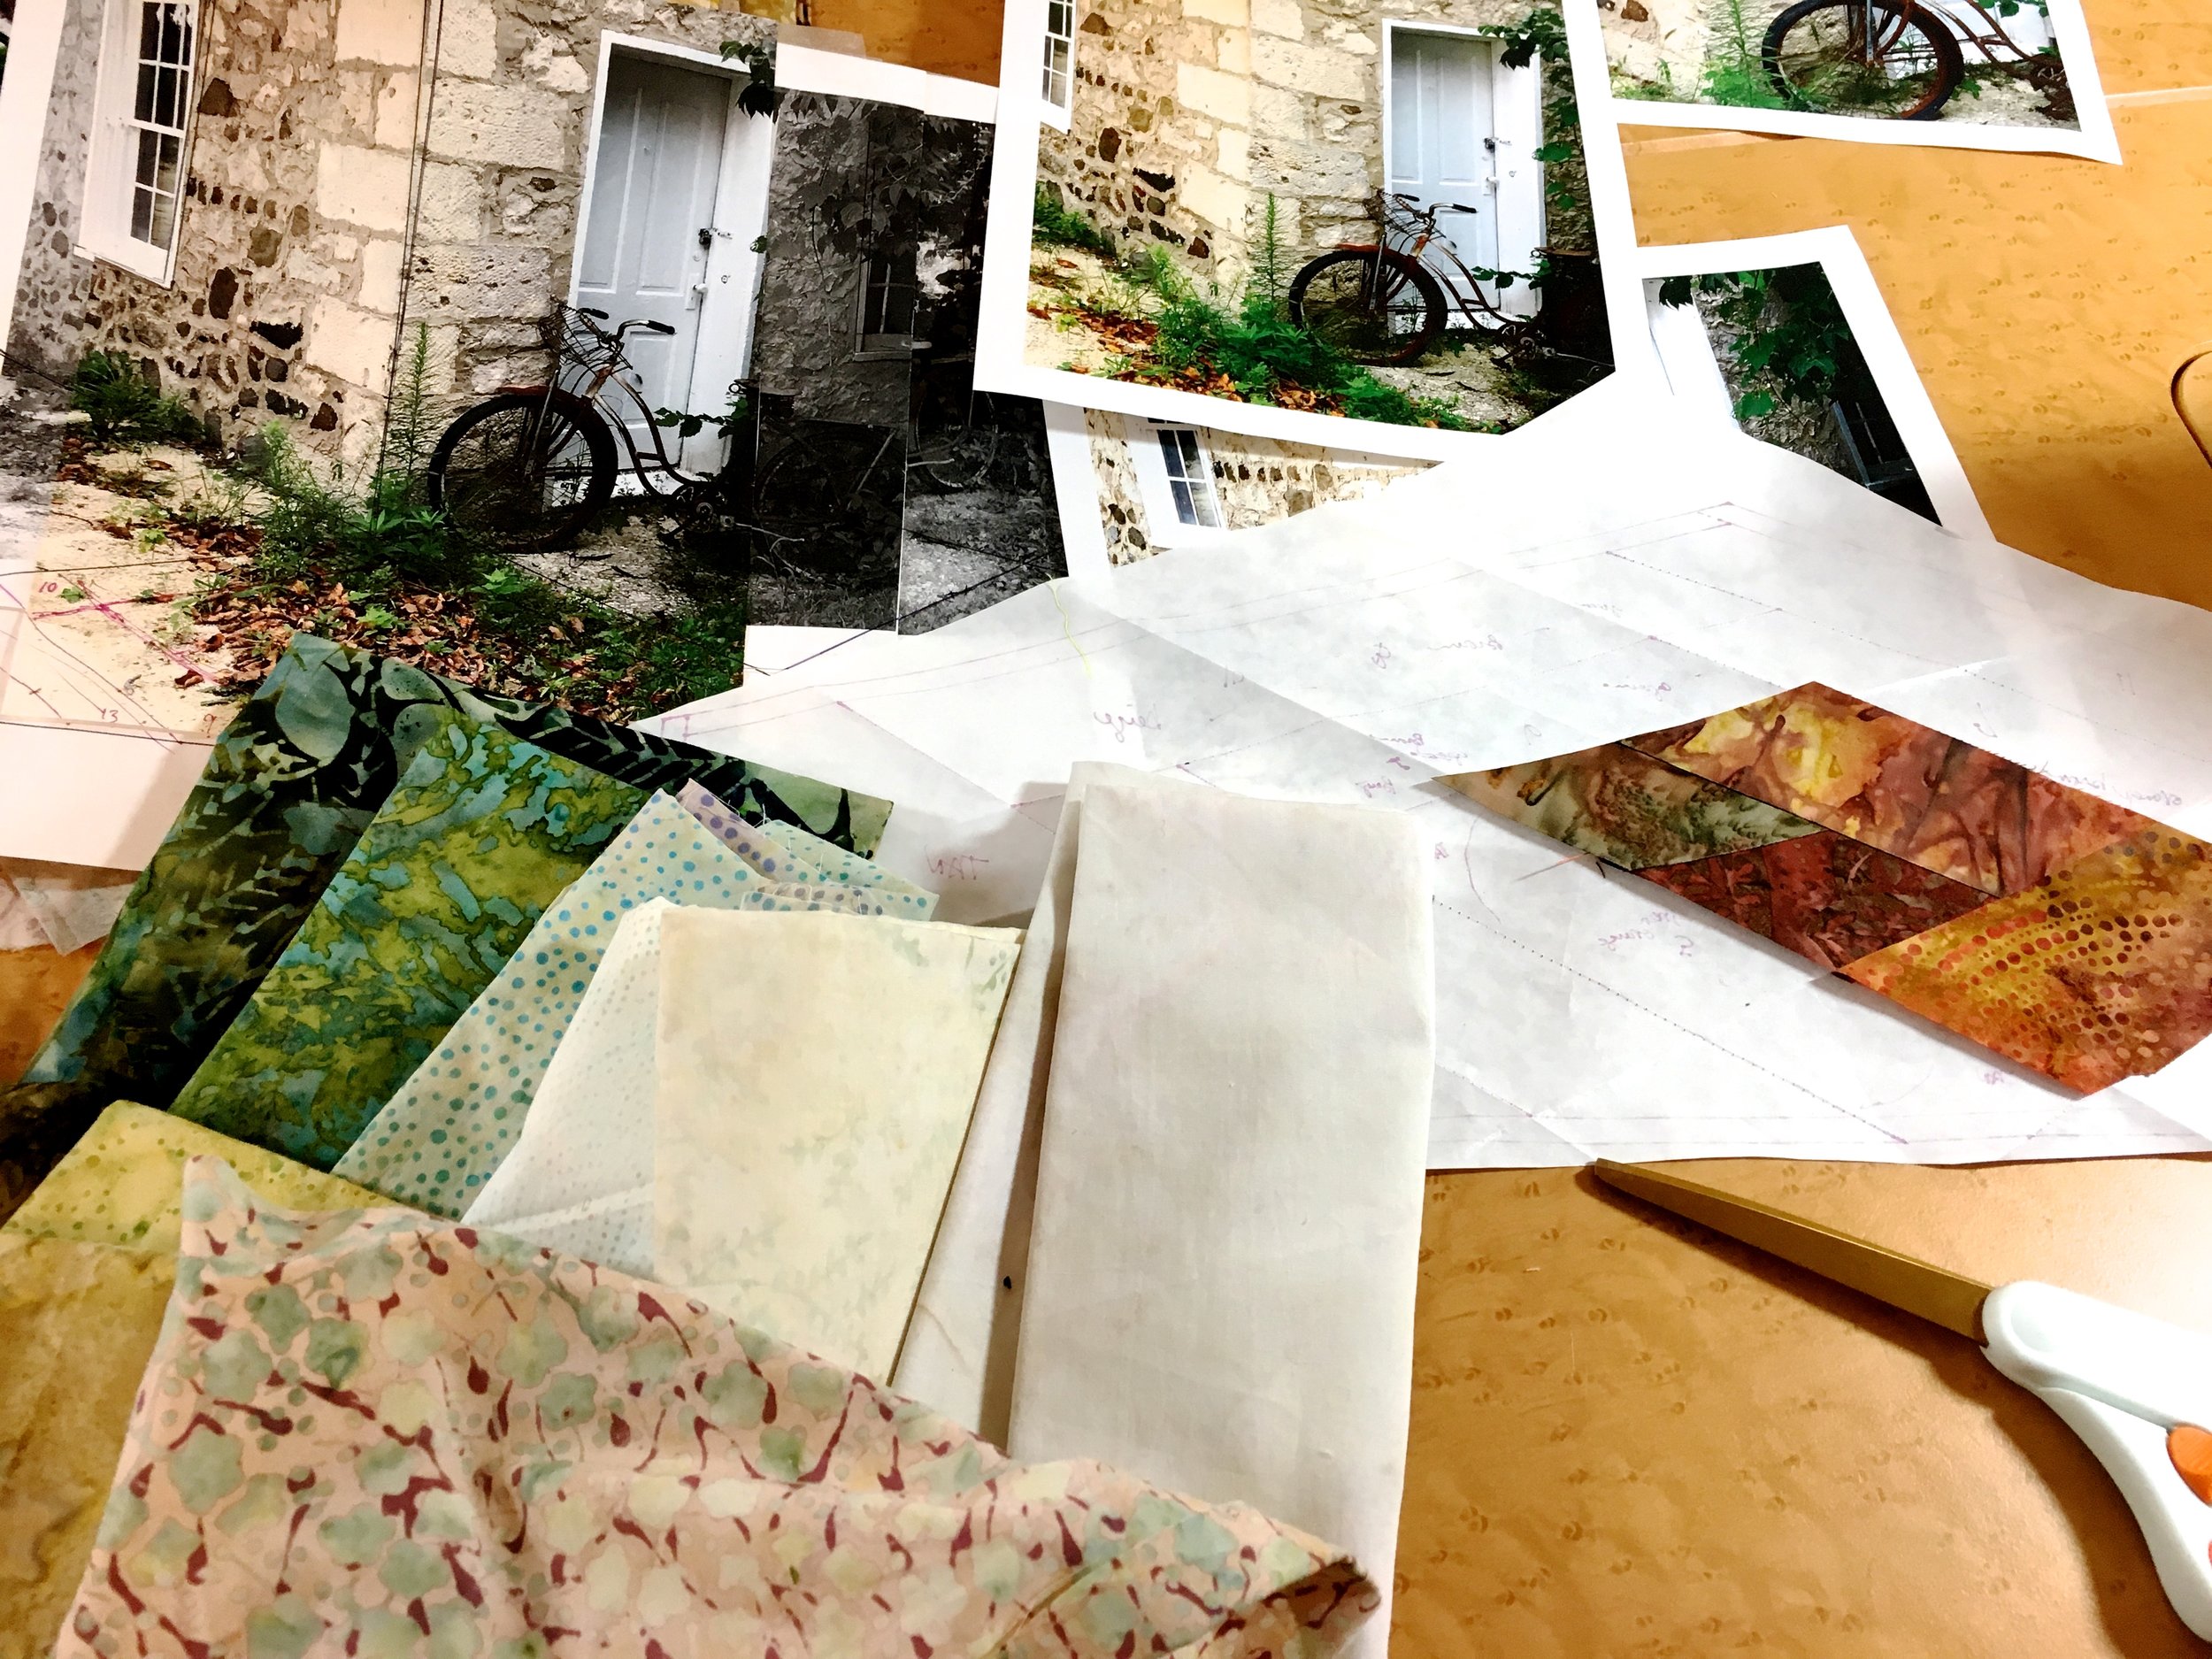


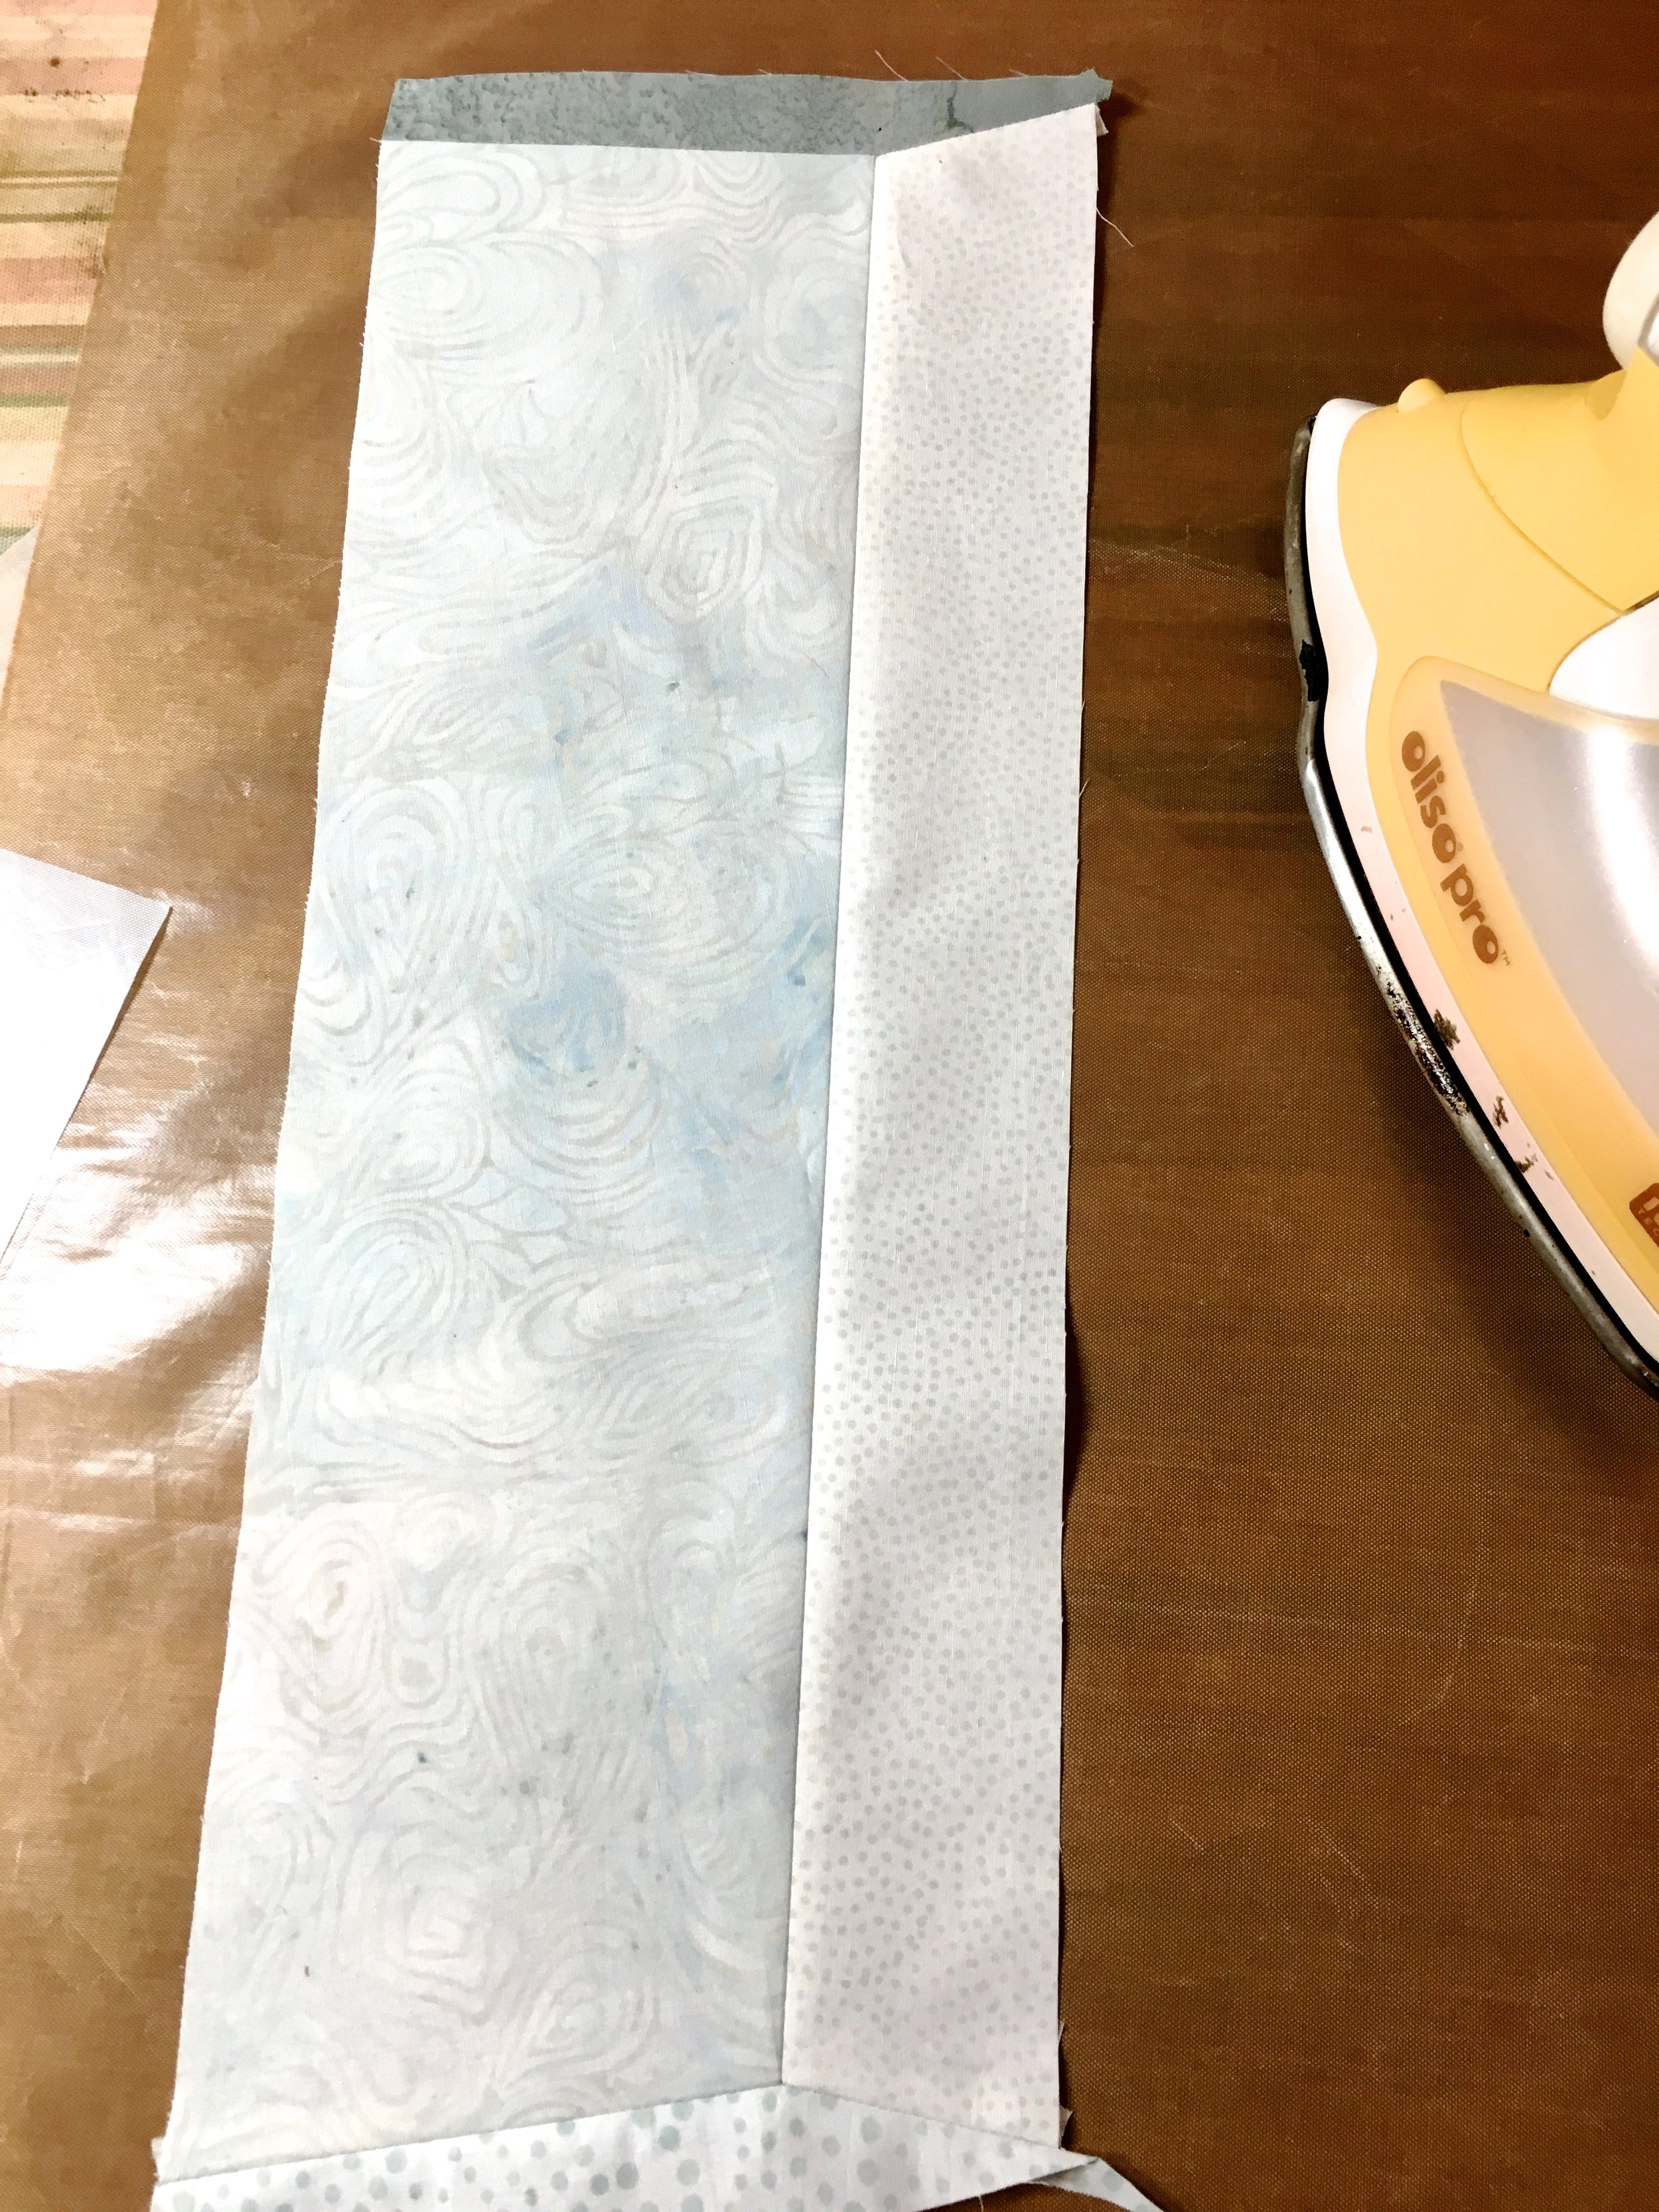
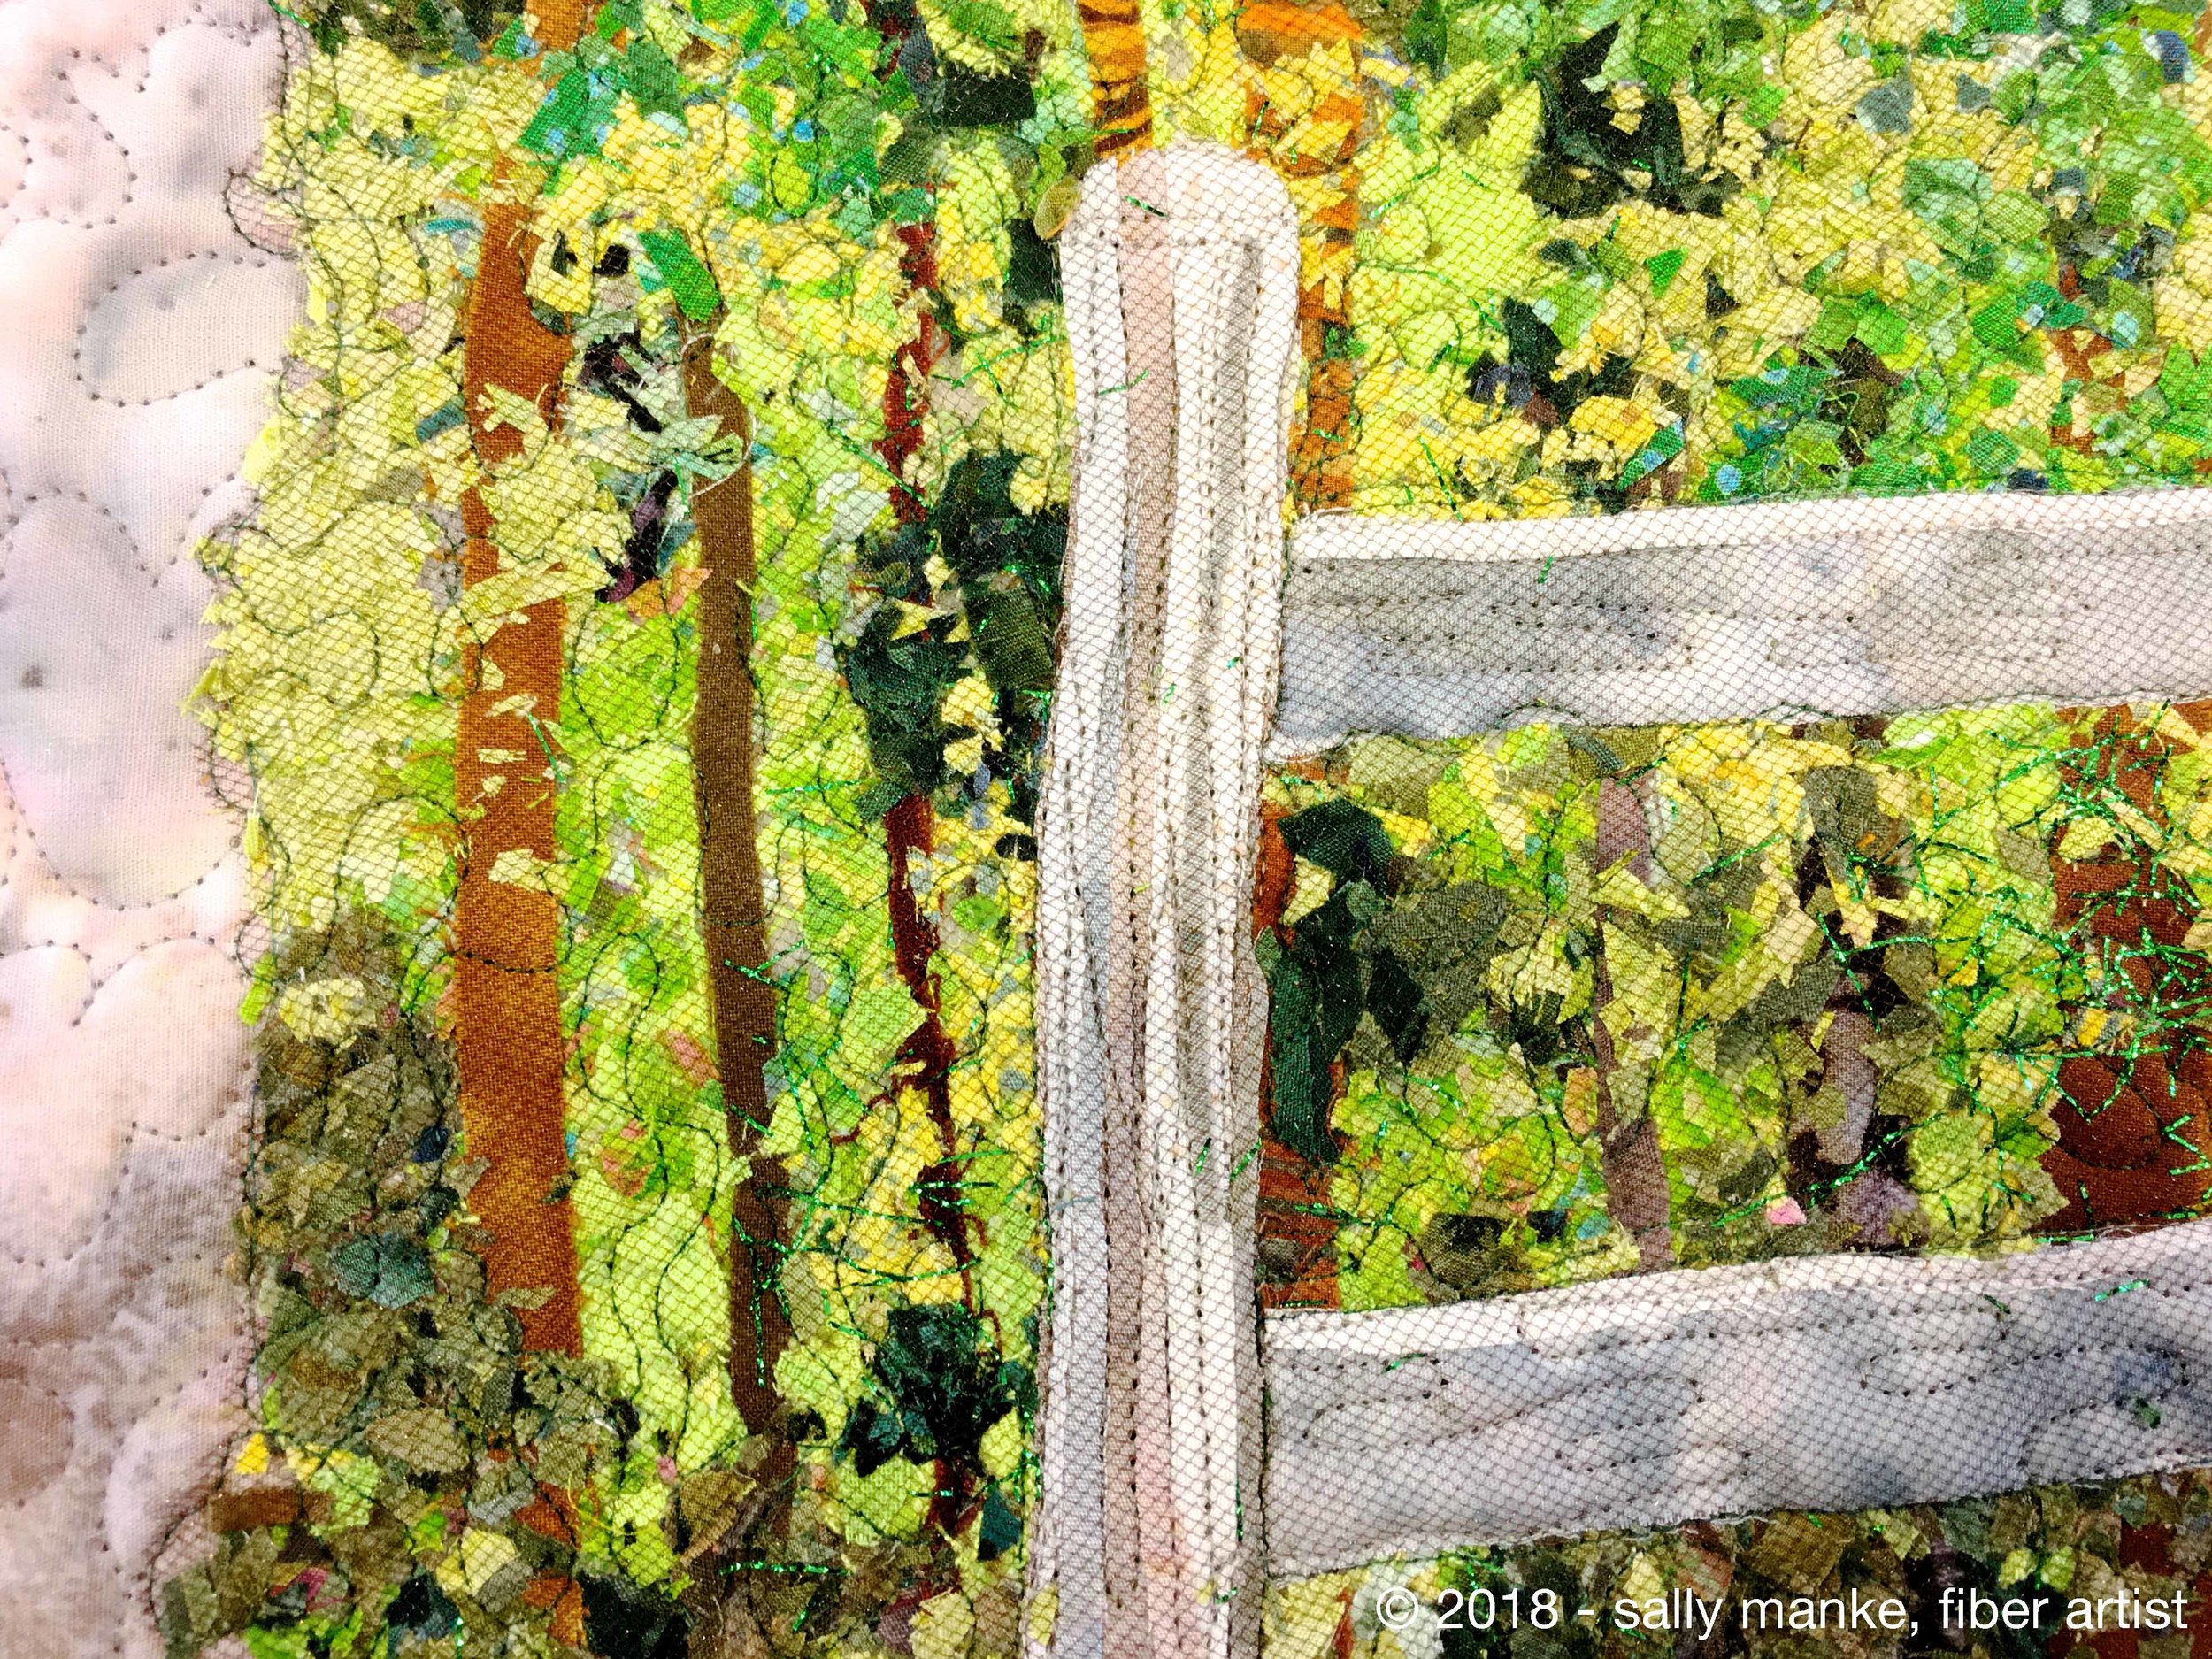
Additional fabrics in greens, tans and browns echo the leaves, grass and weeds in the photos.

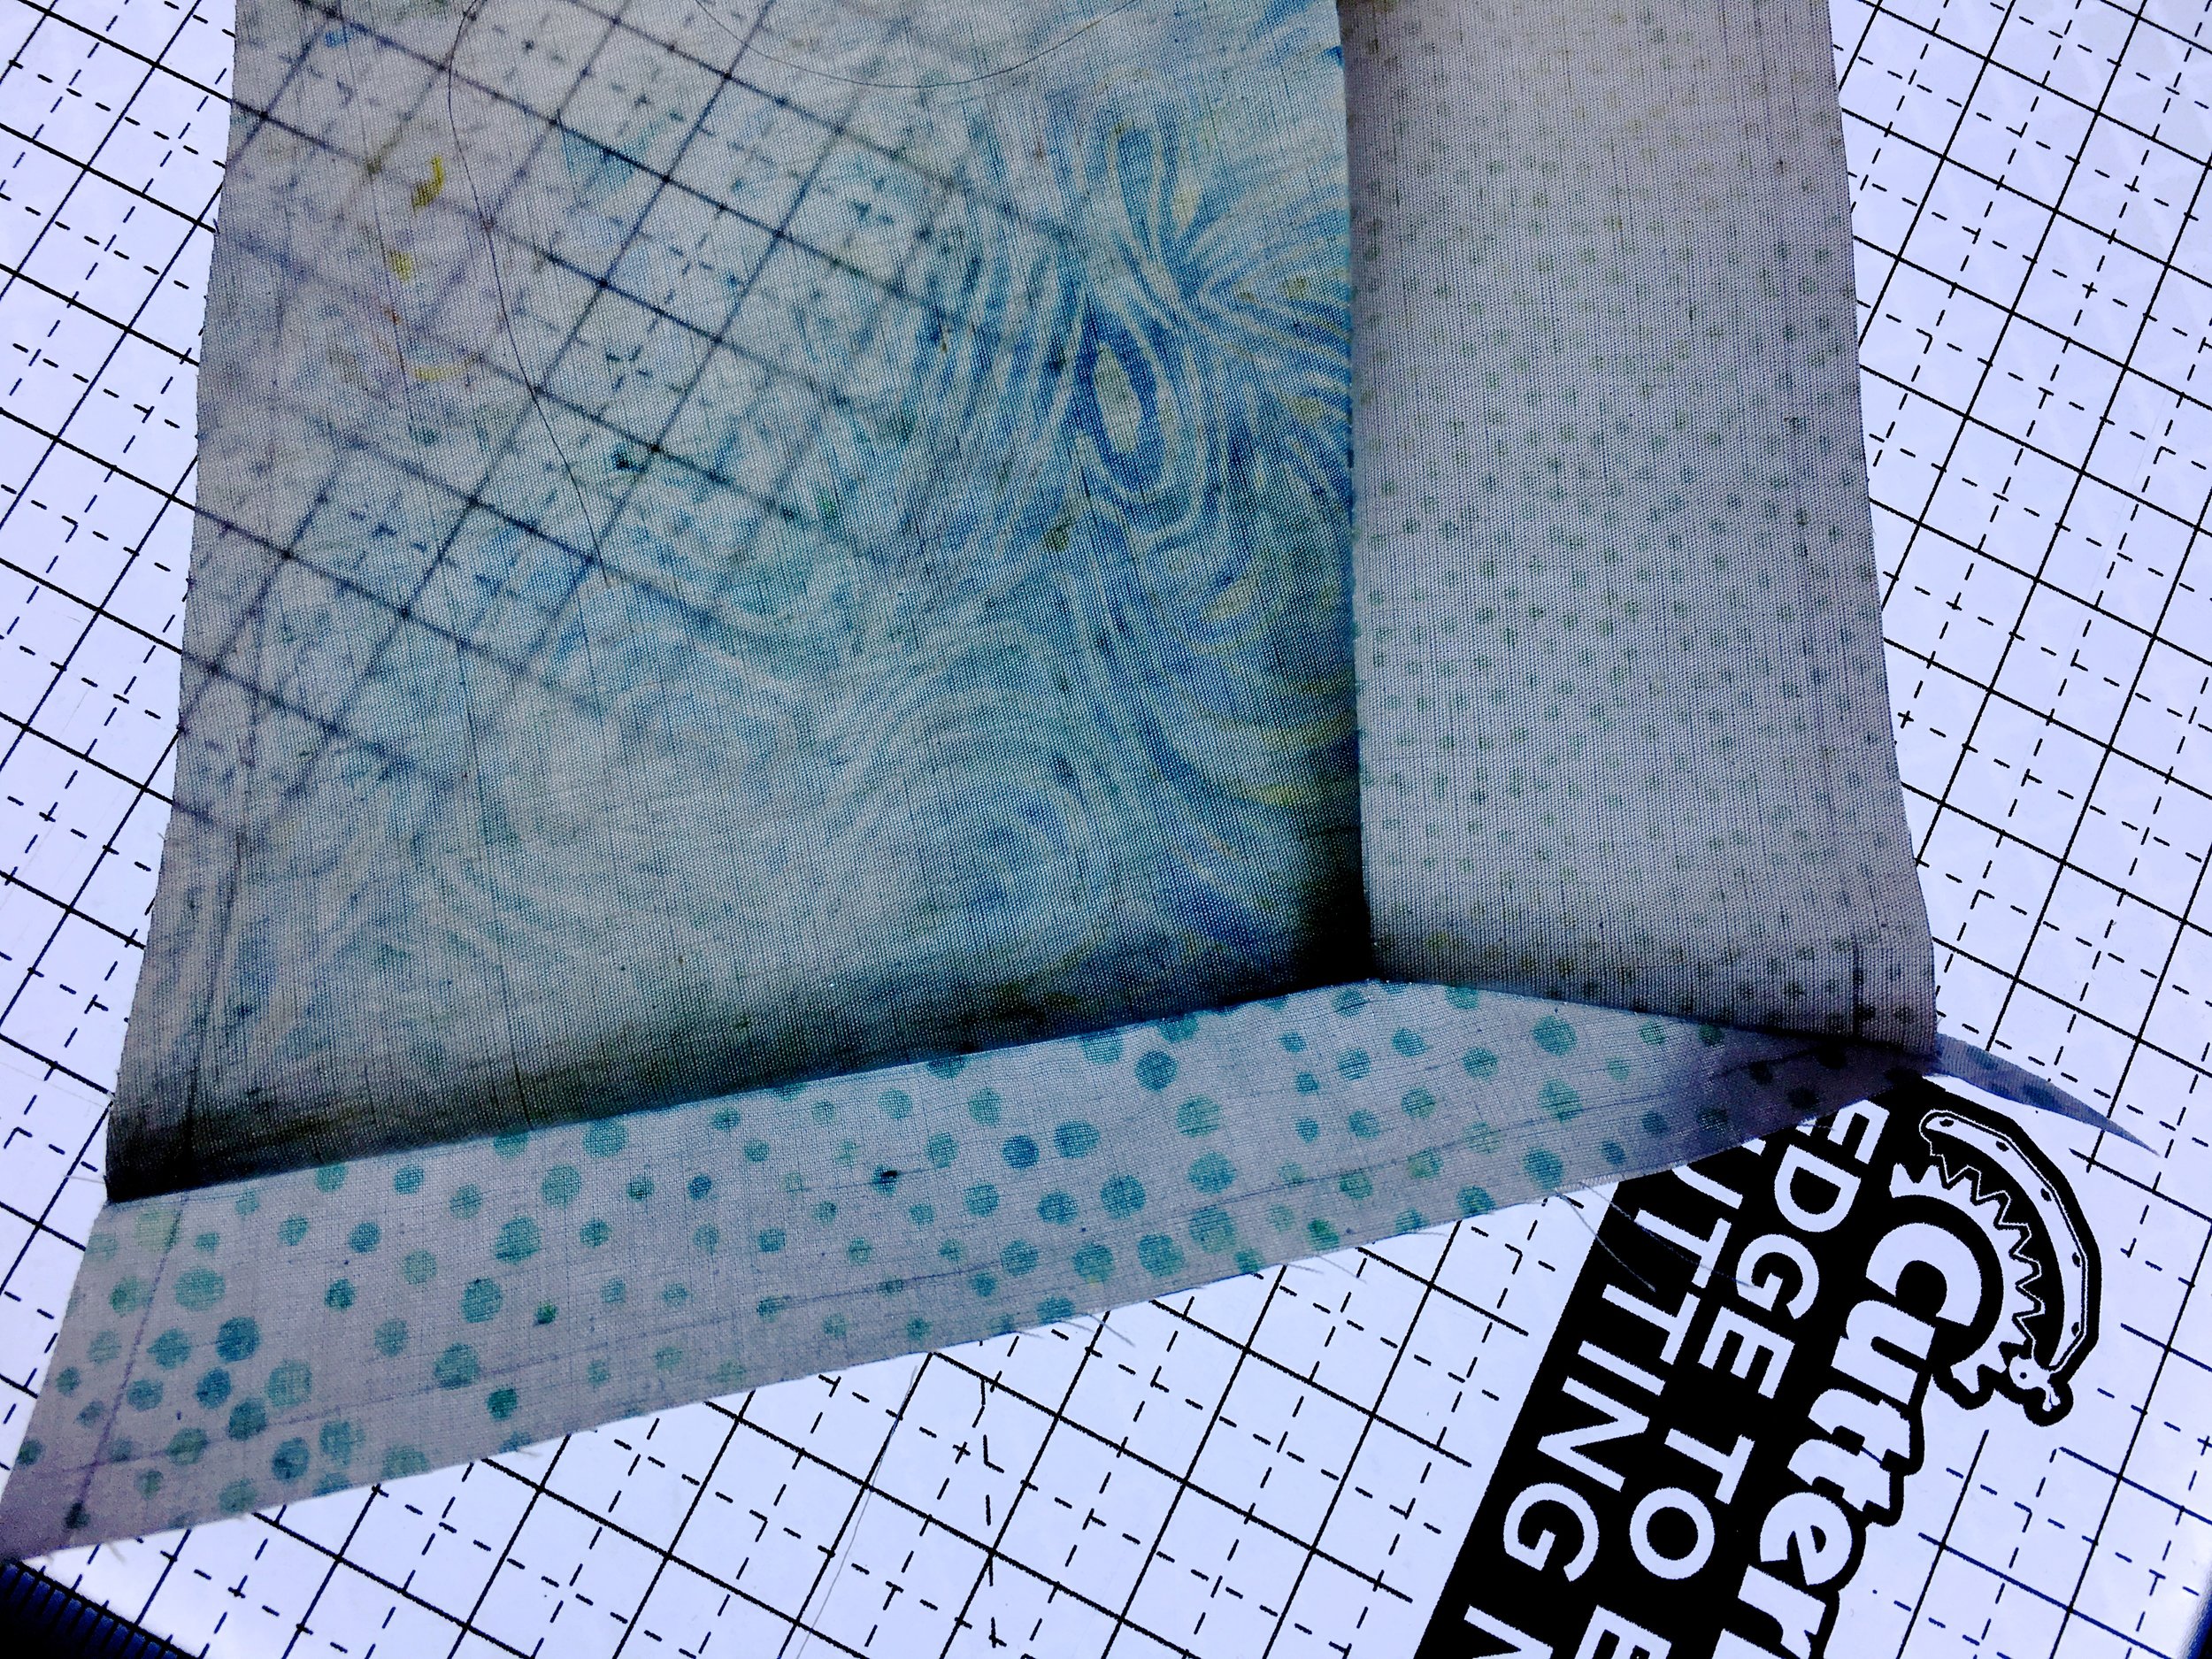
Layers of batik, yarn, metallic threads and sari silk ribbon was layered, stitched then slashed open. This ground cover completes the foreground as all sections are stitched together.
On to Building Construction.

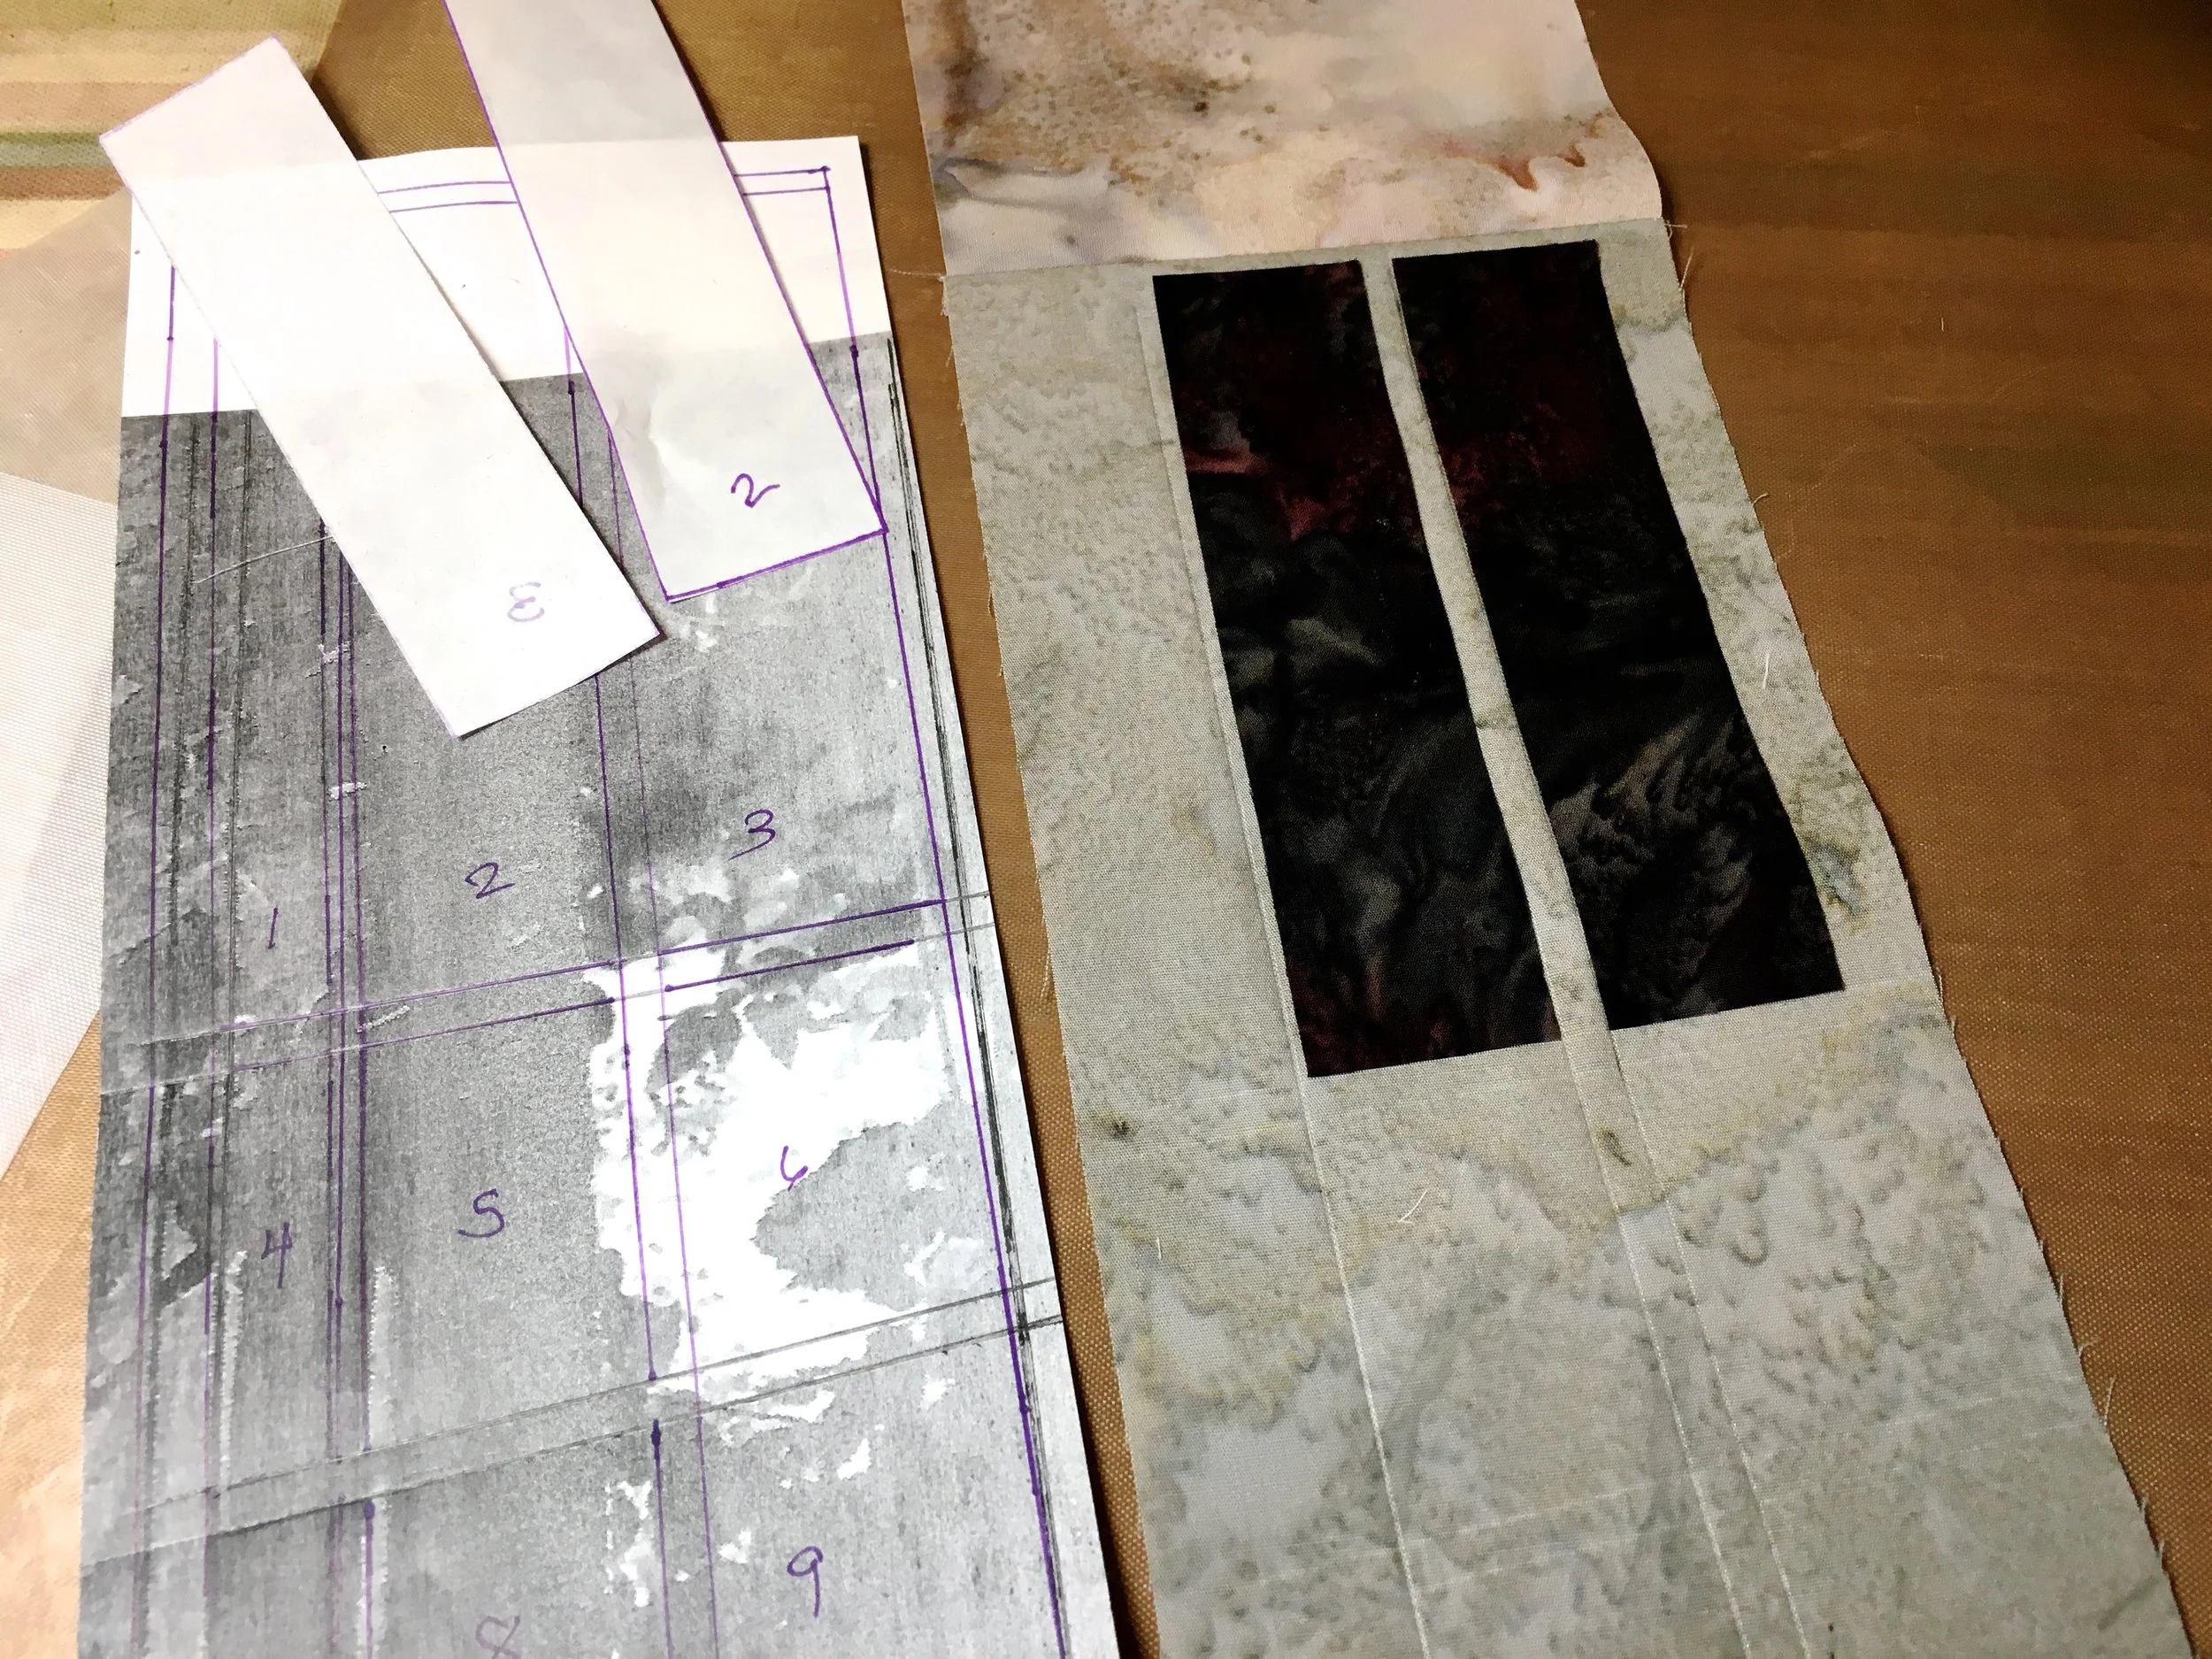
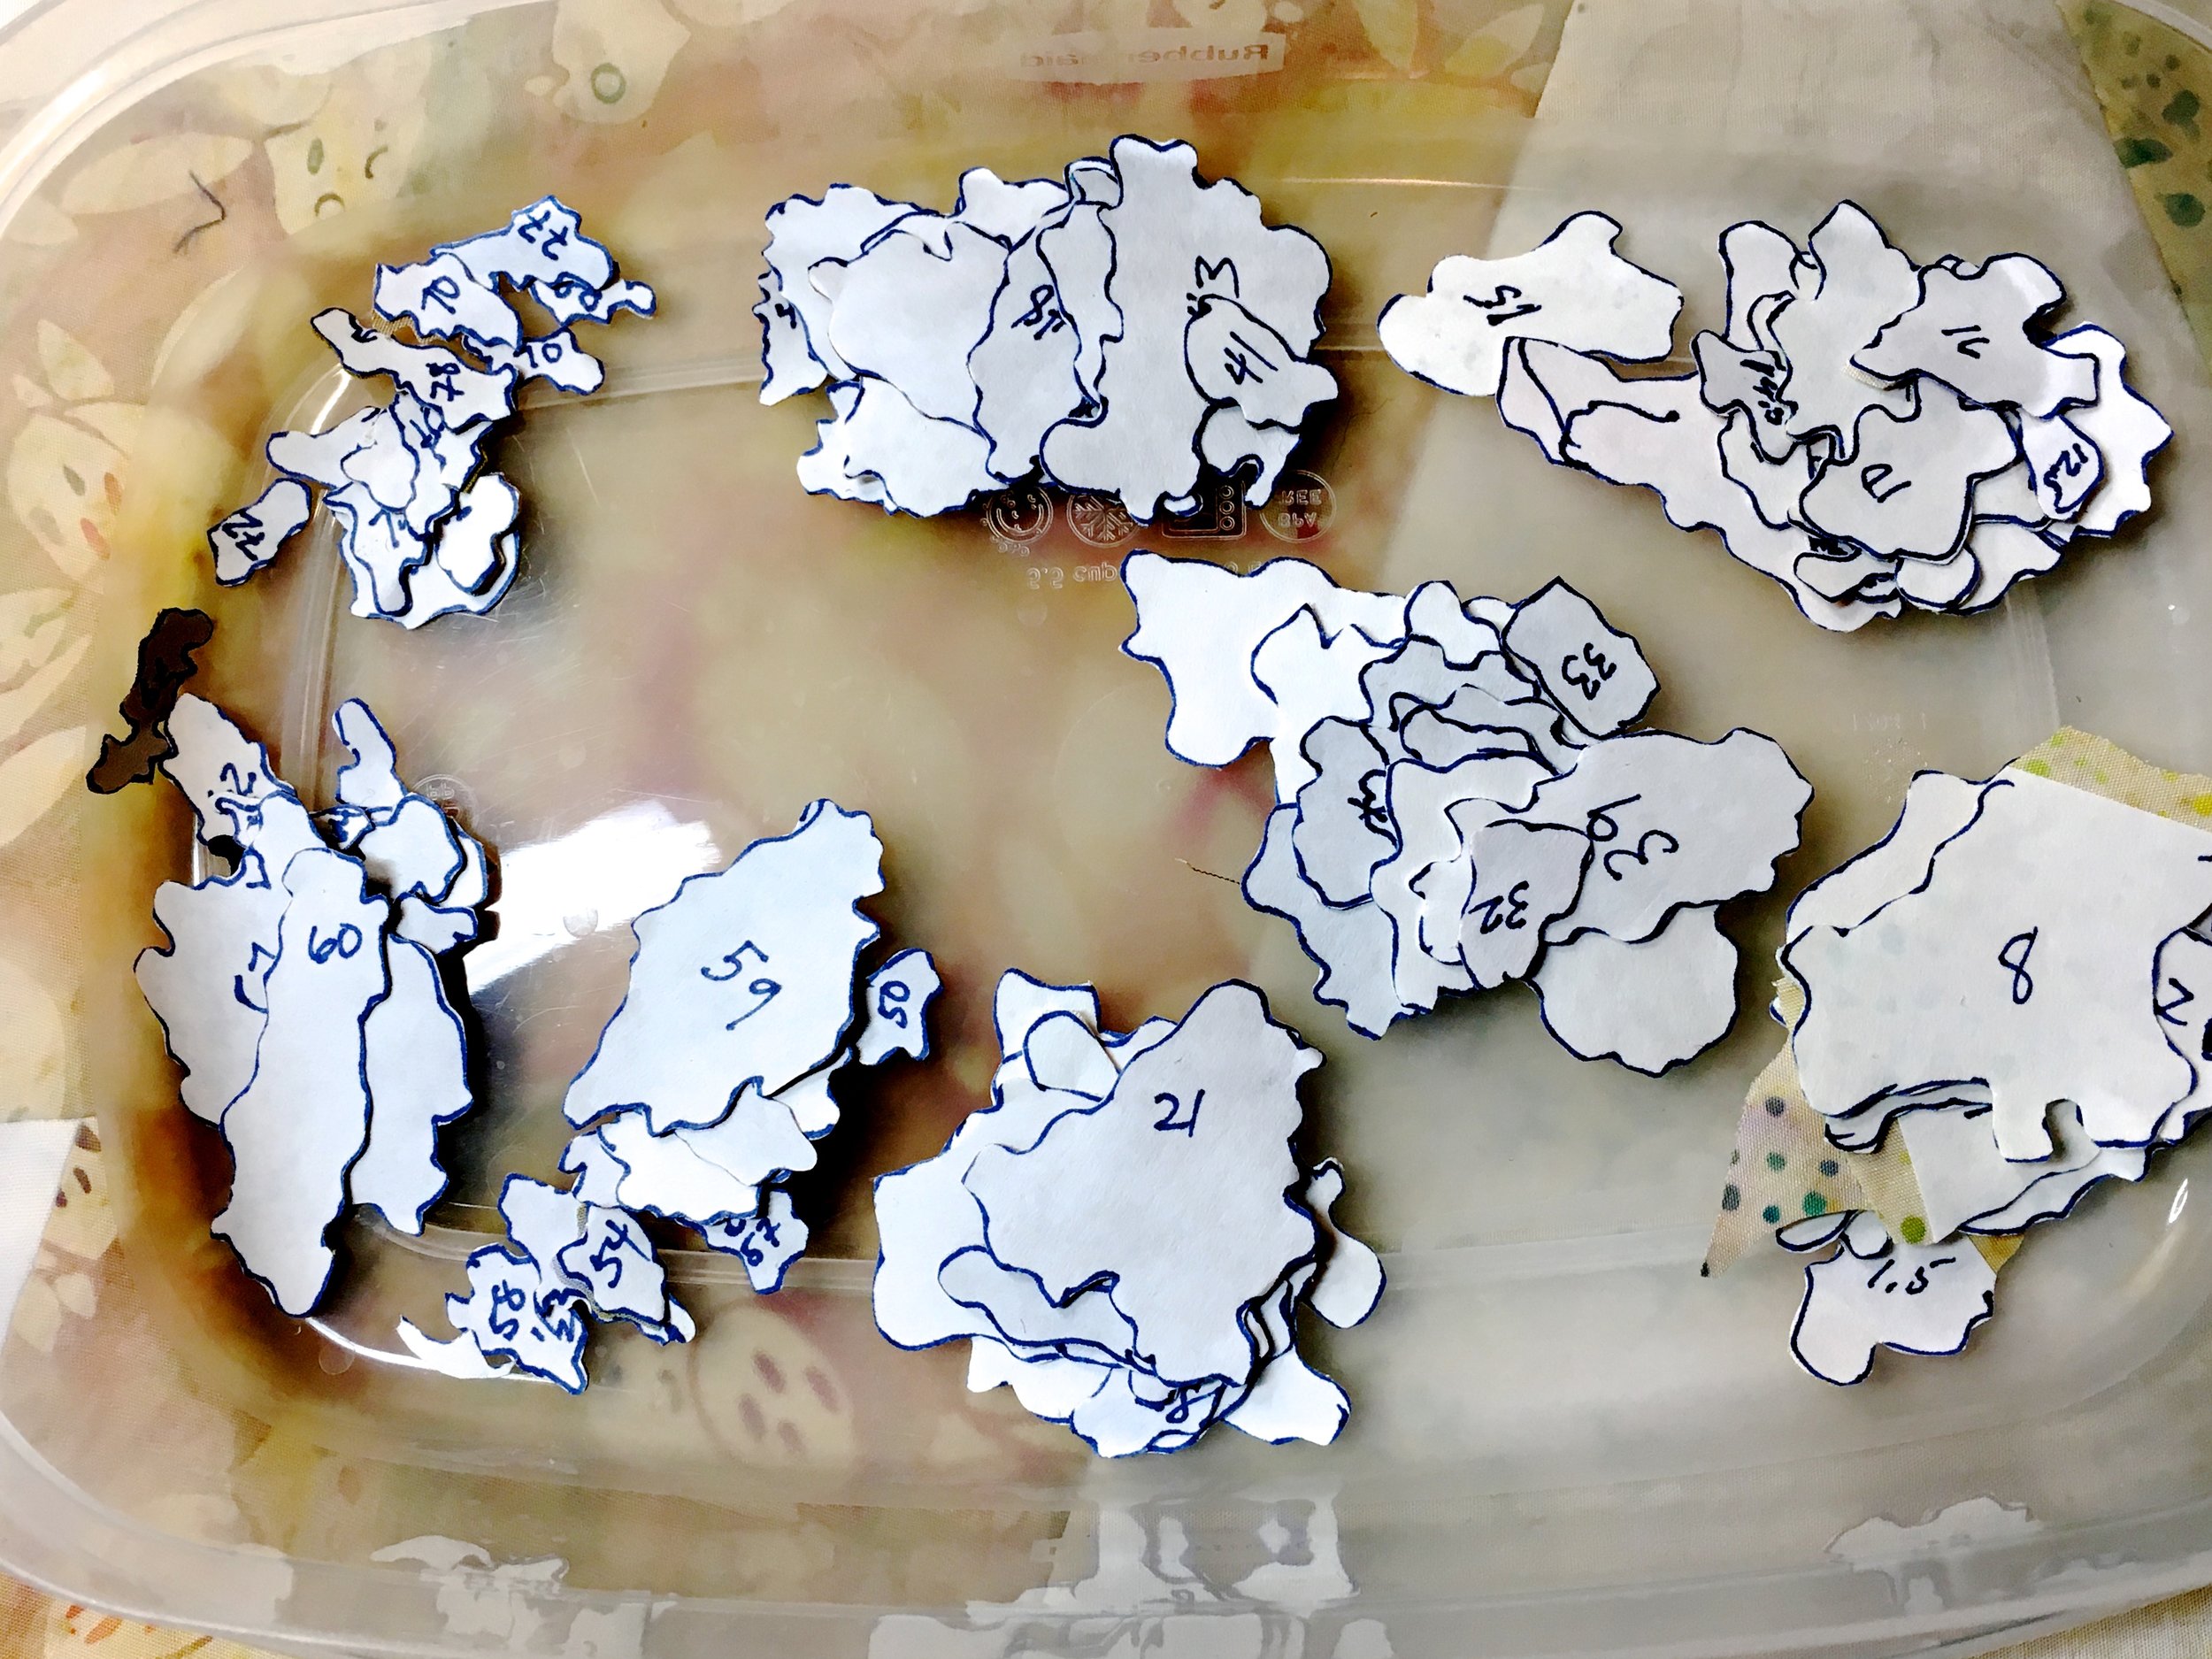
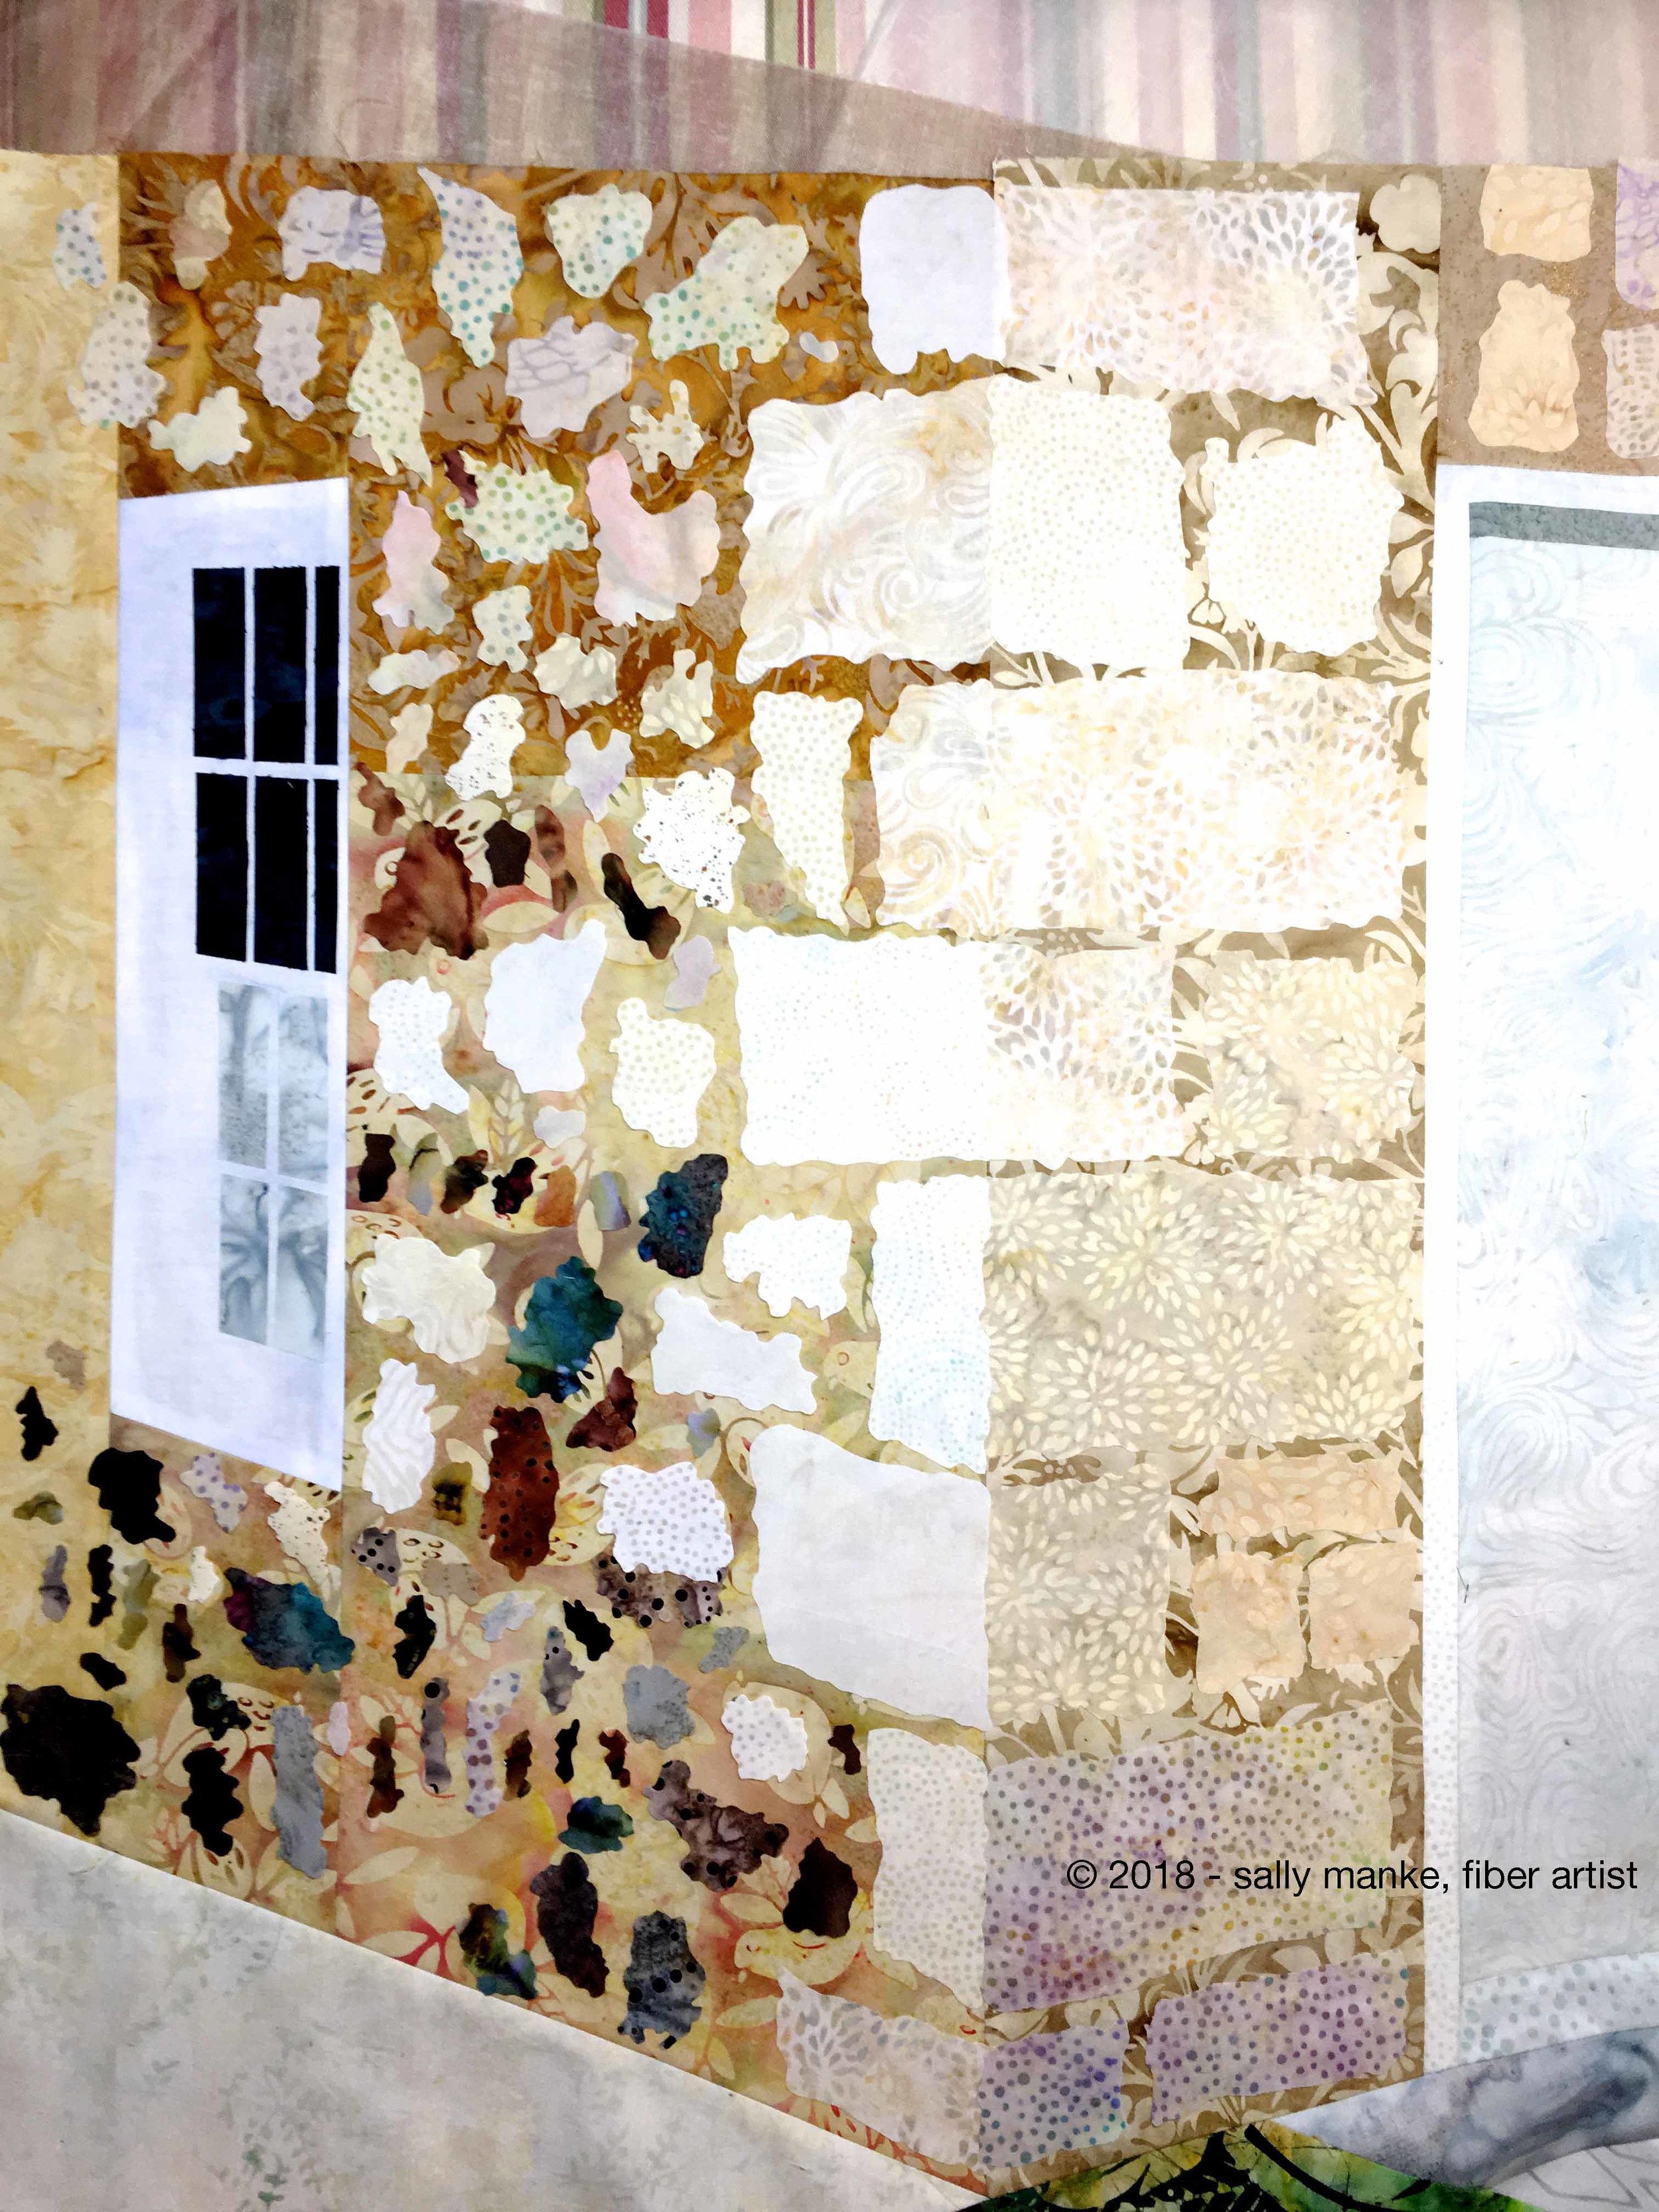
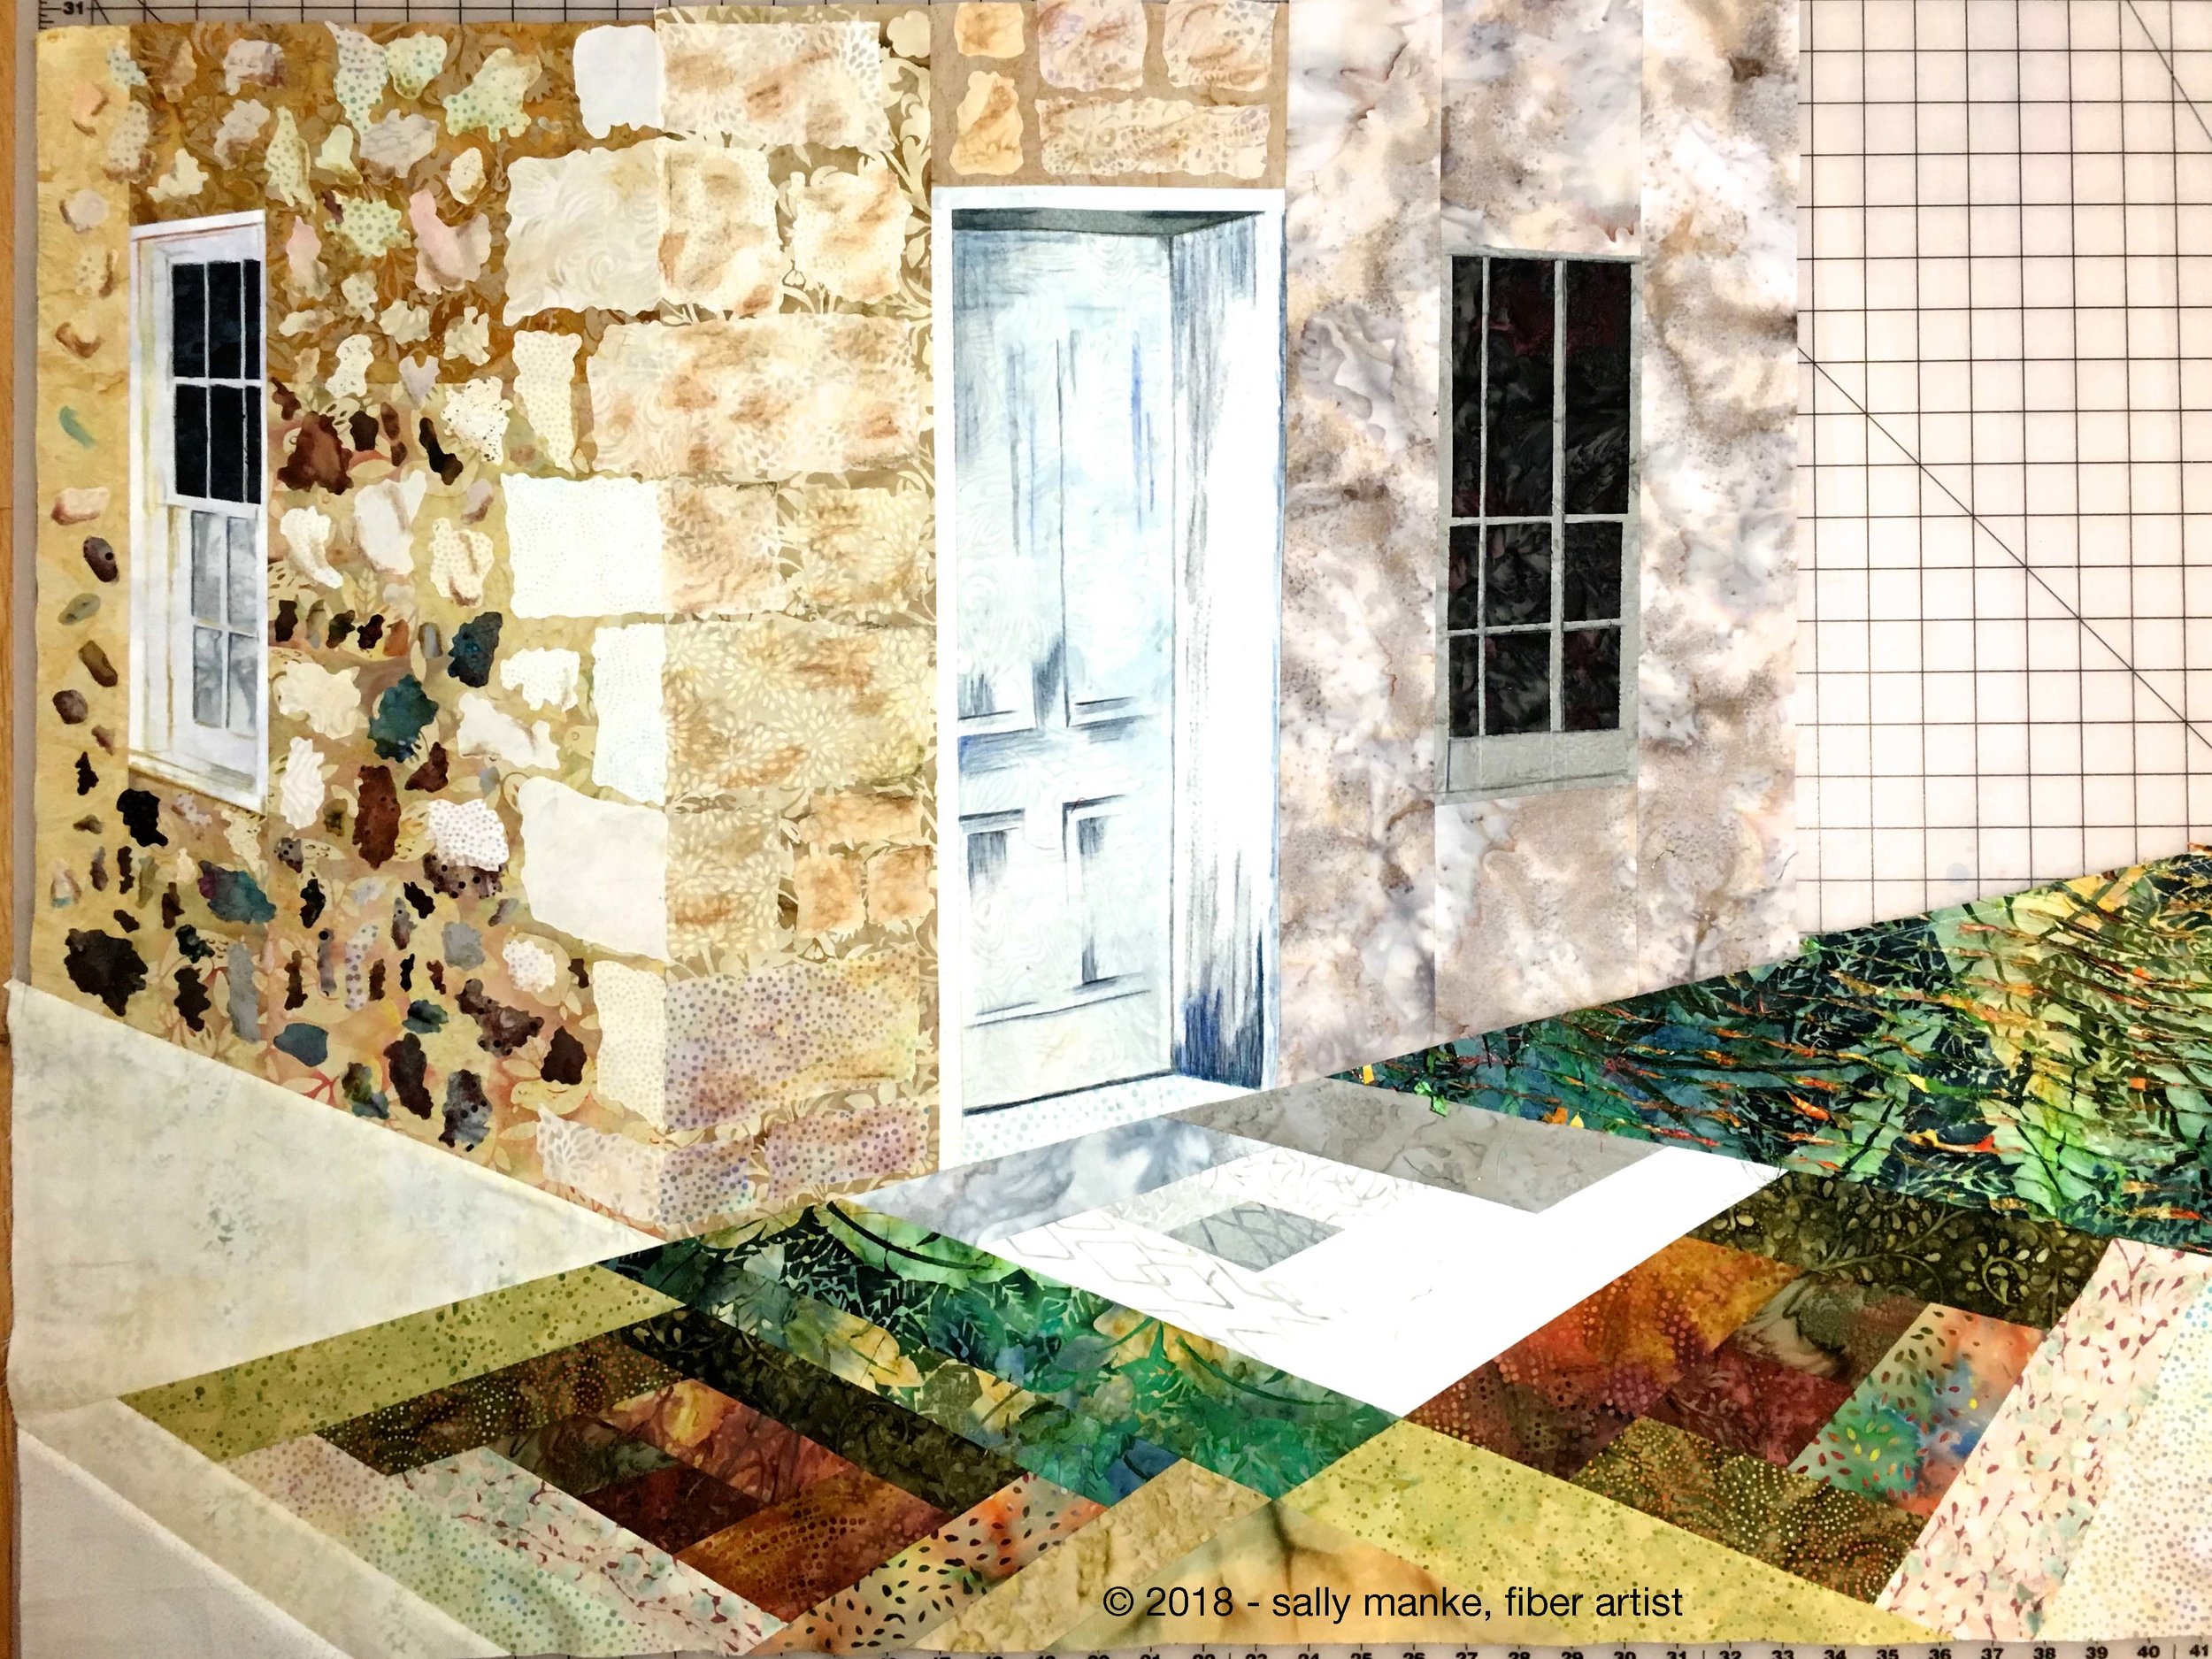
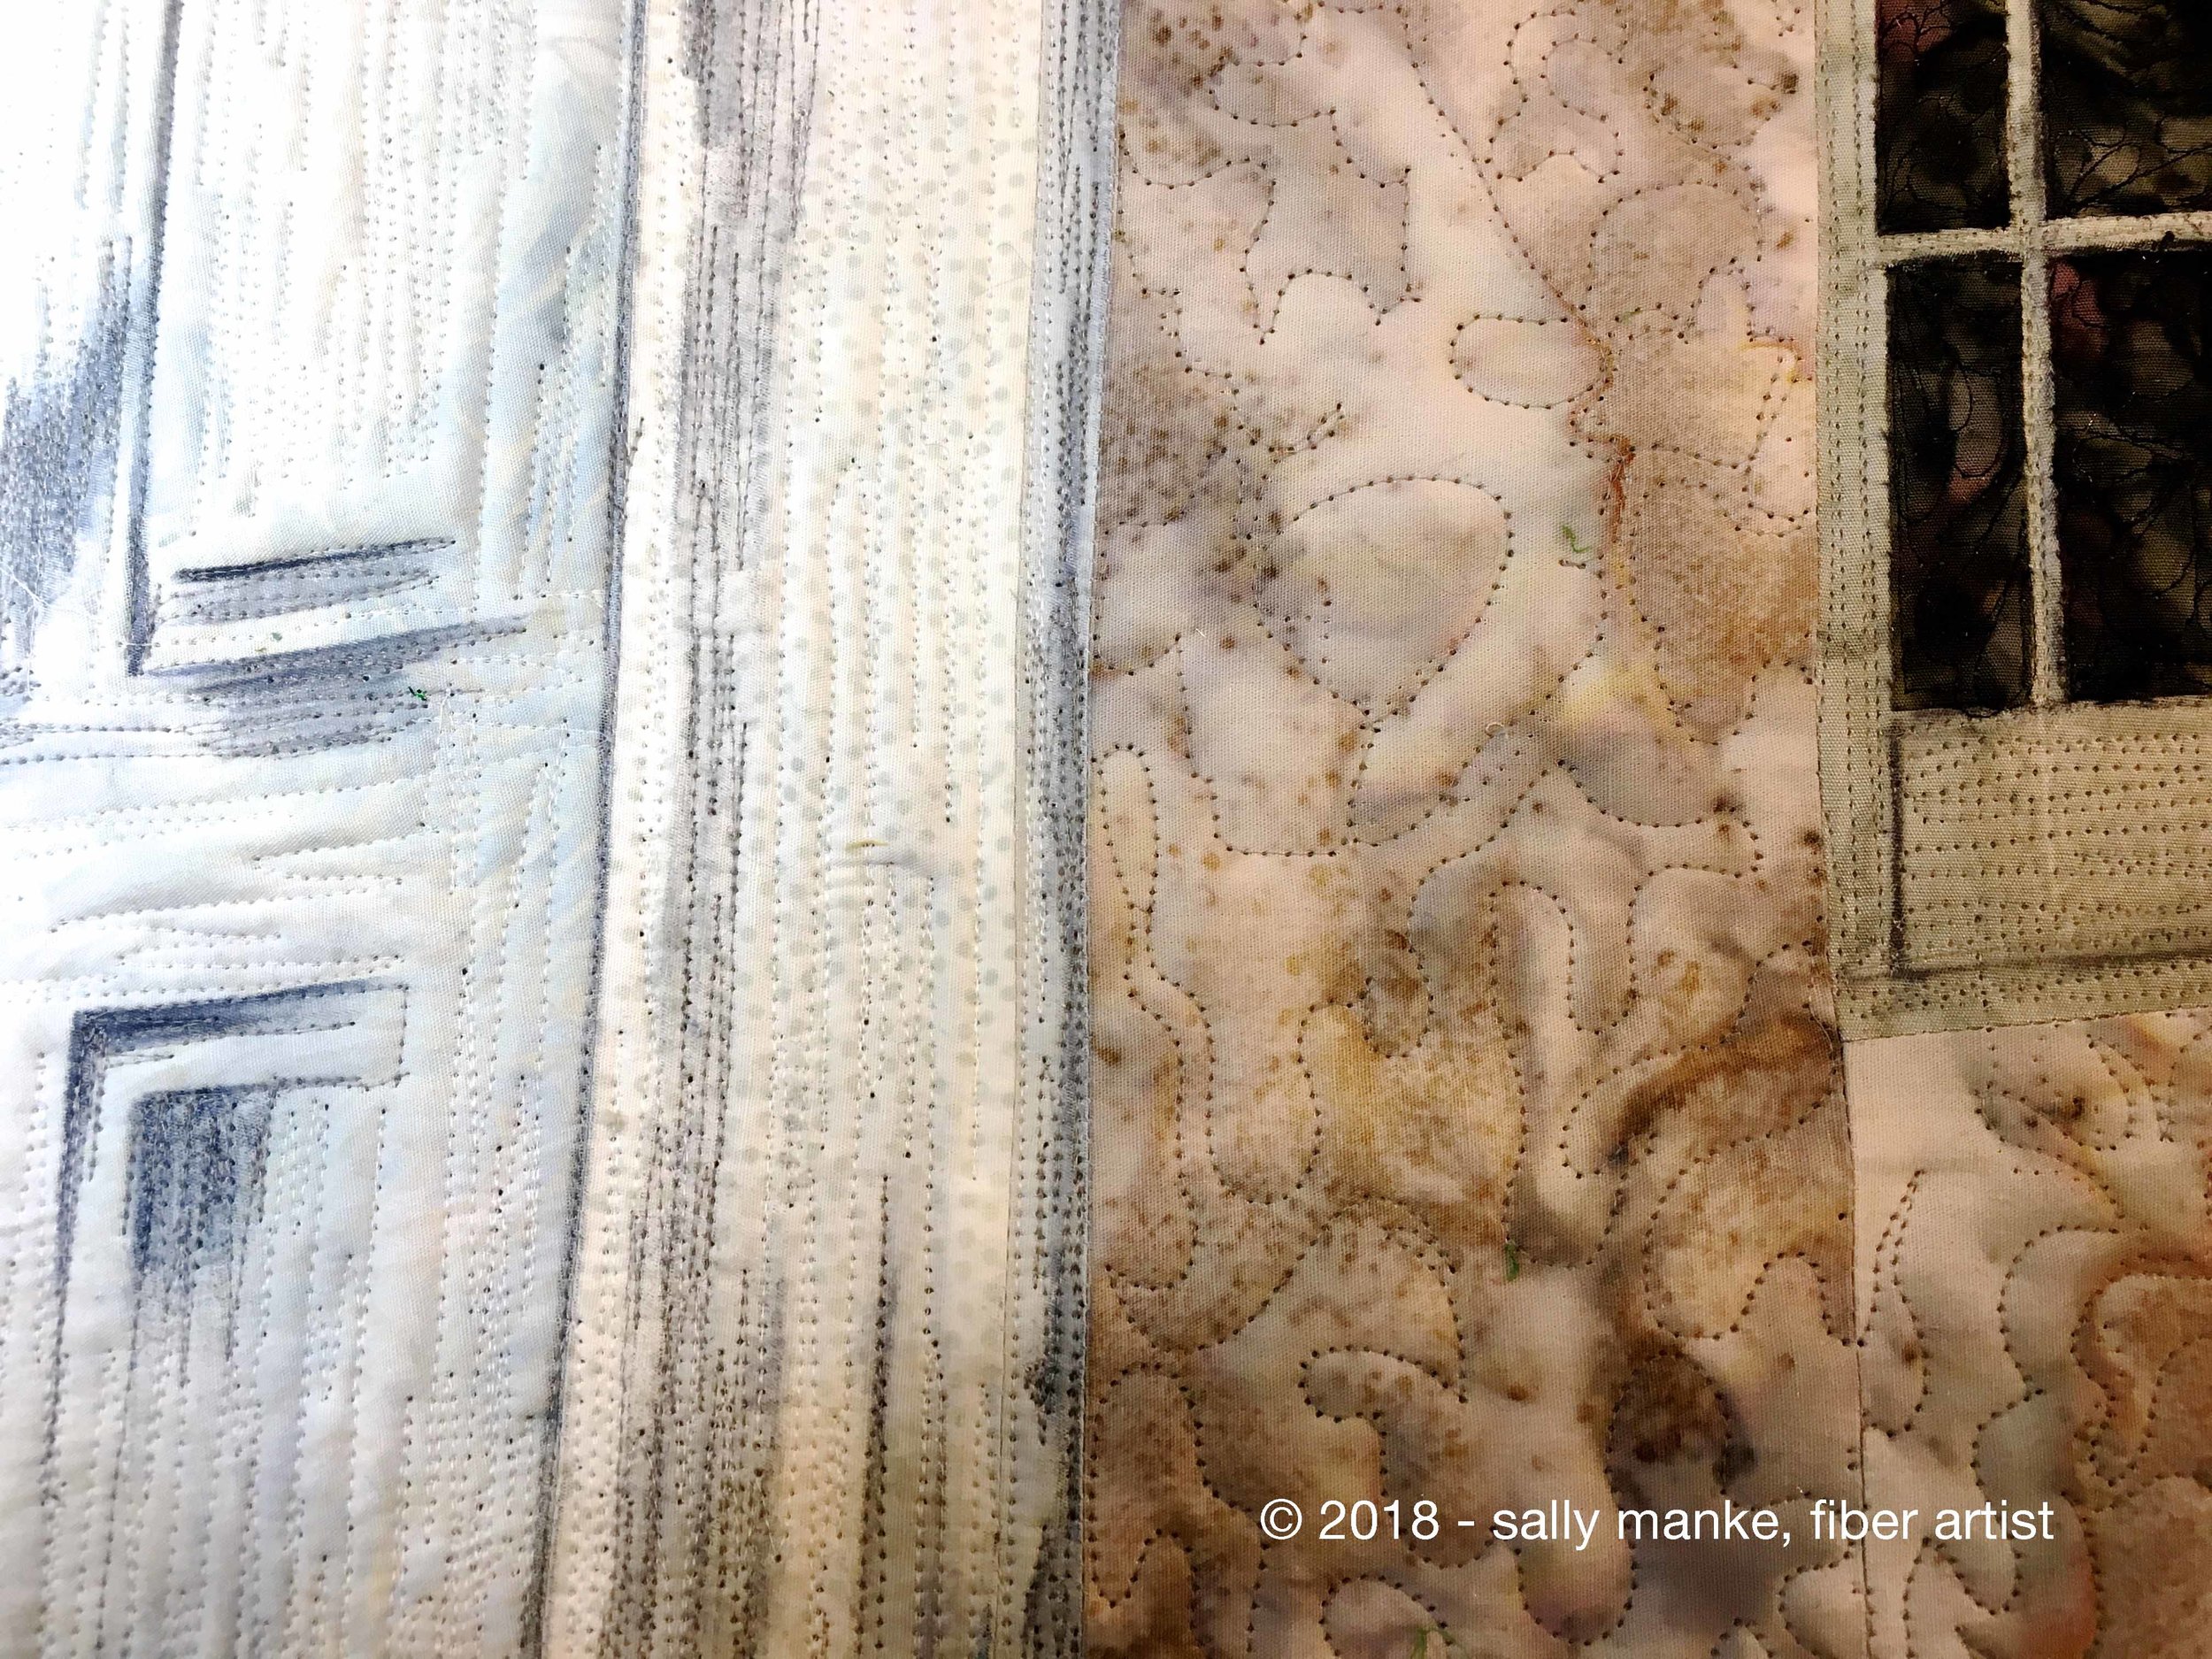
Freezer paper patterns are drafted to create stone wall, brick wall, door and windows. Island Batik fabrics are selected for each section.
Isn't it delightful when your planning, pattern drafting, fabric cutting and finally stitching actually comes out the way you planned? Three cheers for well executed perspective corners on the old door frame!

Getting my carpenter vibe on as the old cottage takes shape. Walls are up with one door and two windows in place. The second window will have panes of glass installed next.
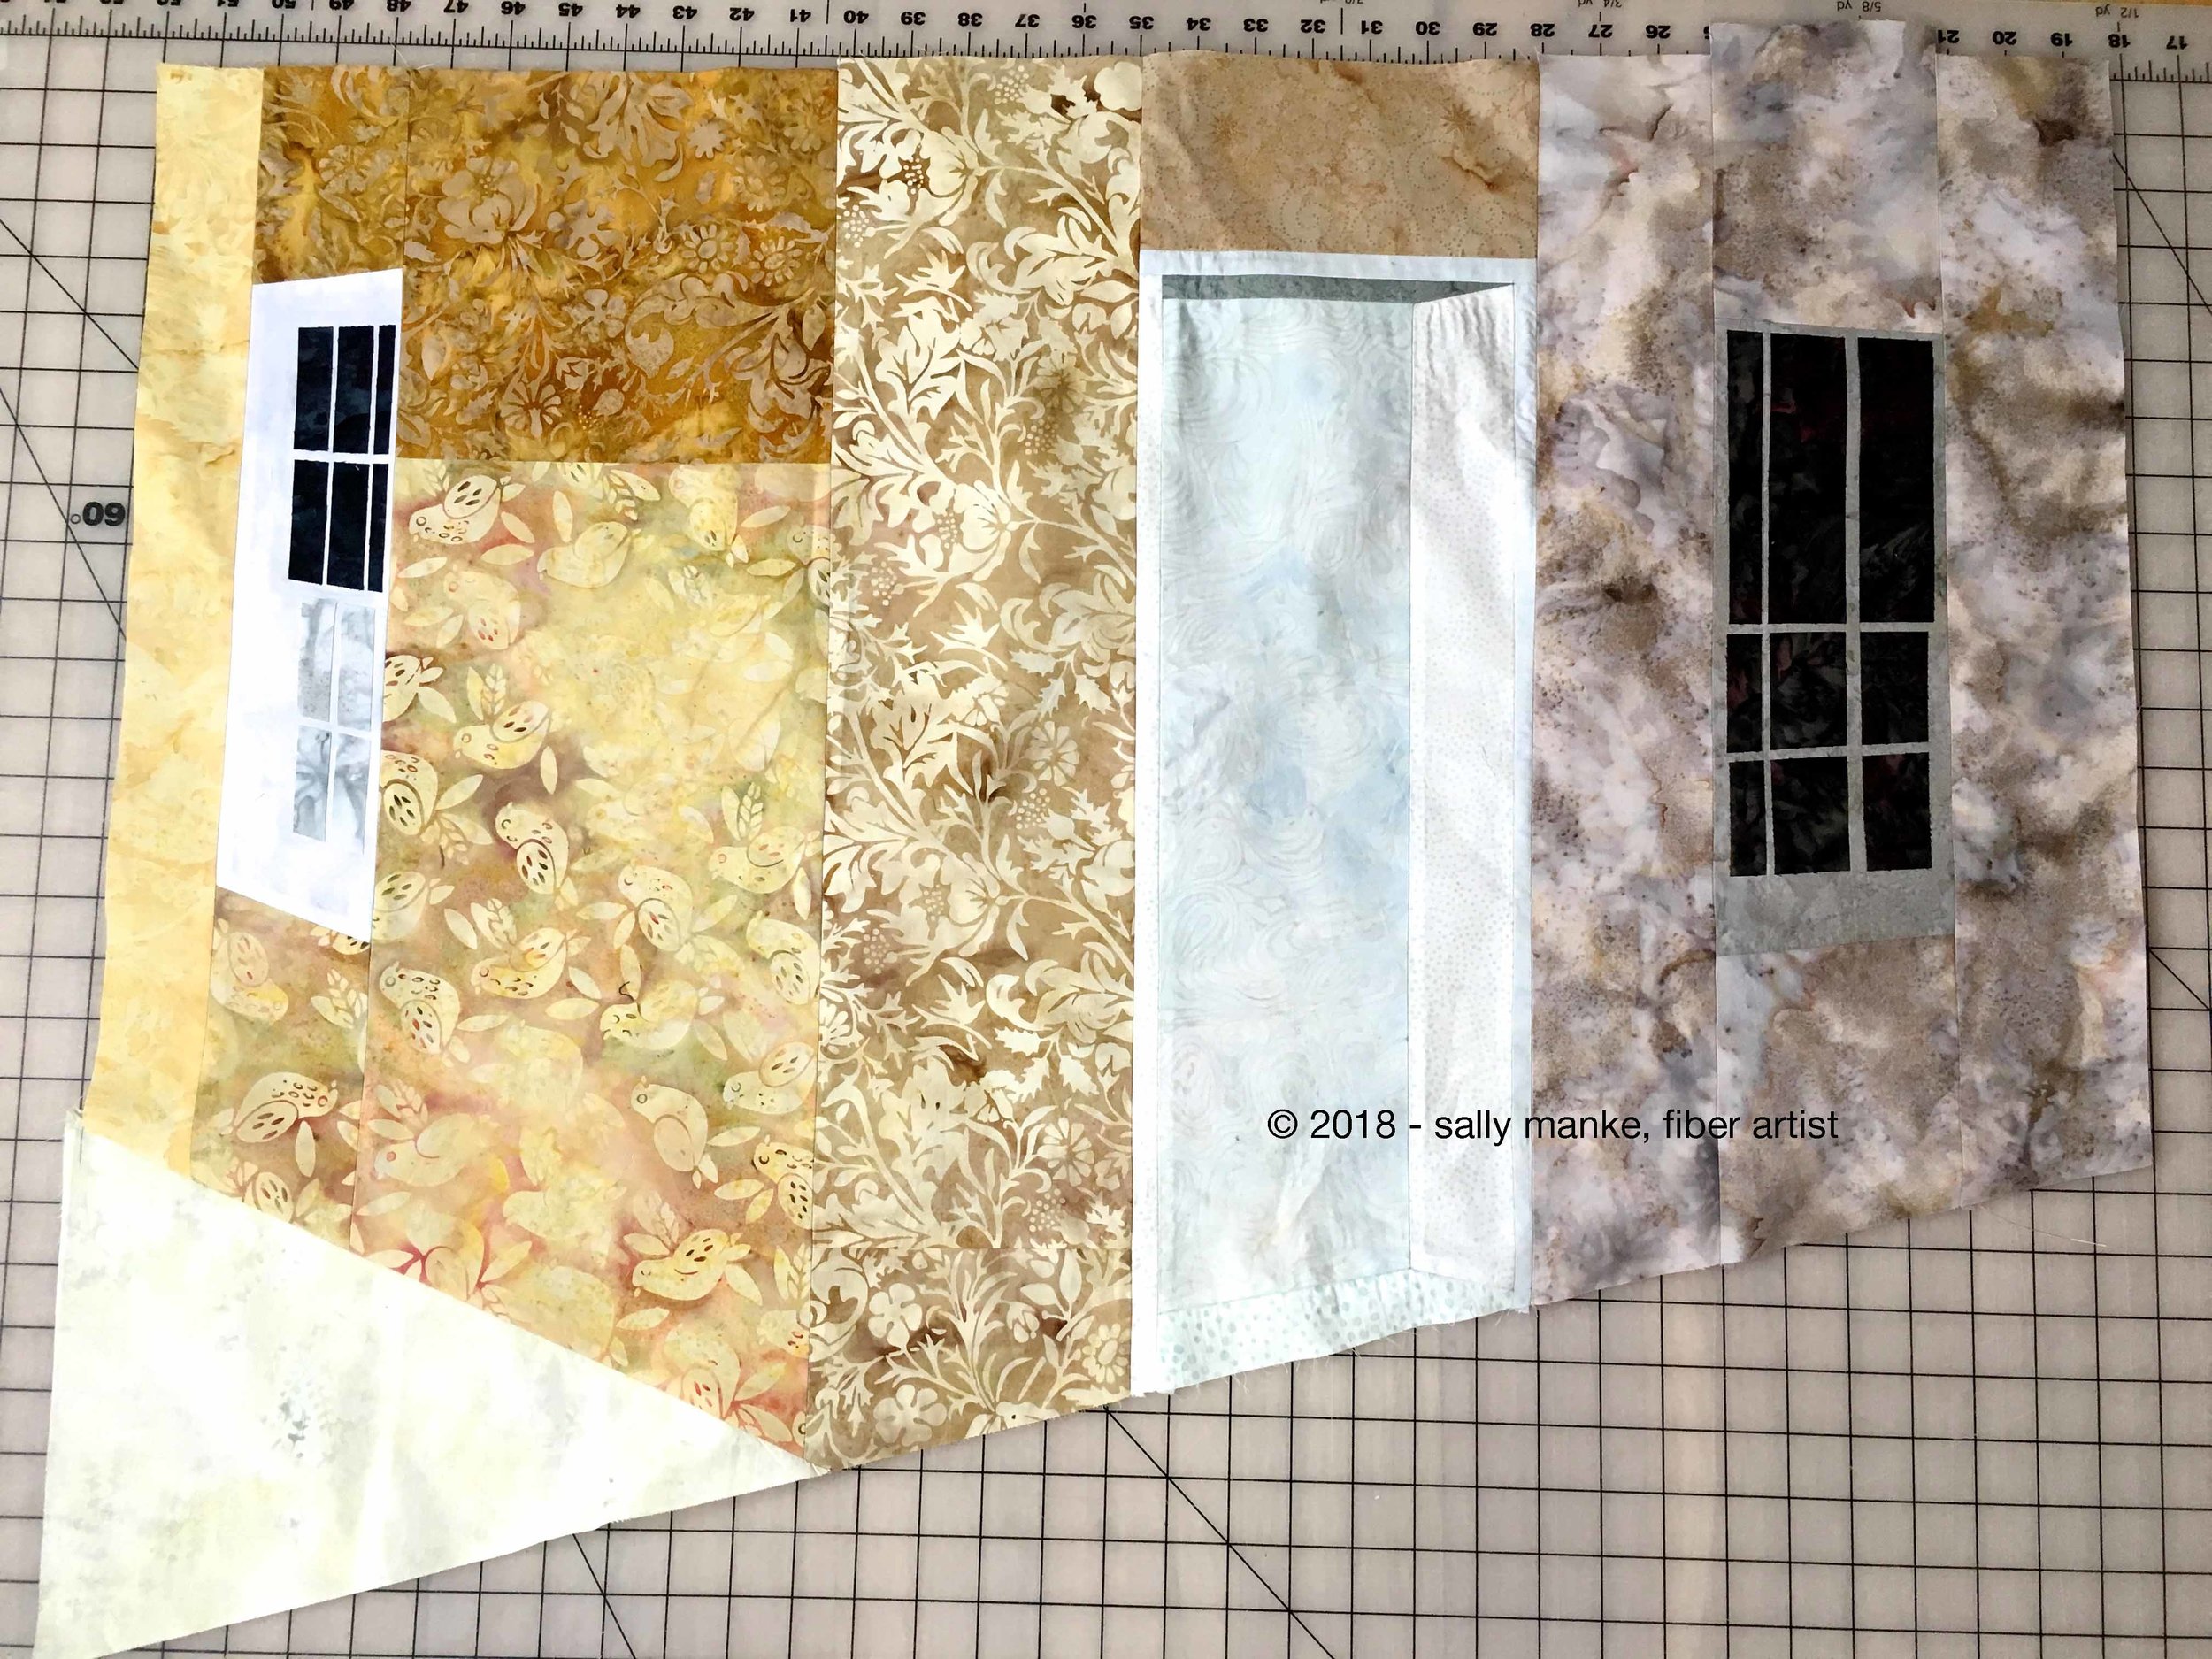
Walls, windows and door are stitched together. One bit of foreground has been added. Only about a zillion more steps. Hang in there with me!

Foreground section and Cozy Cabin are stitched together. Yes, I know there's a giant empty spot on the far right. I have a plan in the back of my mind for that!
Details
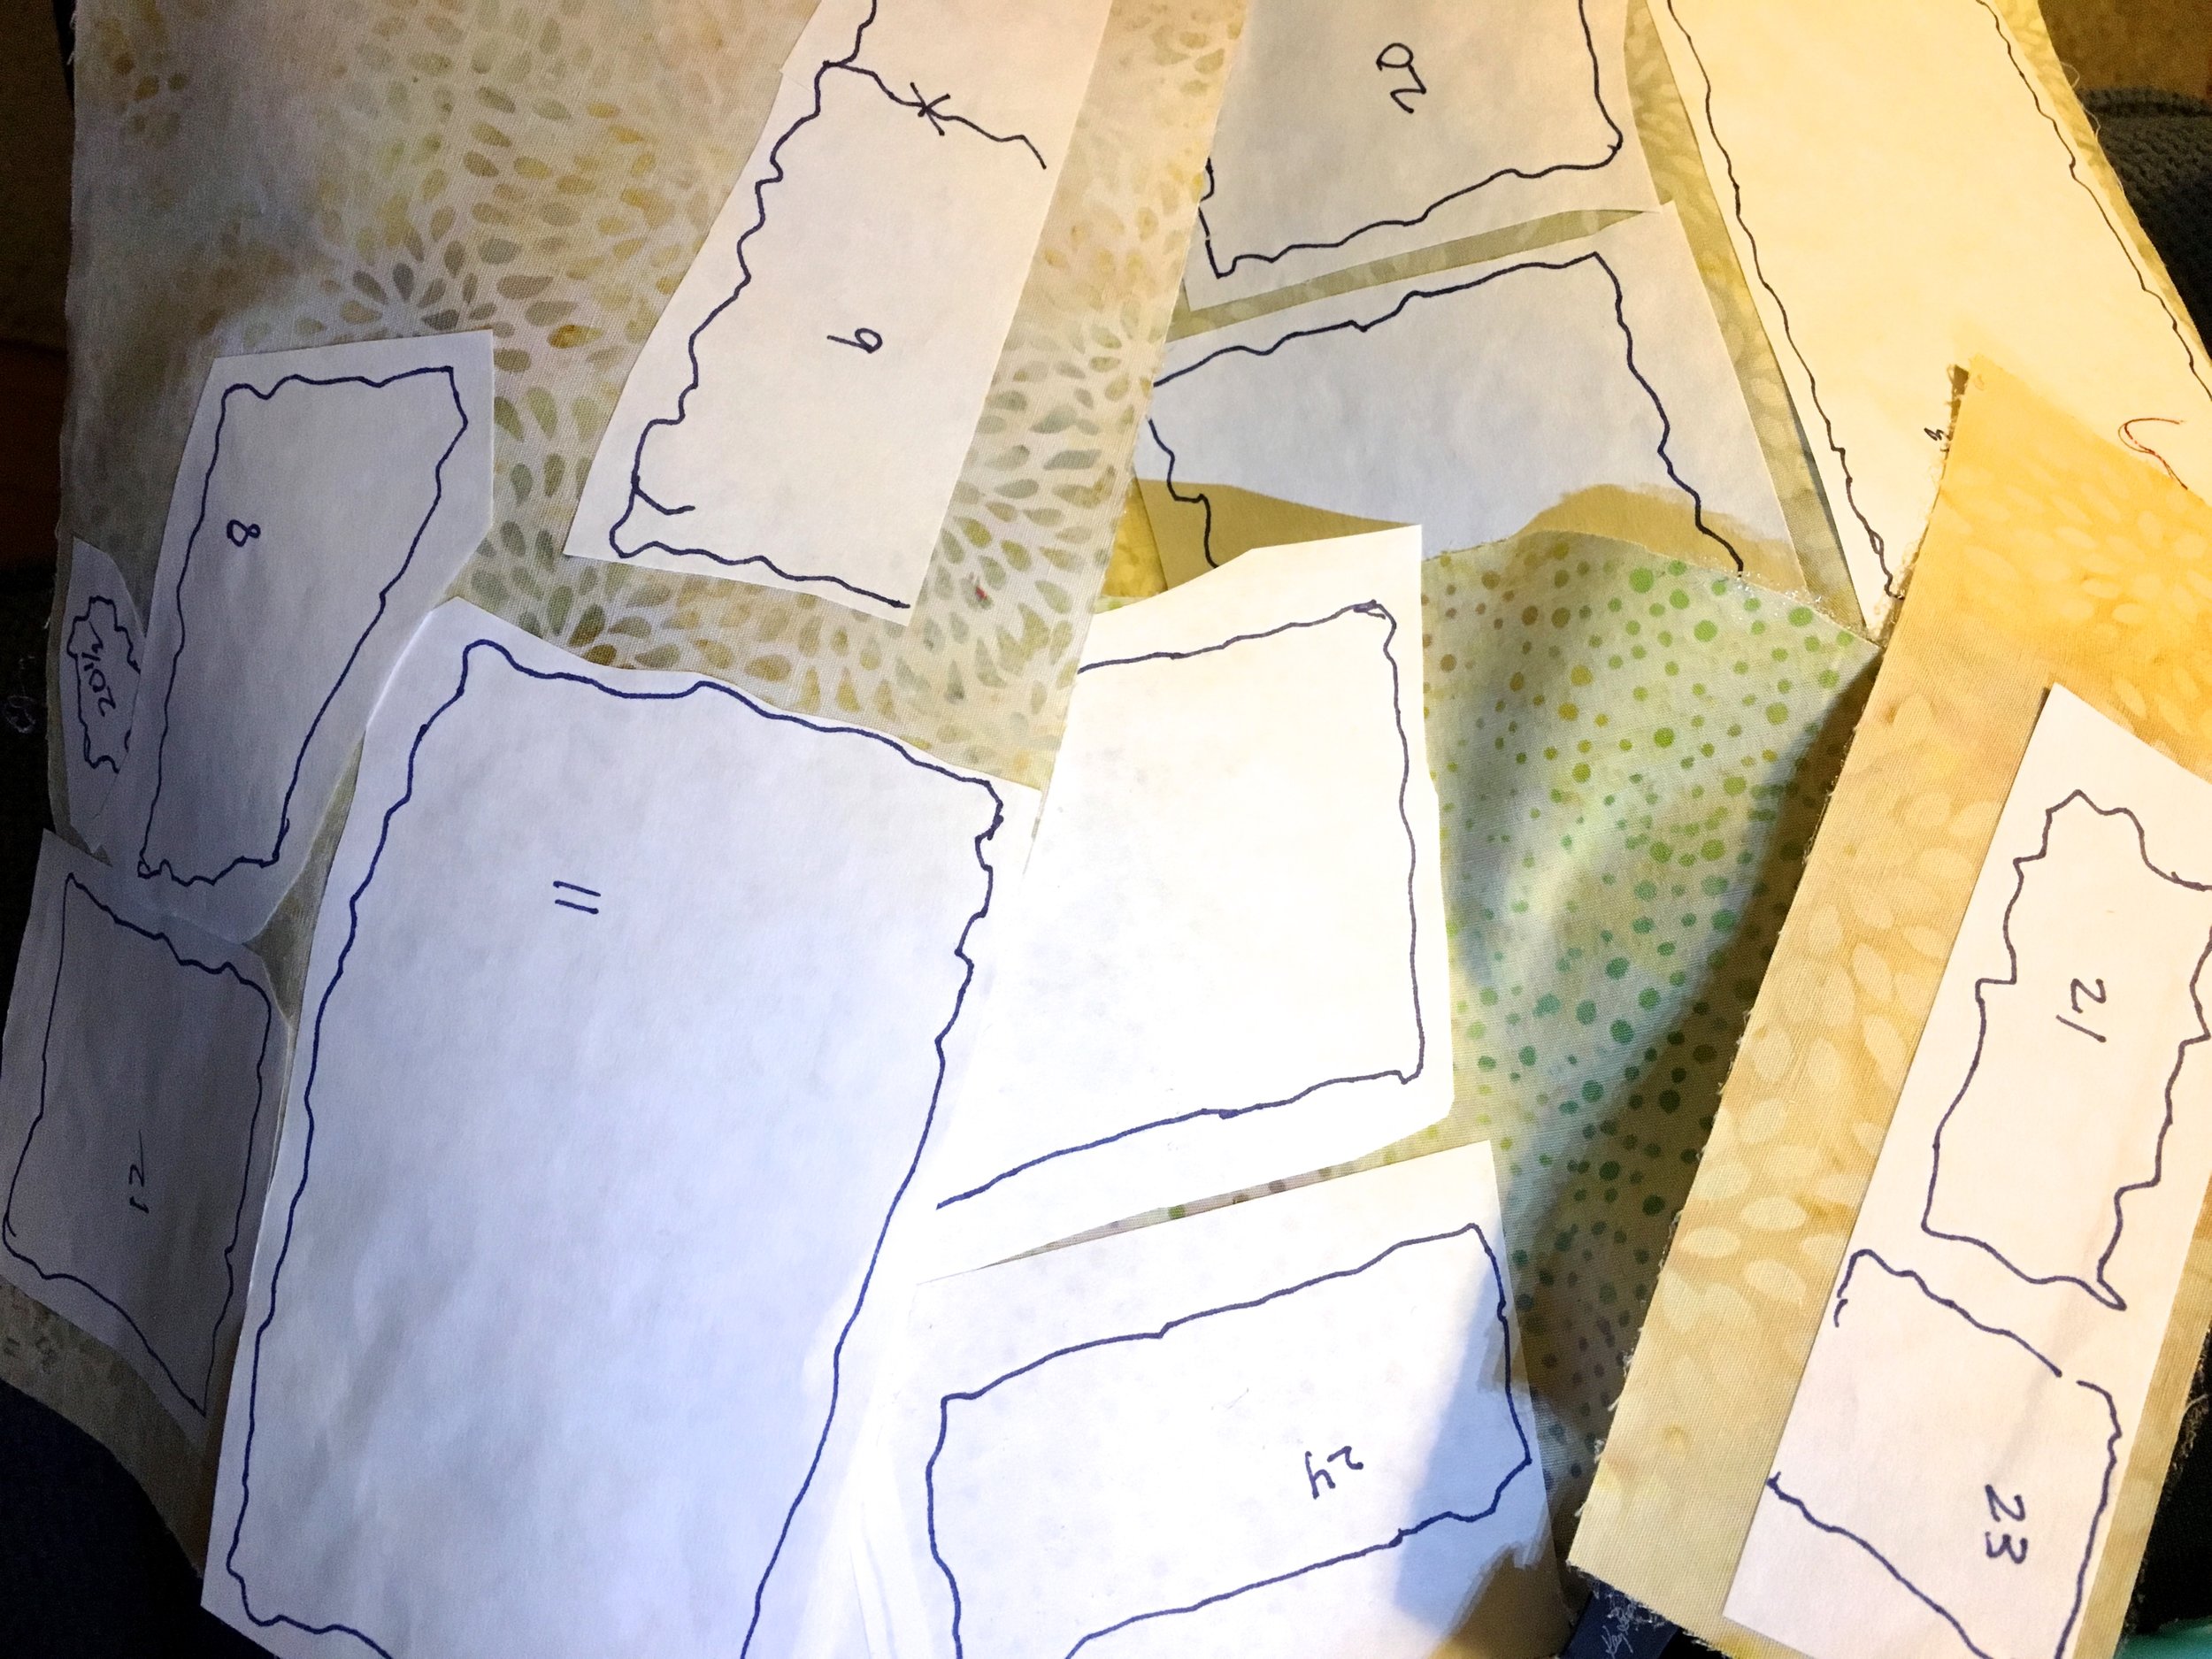
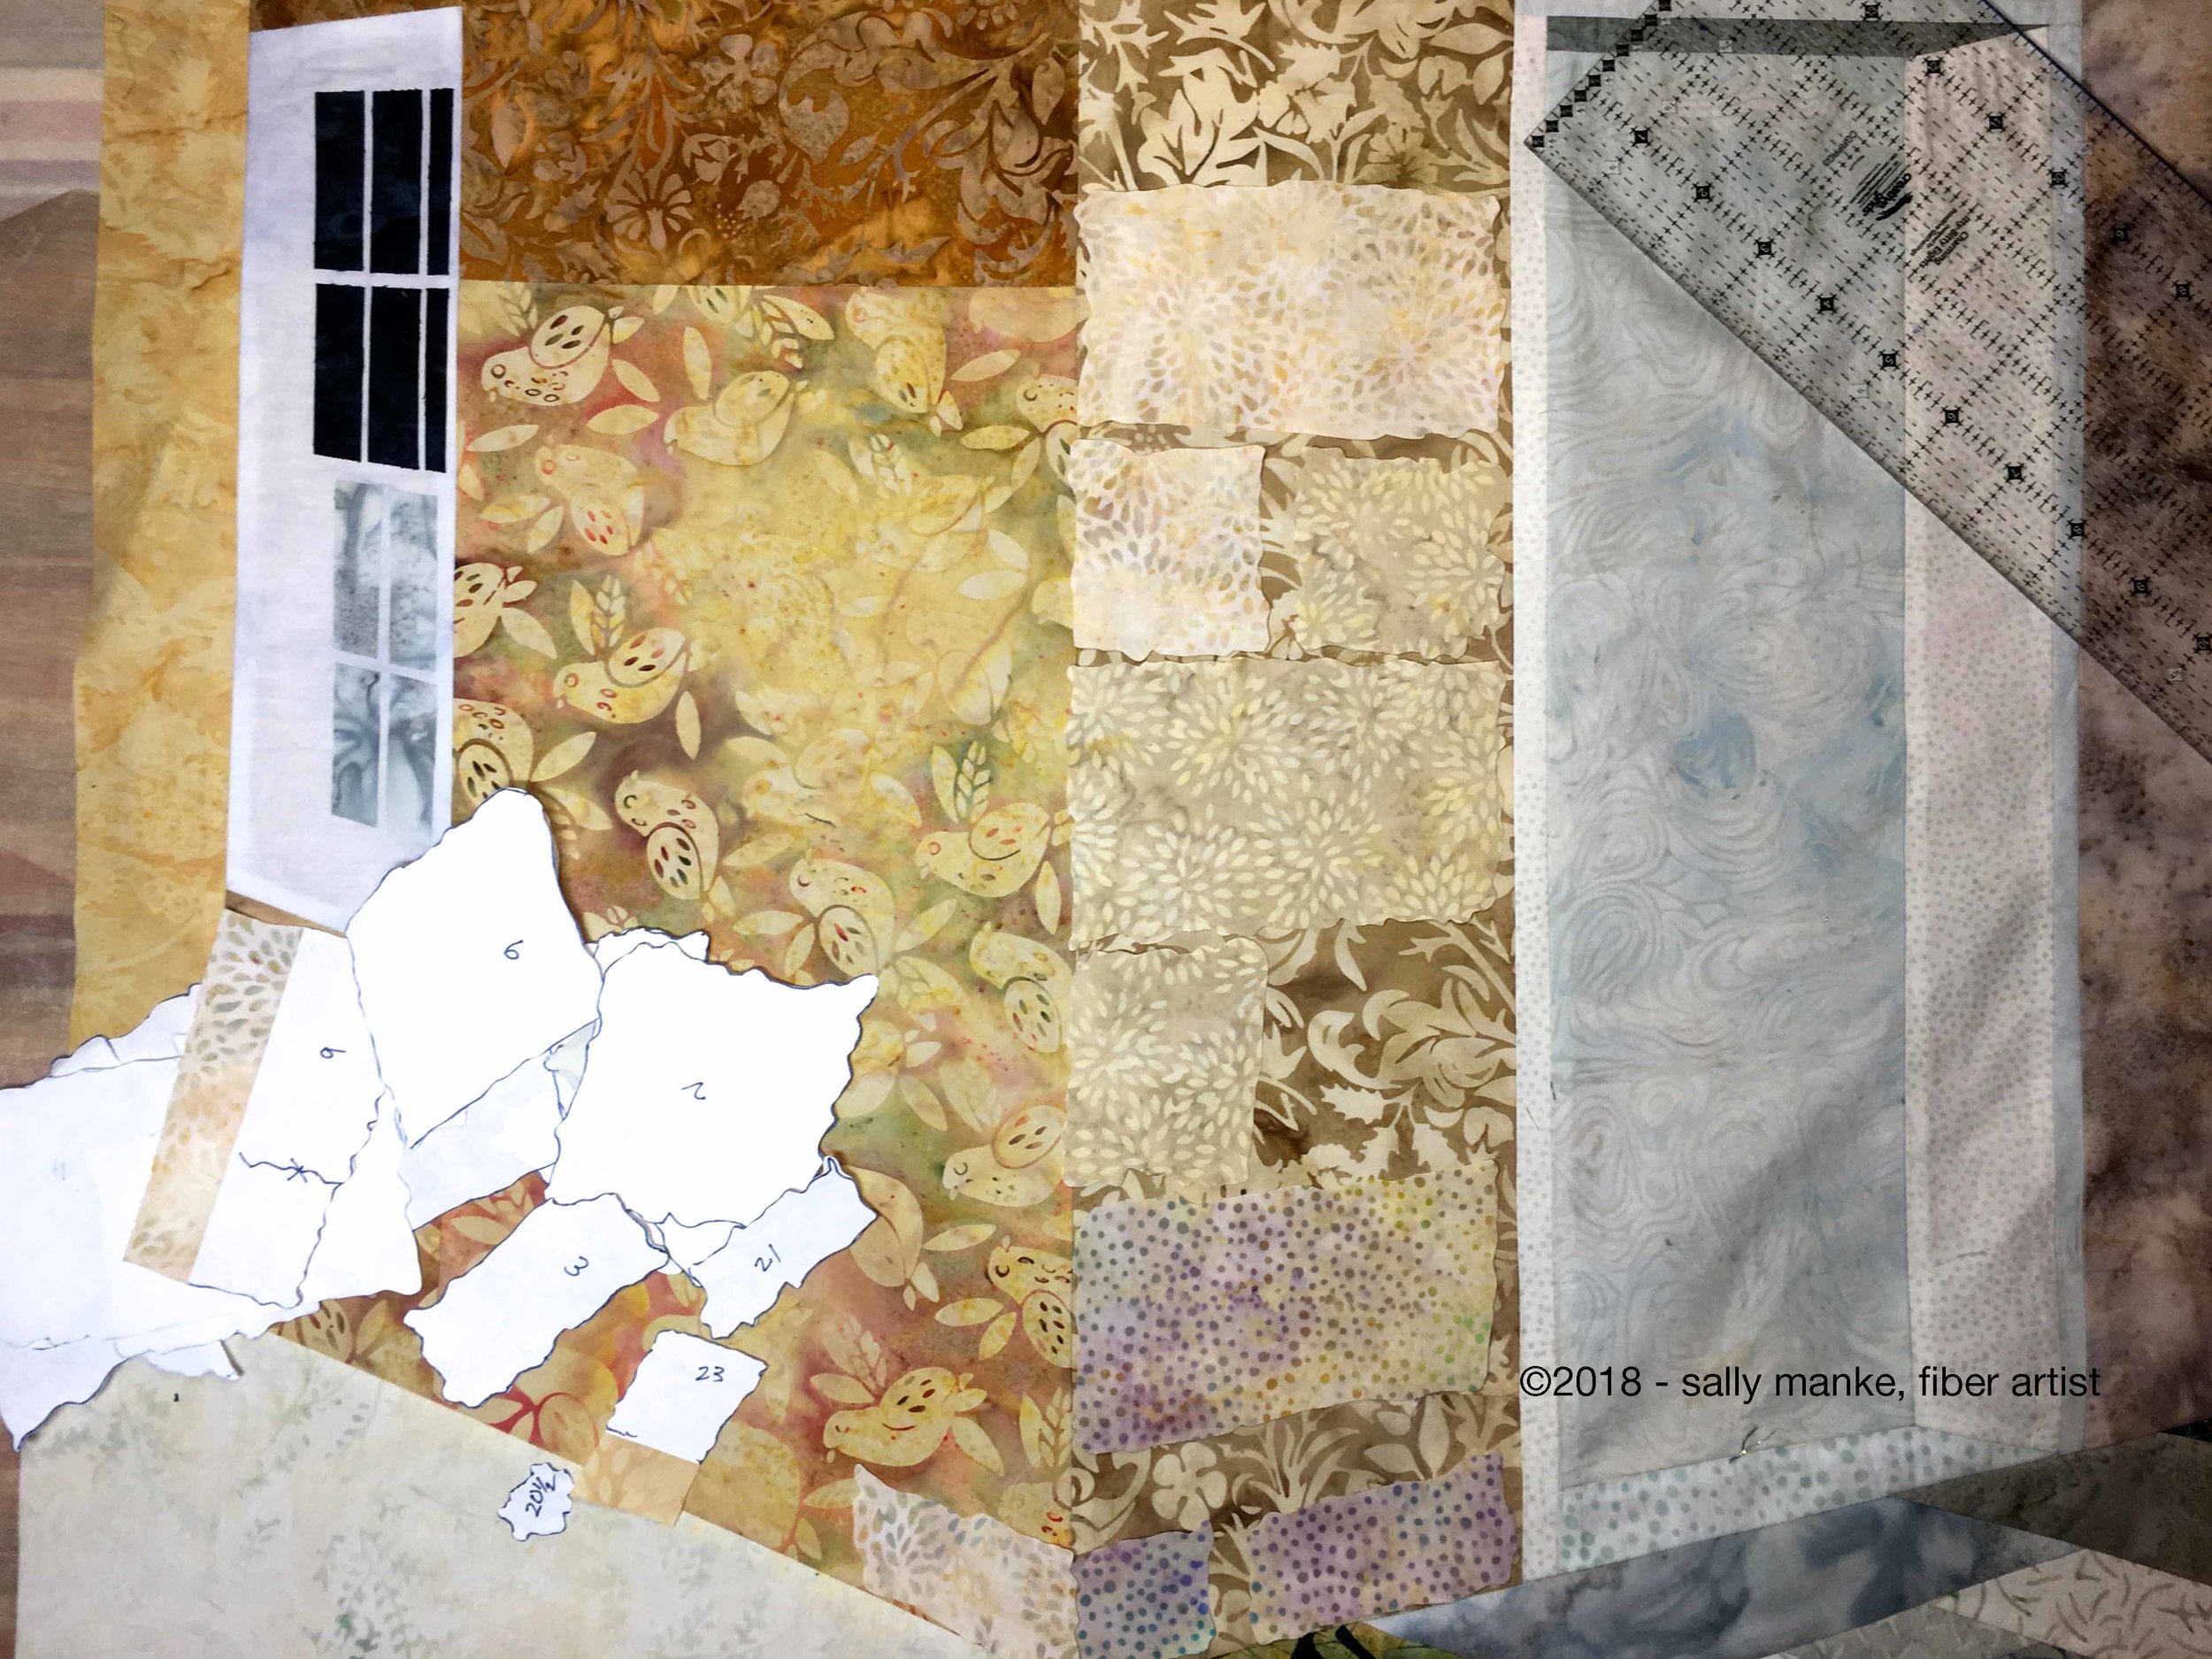
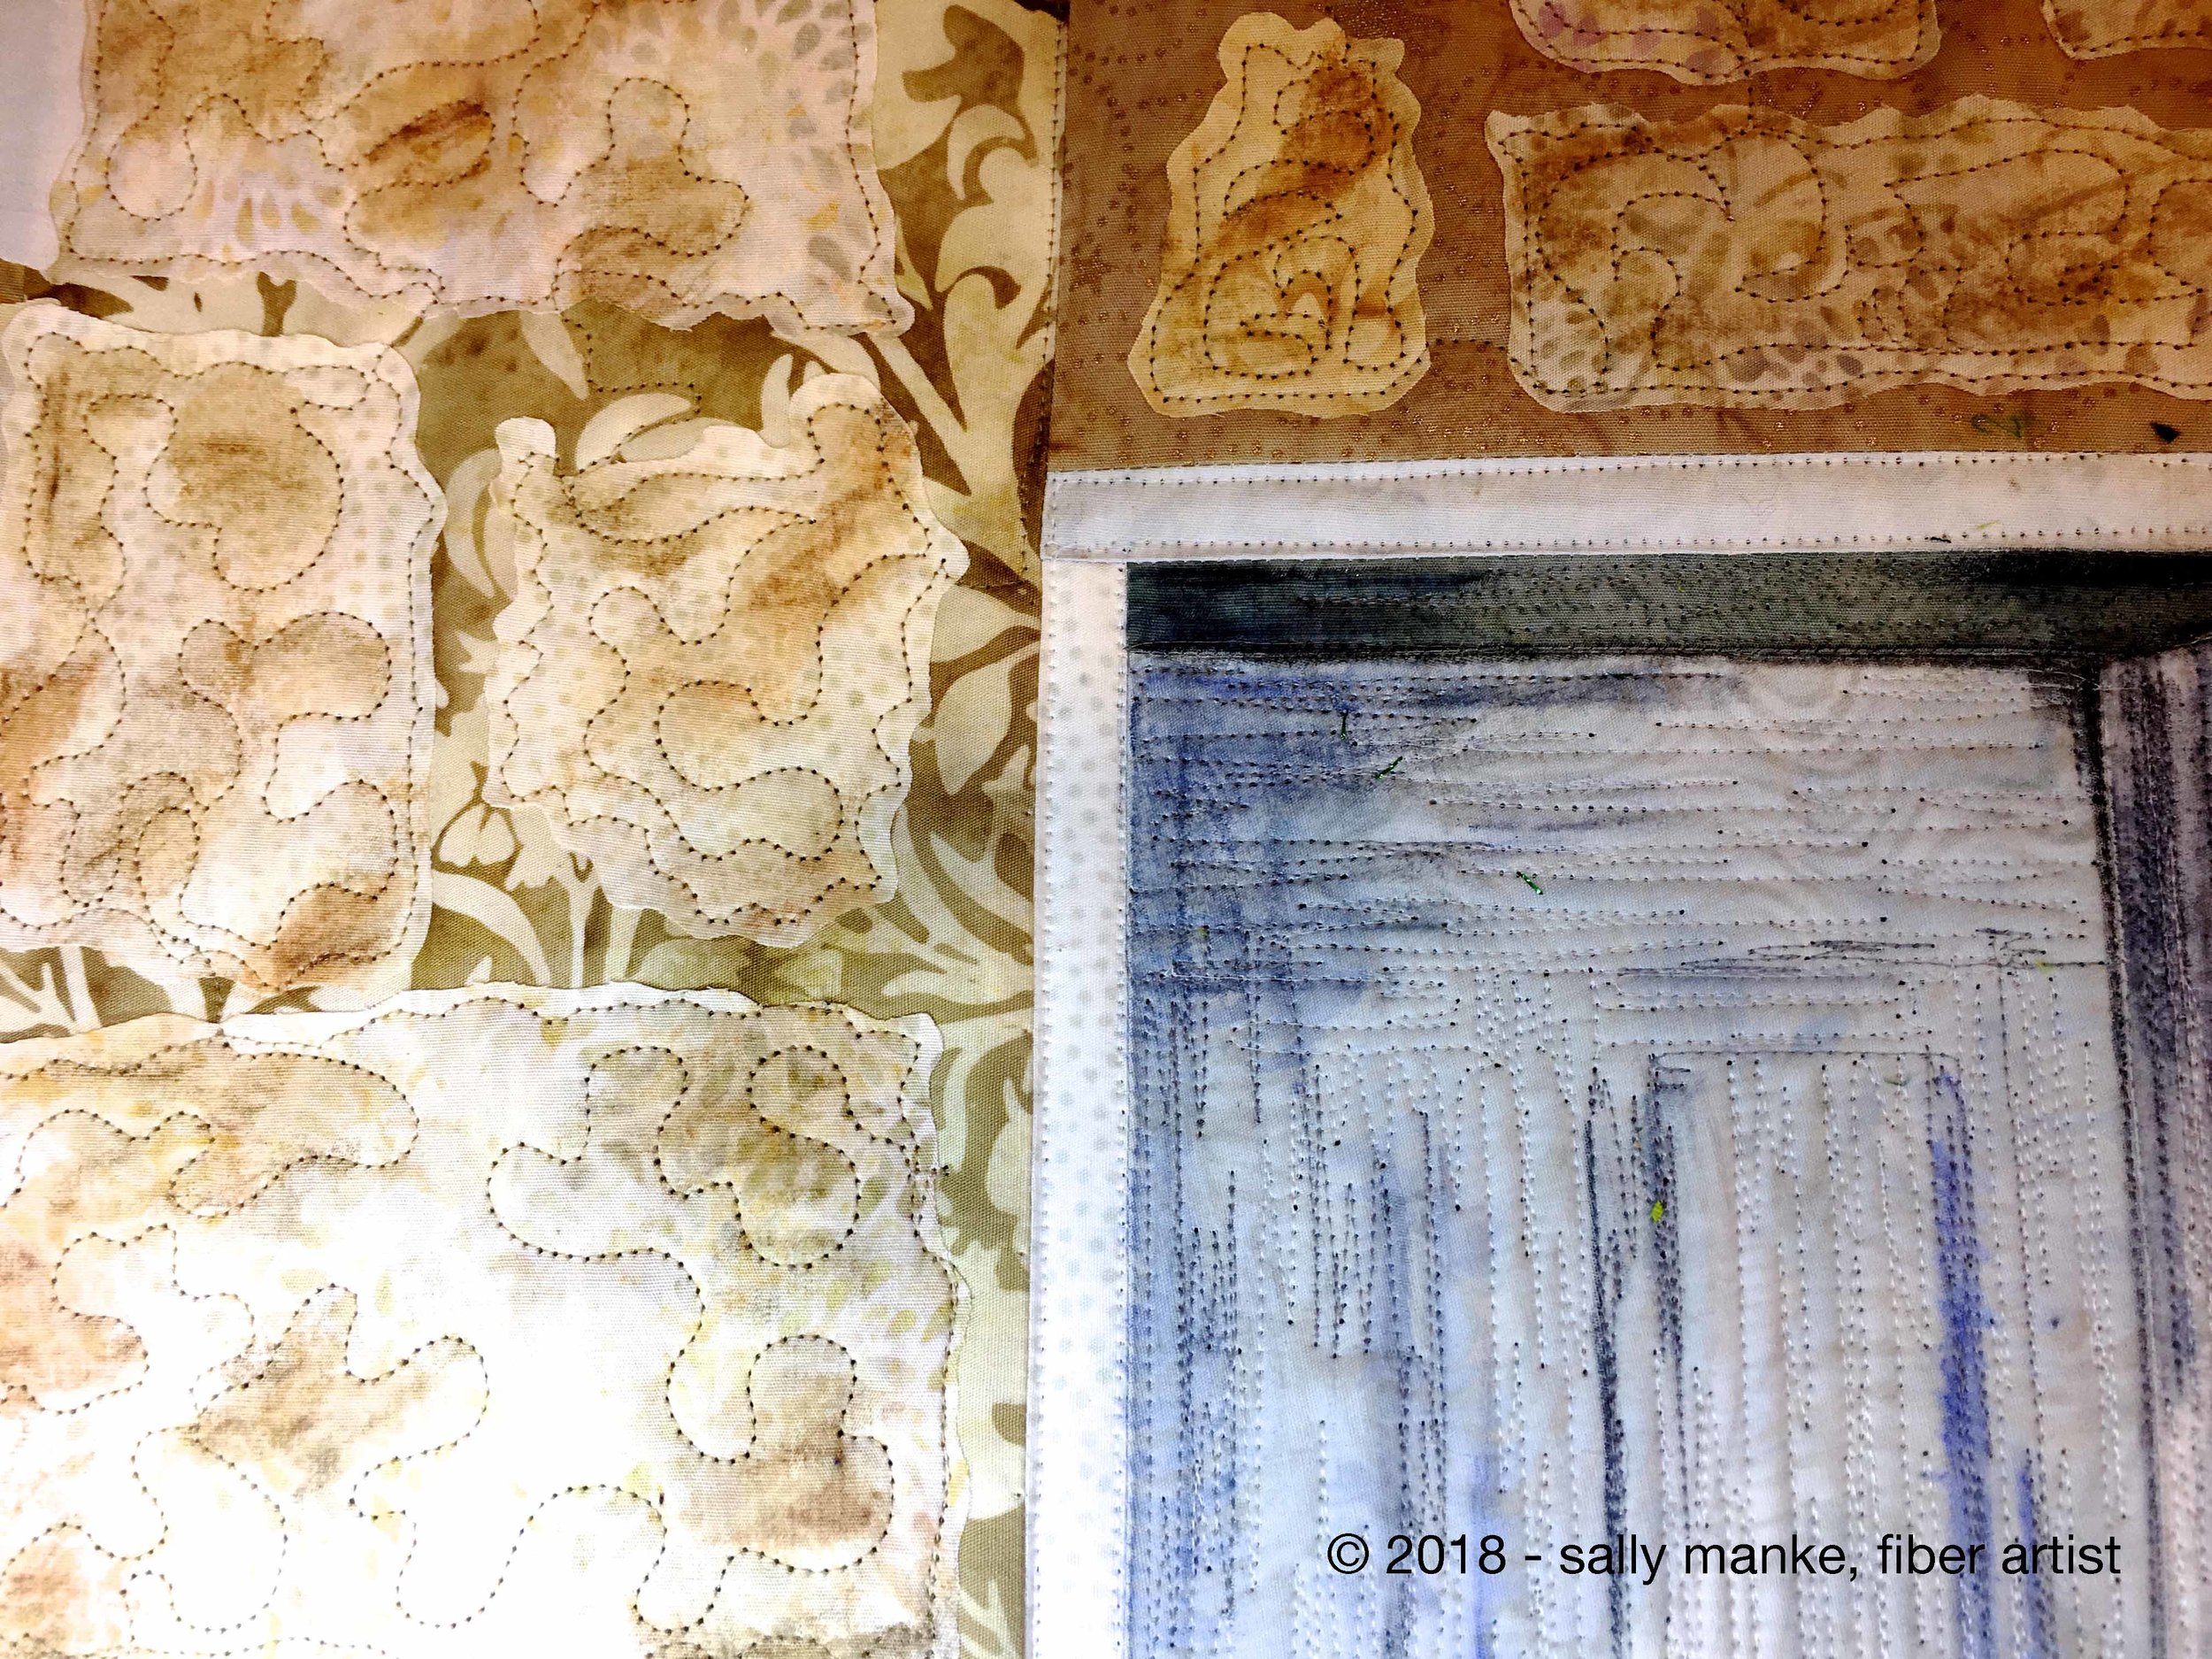
Selected even more Island Batik fabrics from my stash. With Misty Fuse on the back and freezer paper shapes on the front, bricks are cut out then fused to the wall.
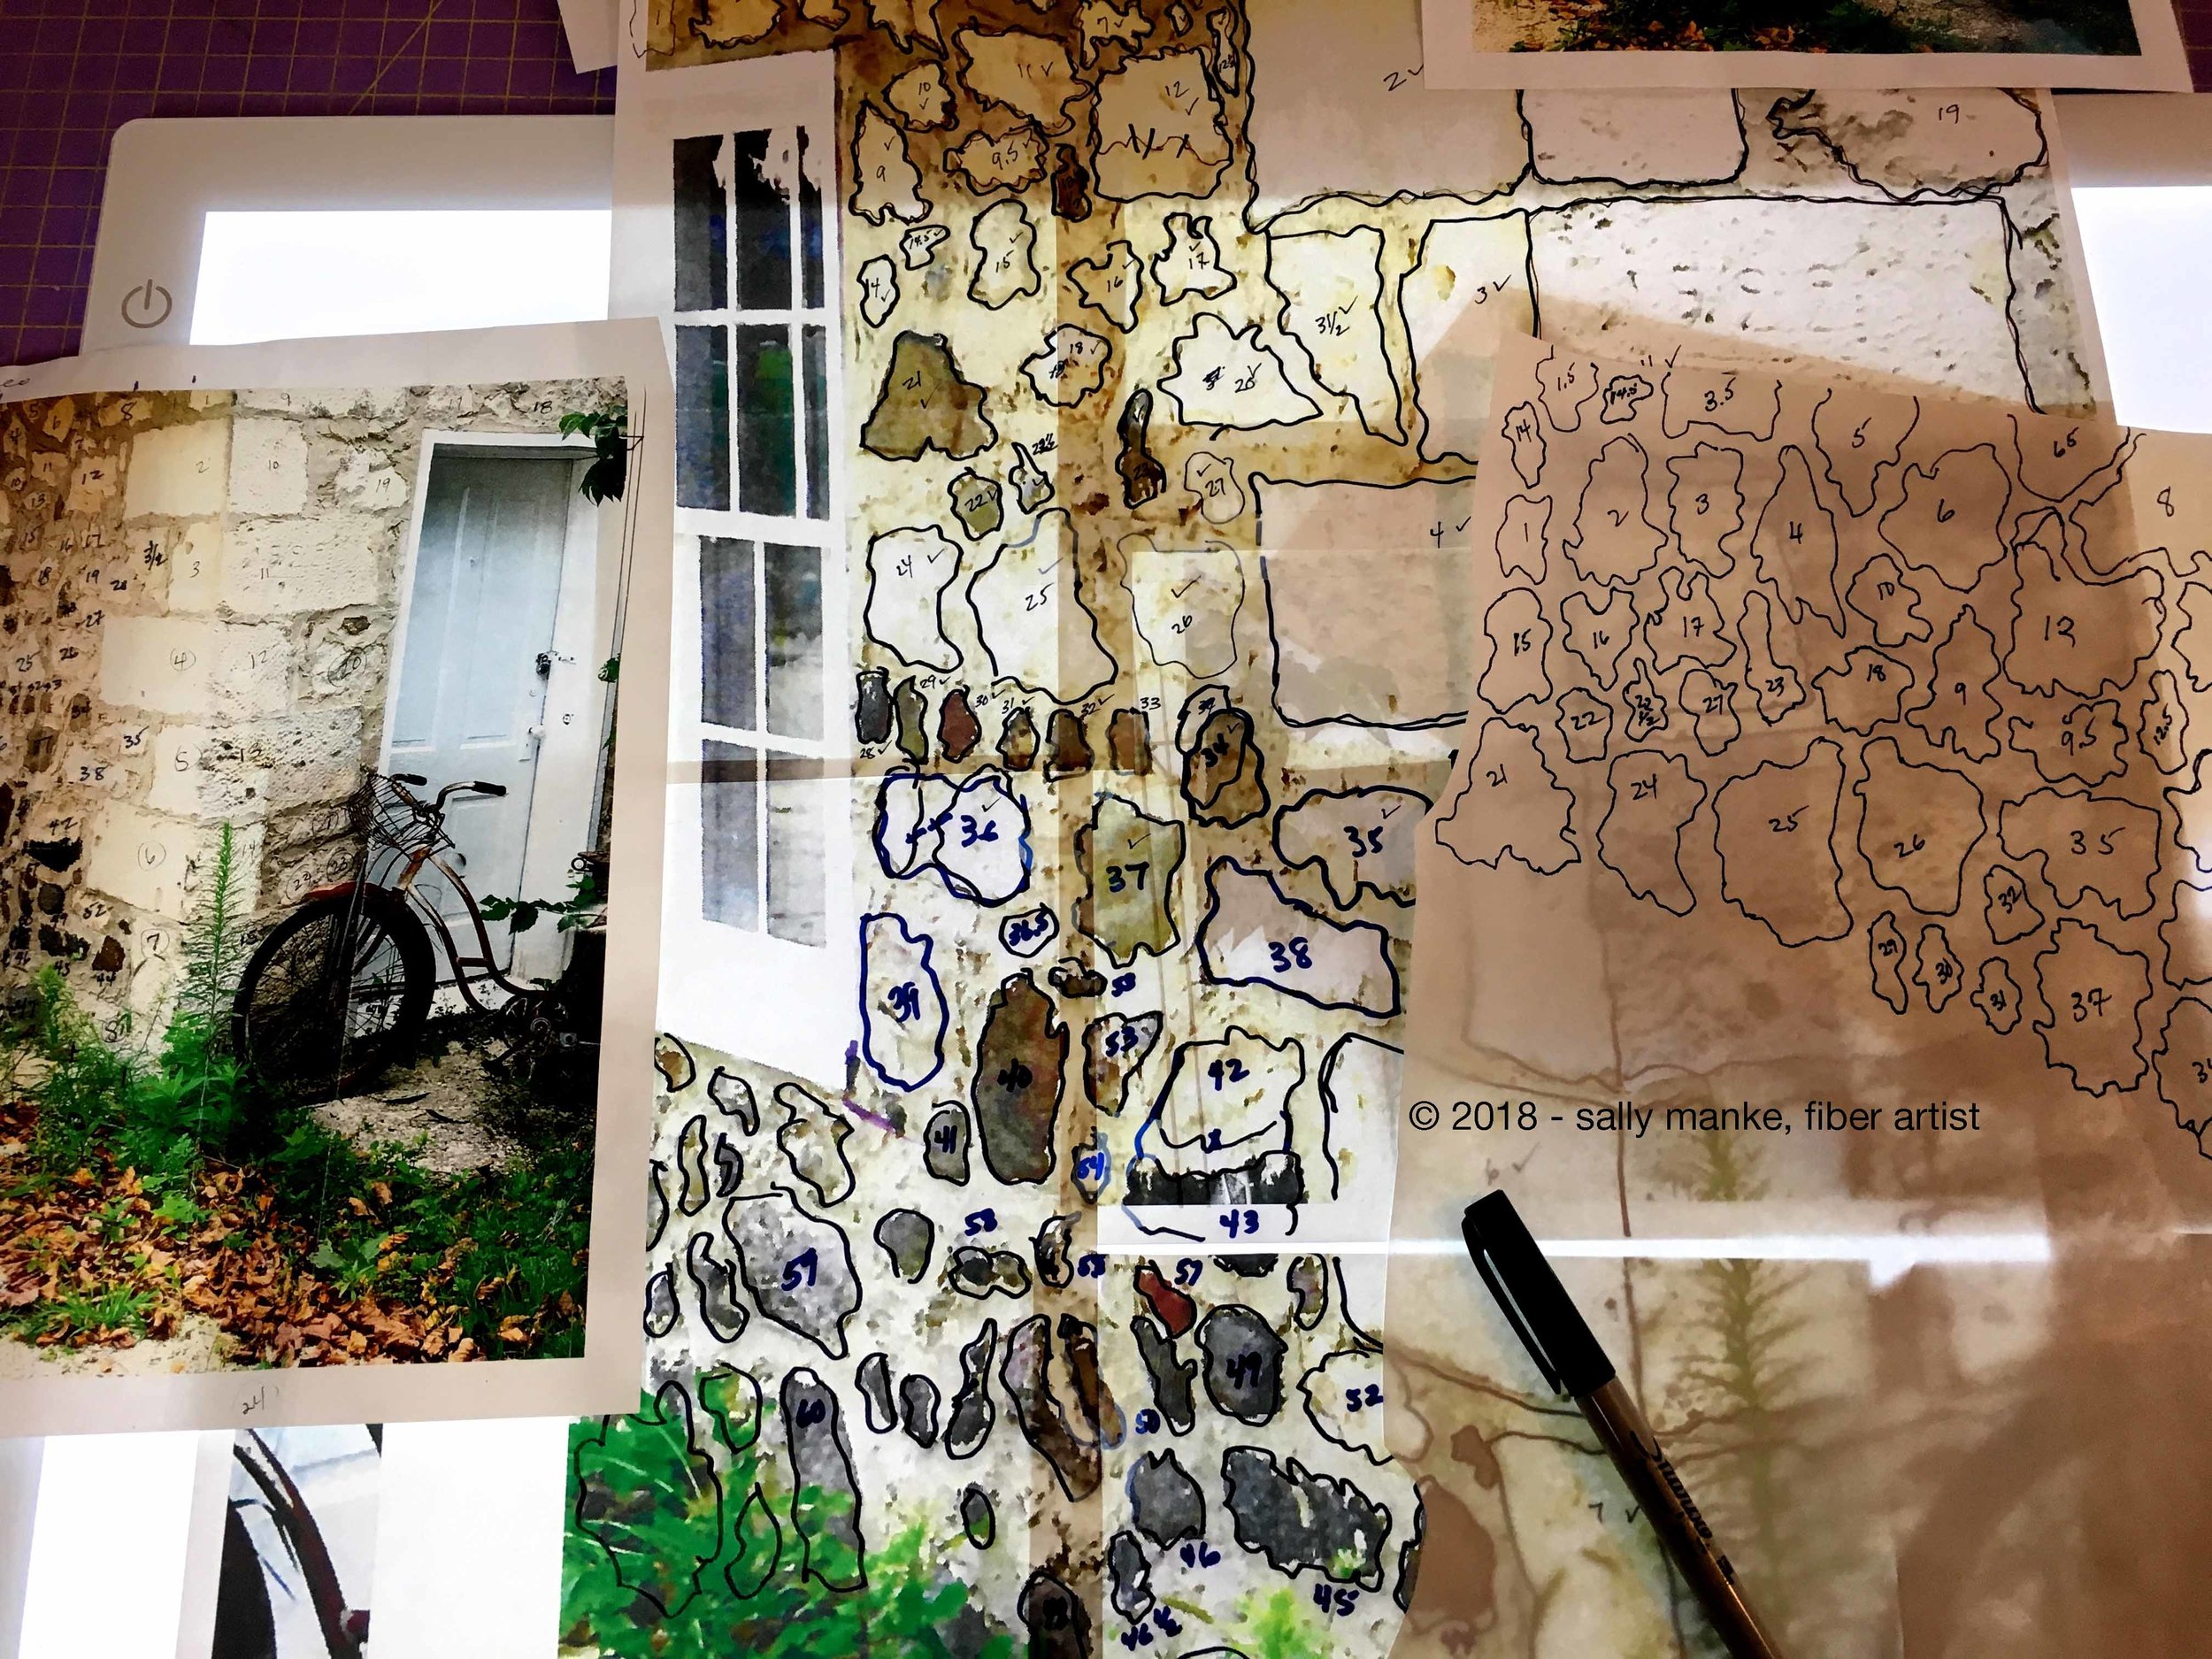
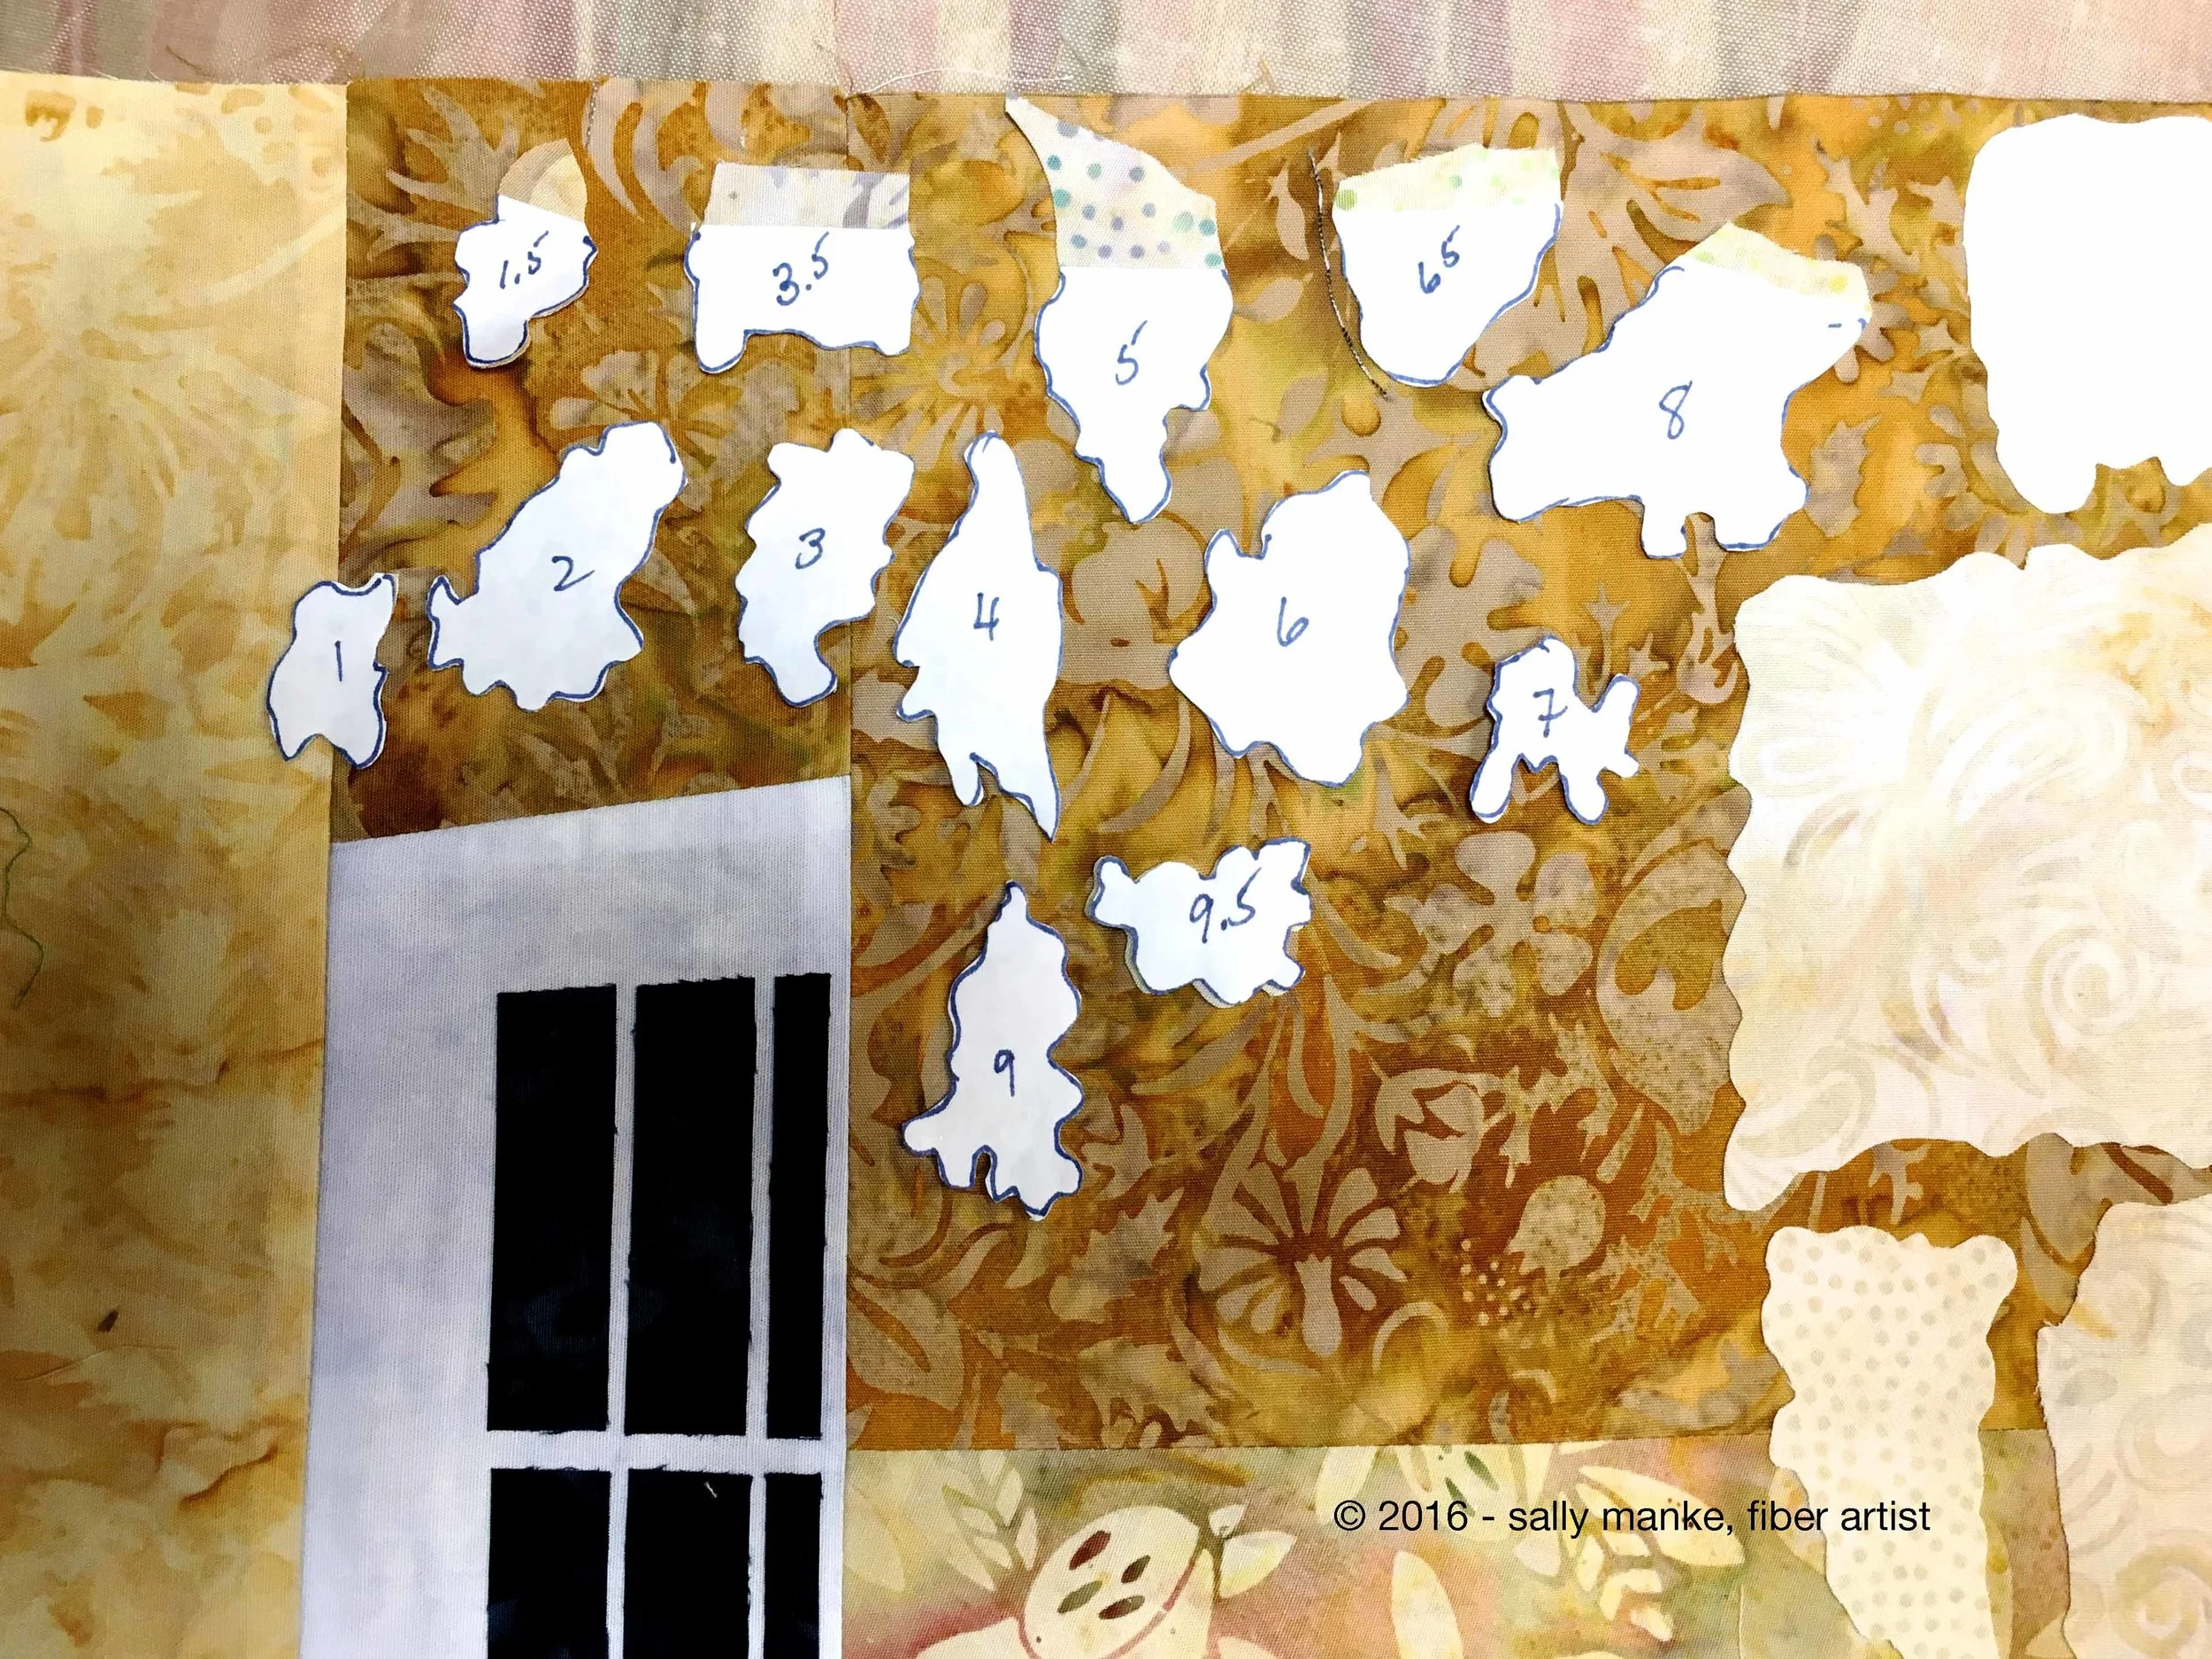
That's my CutterPillar Glow light table in the first photo. It aids in creating patterns from my drawings and photos. Freezer paper patterns for rocks in the second picture. The rocks are then fused to the stucco wall.
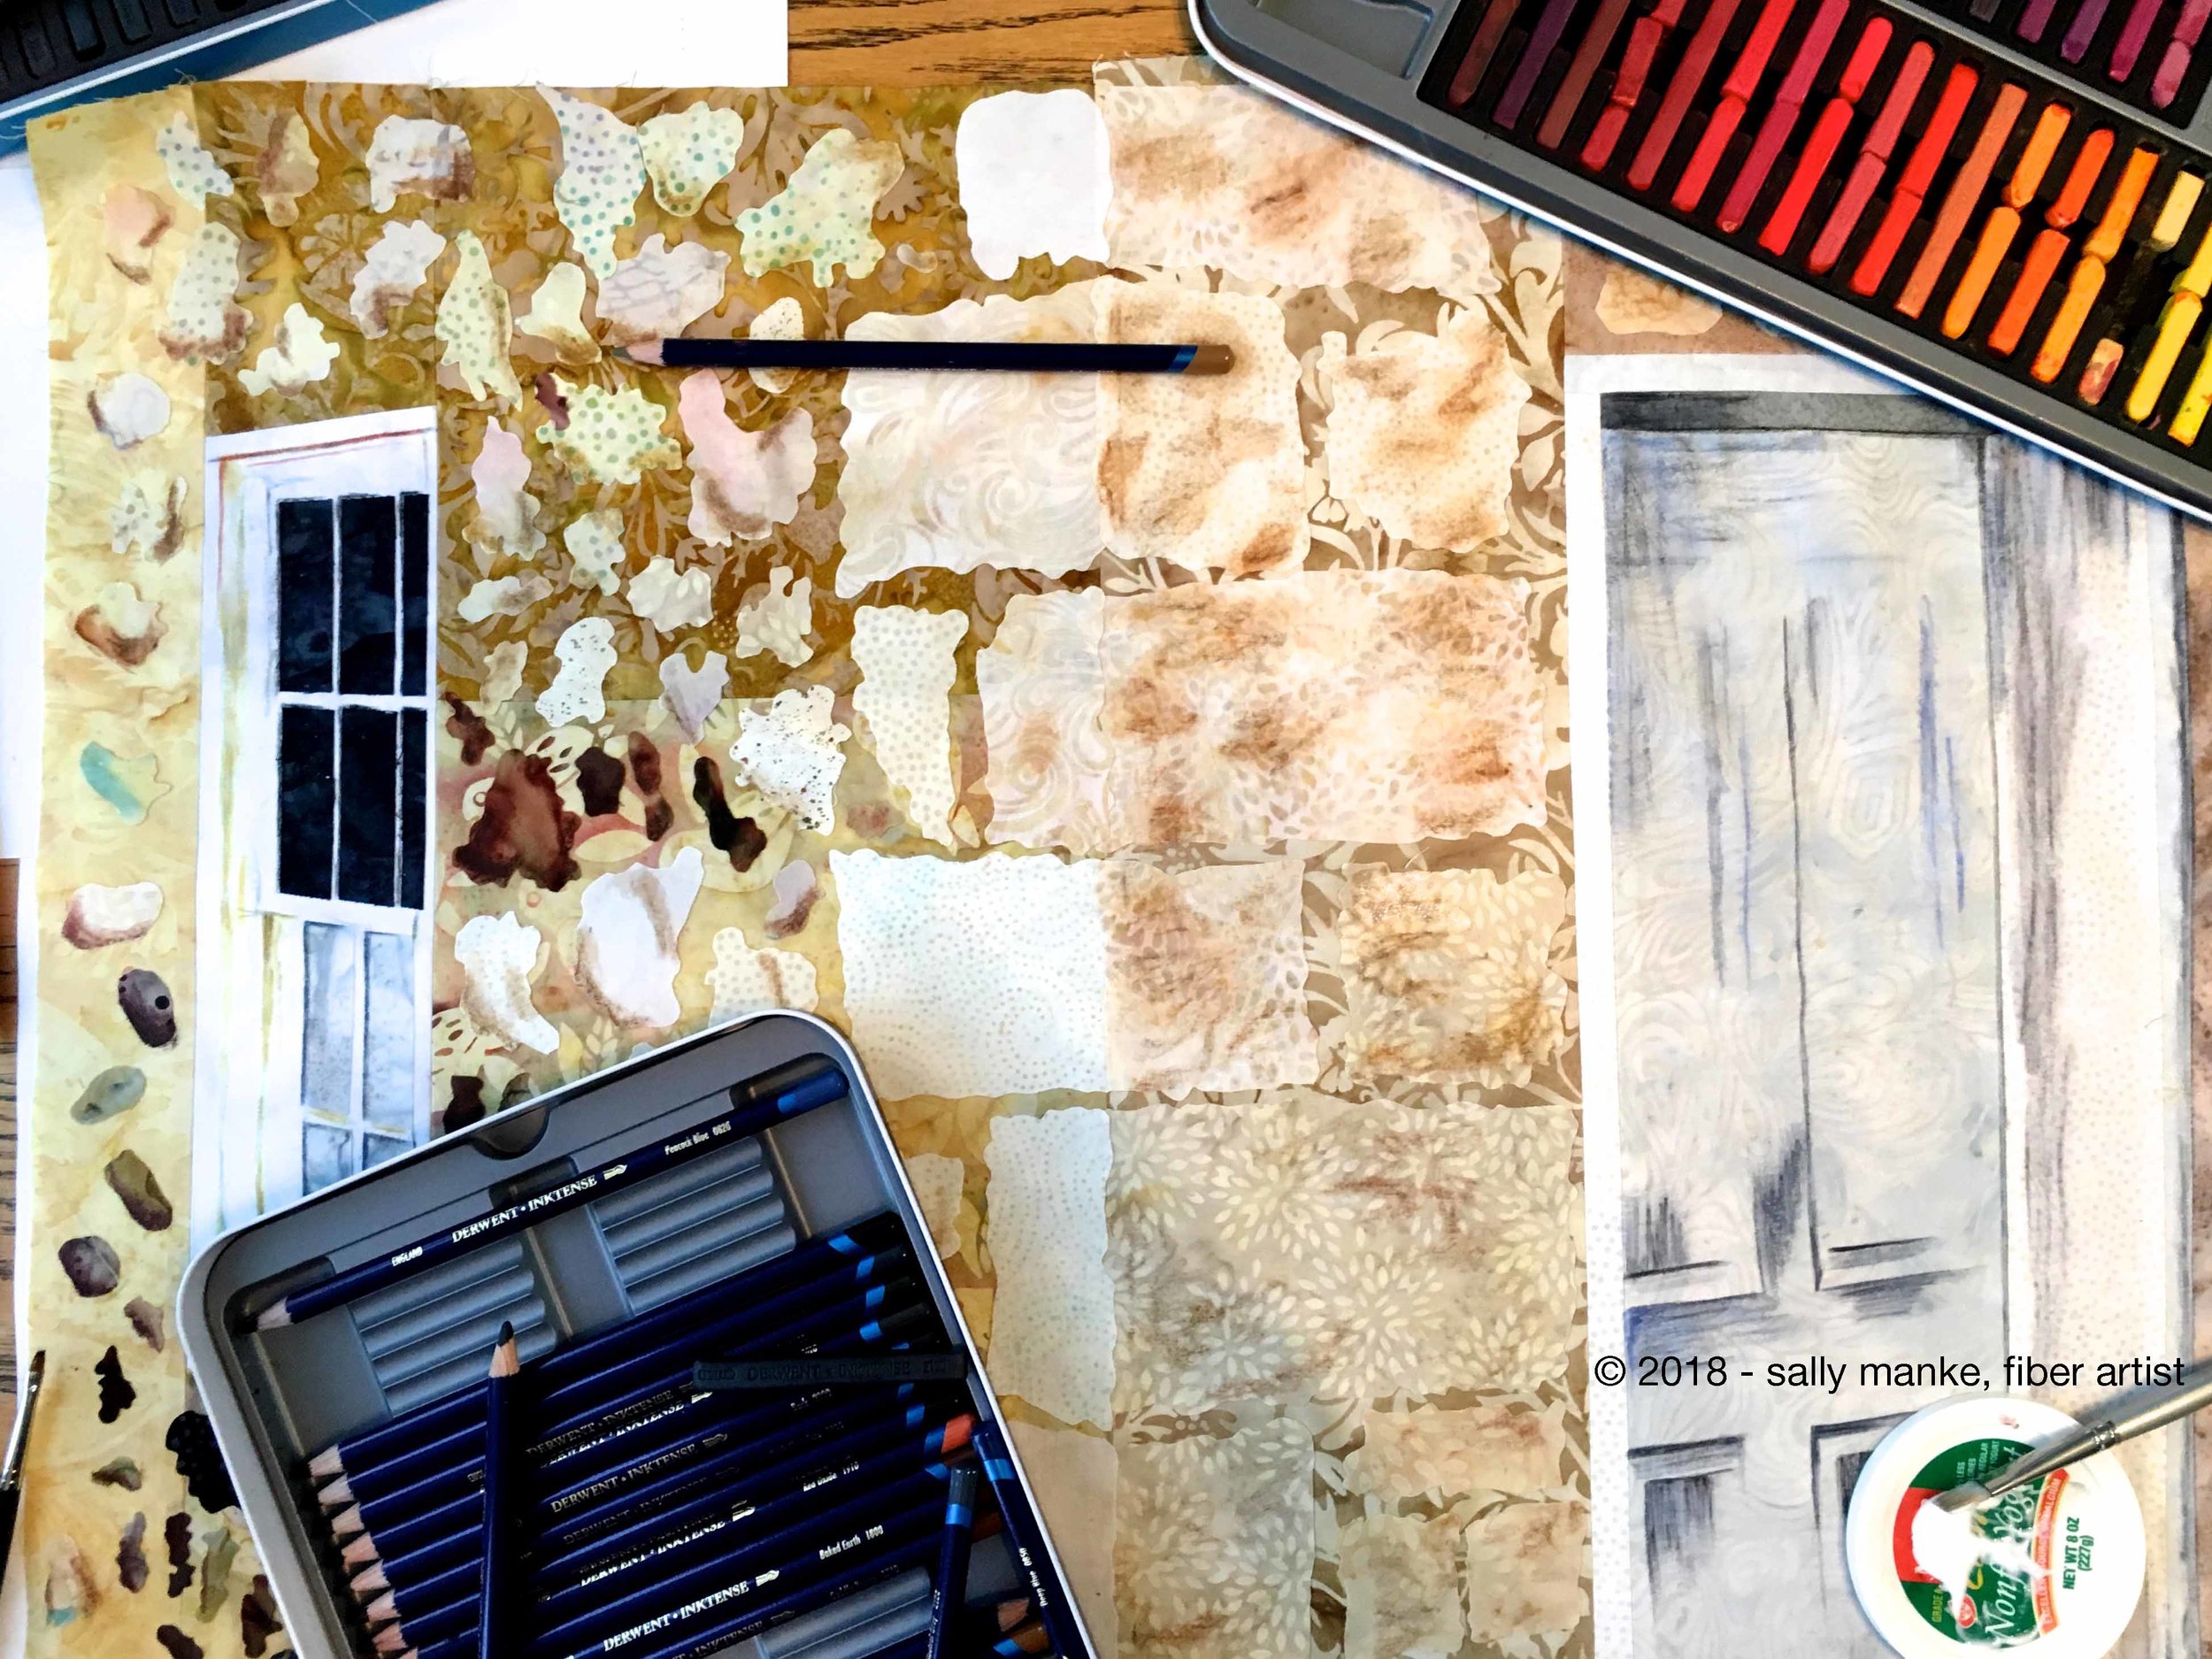
Getting out the Inktense pencils and blocks to add depth to window frames, door, stones and blocks.
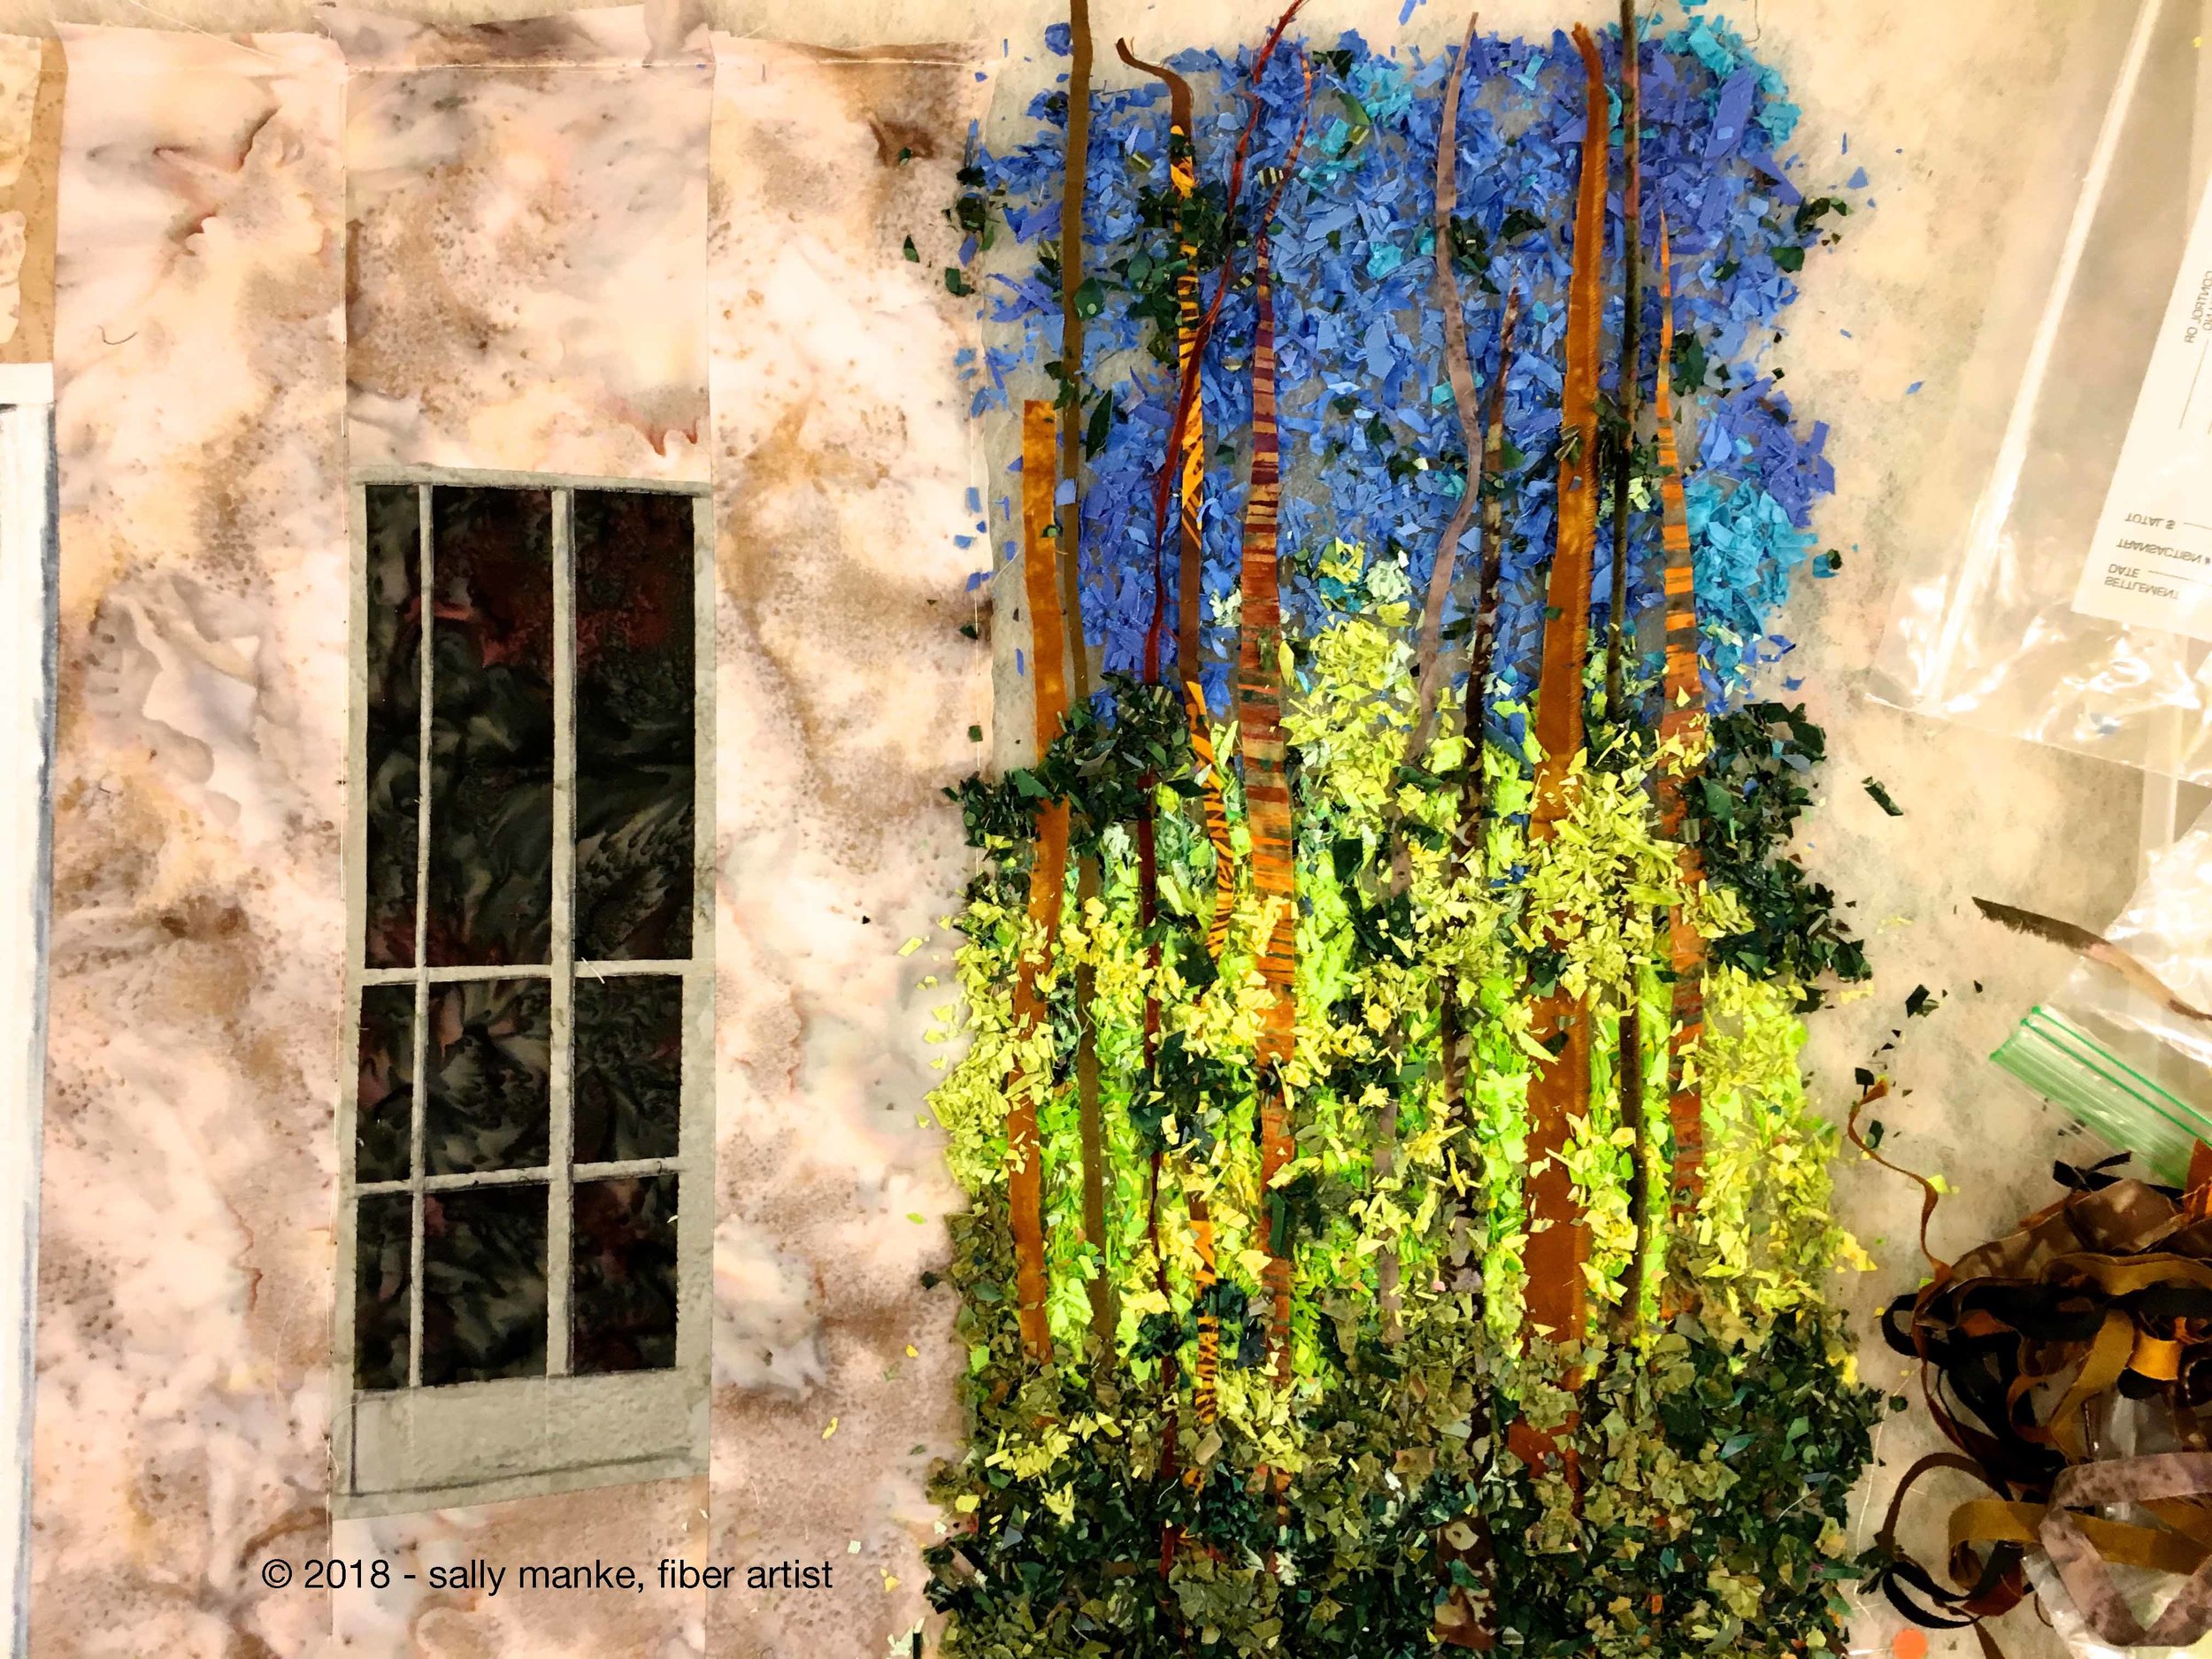
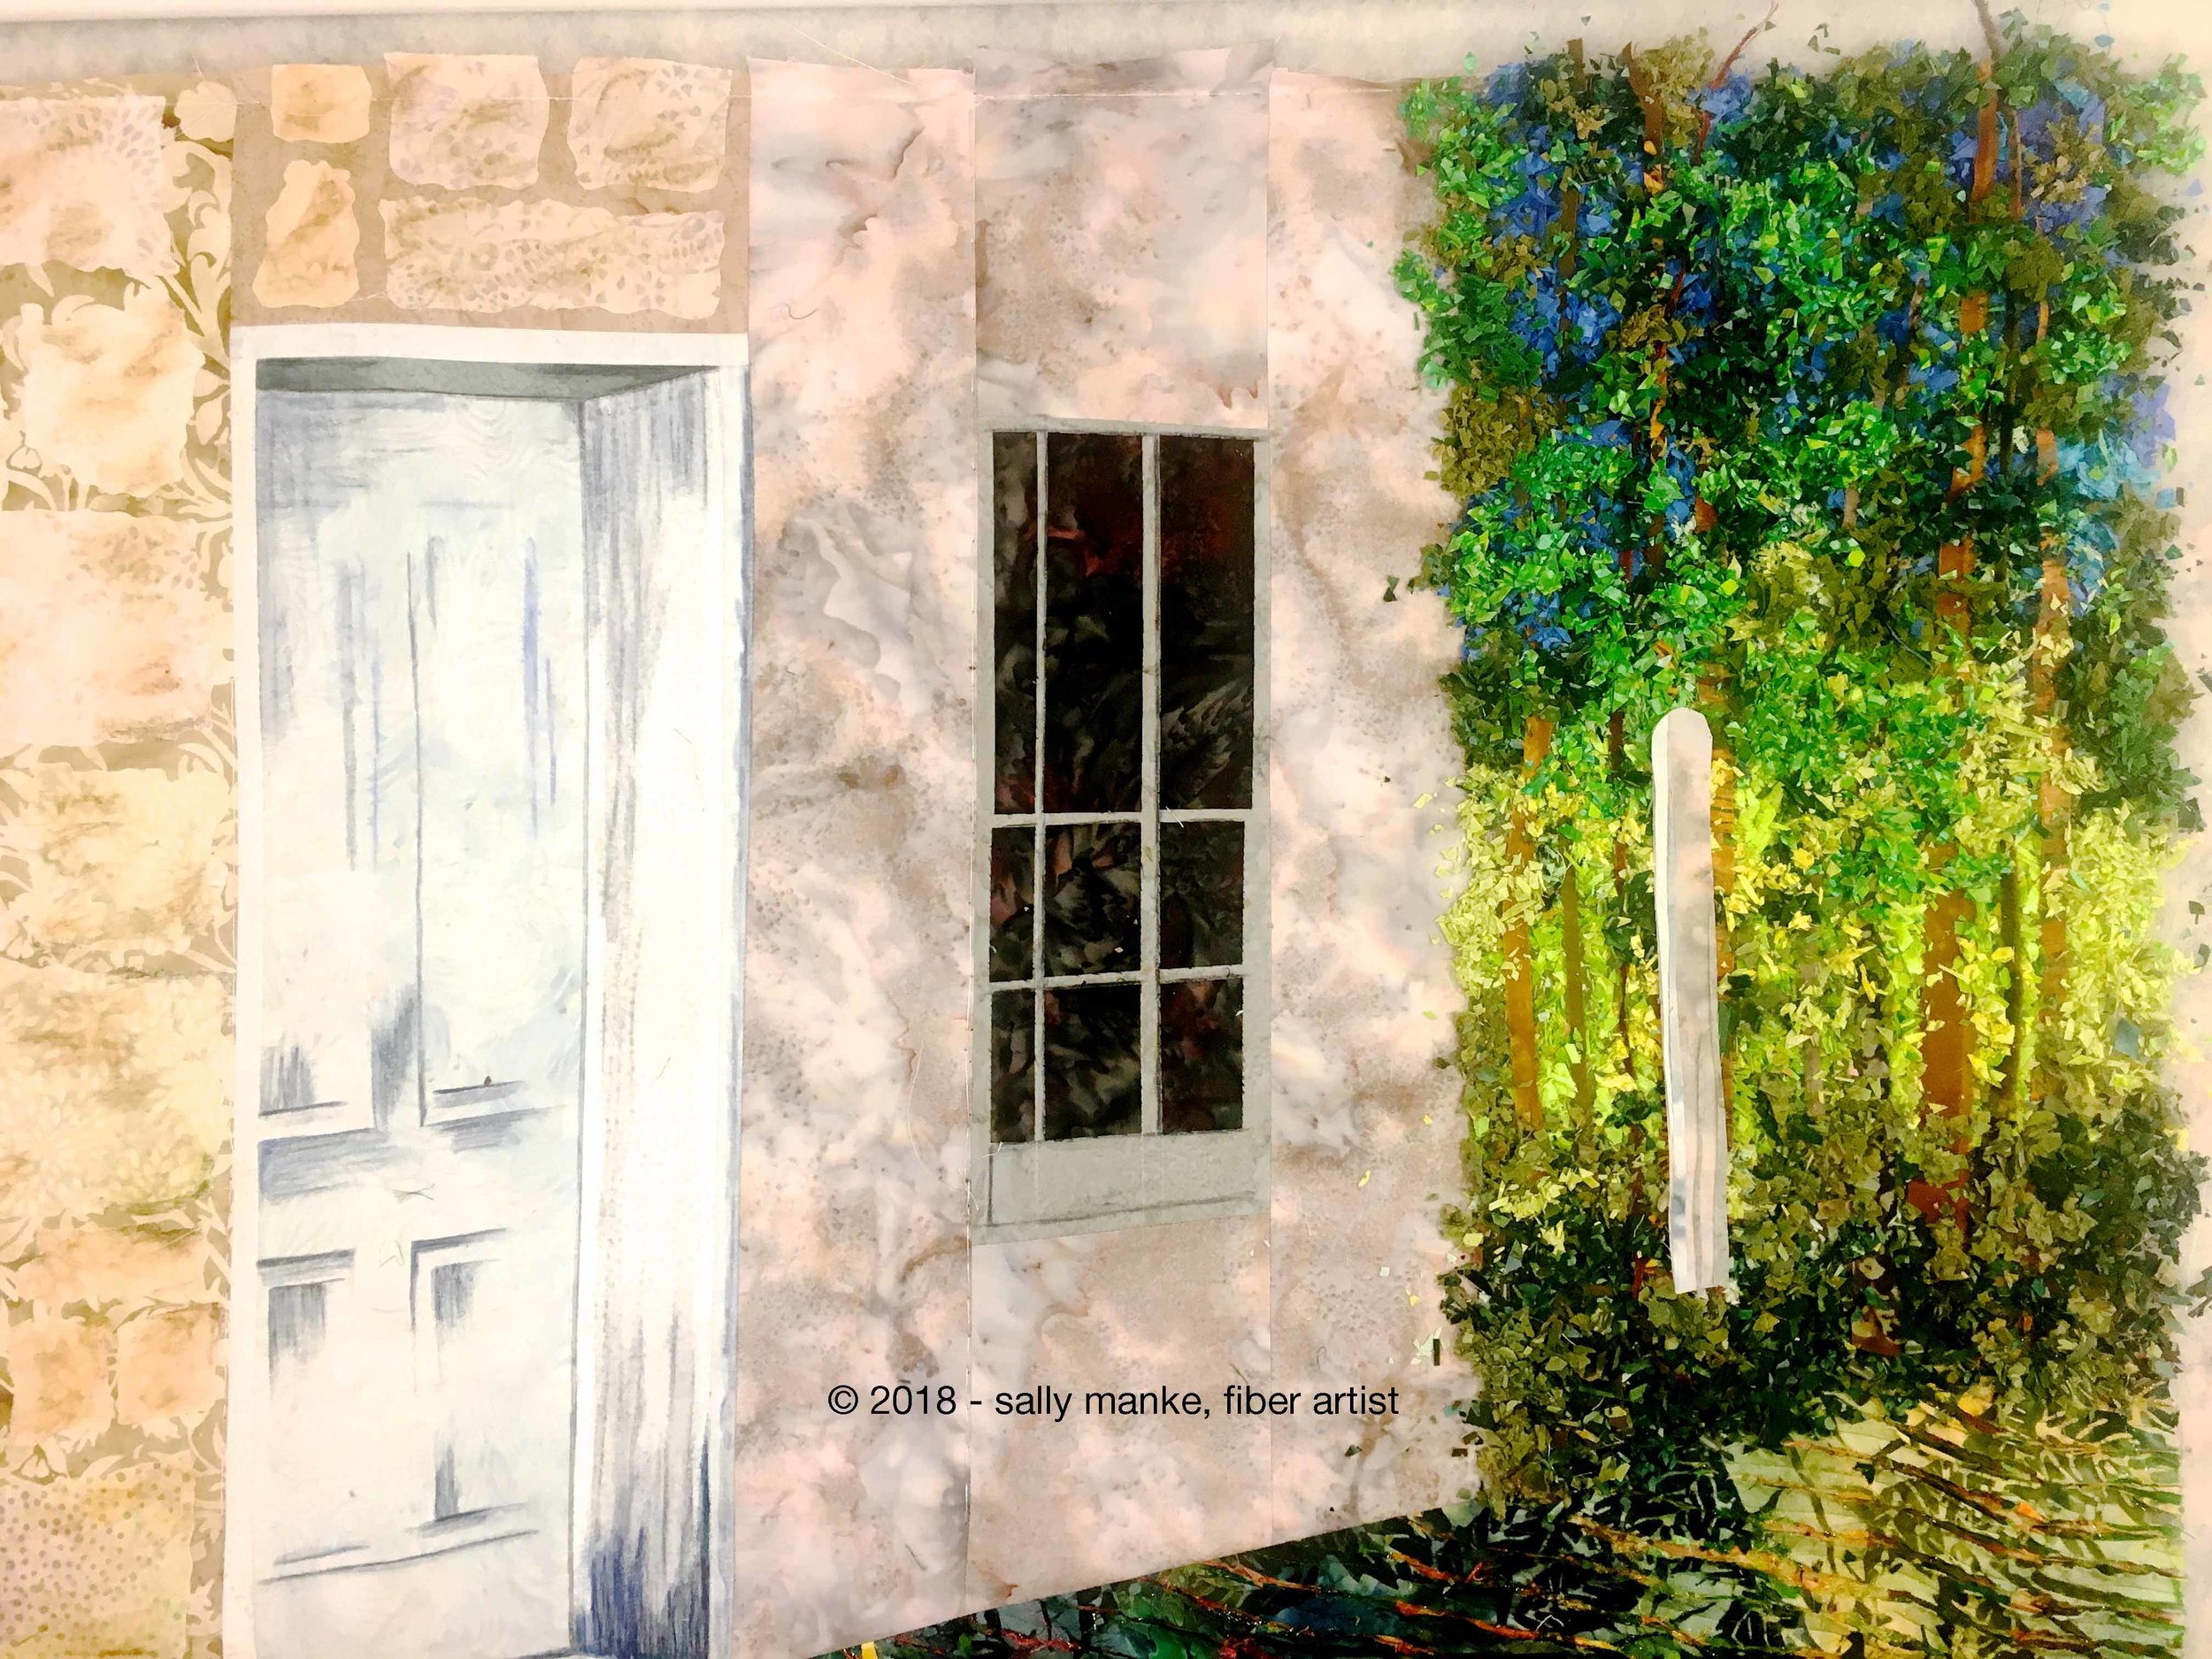
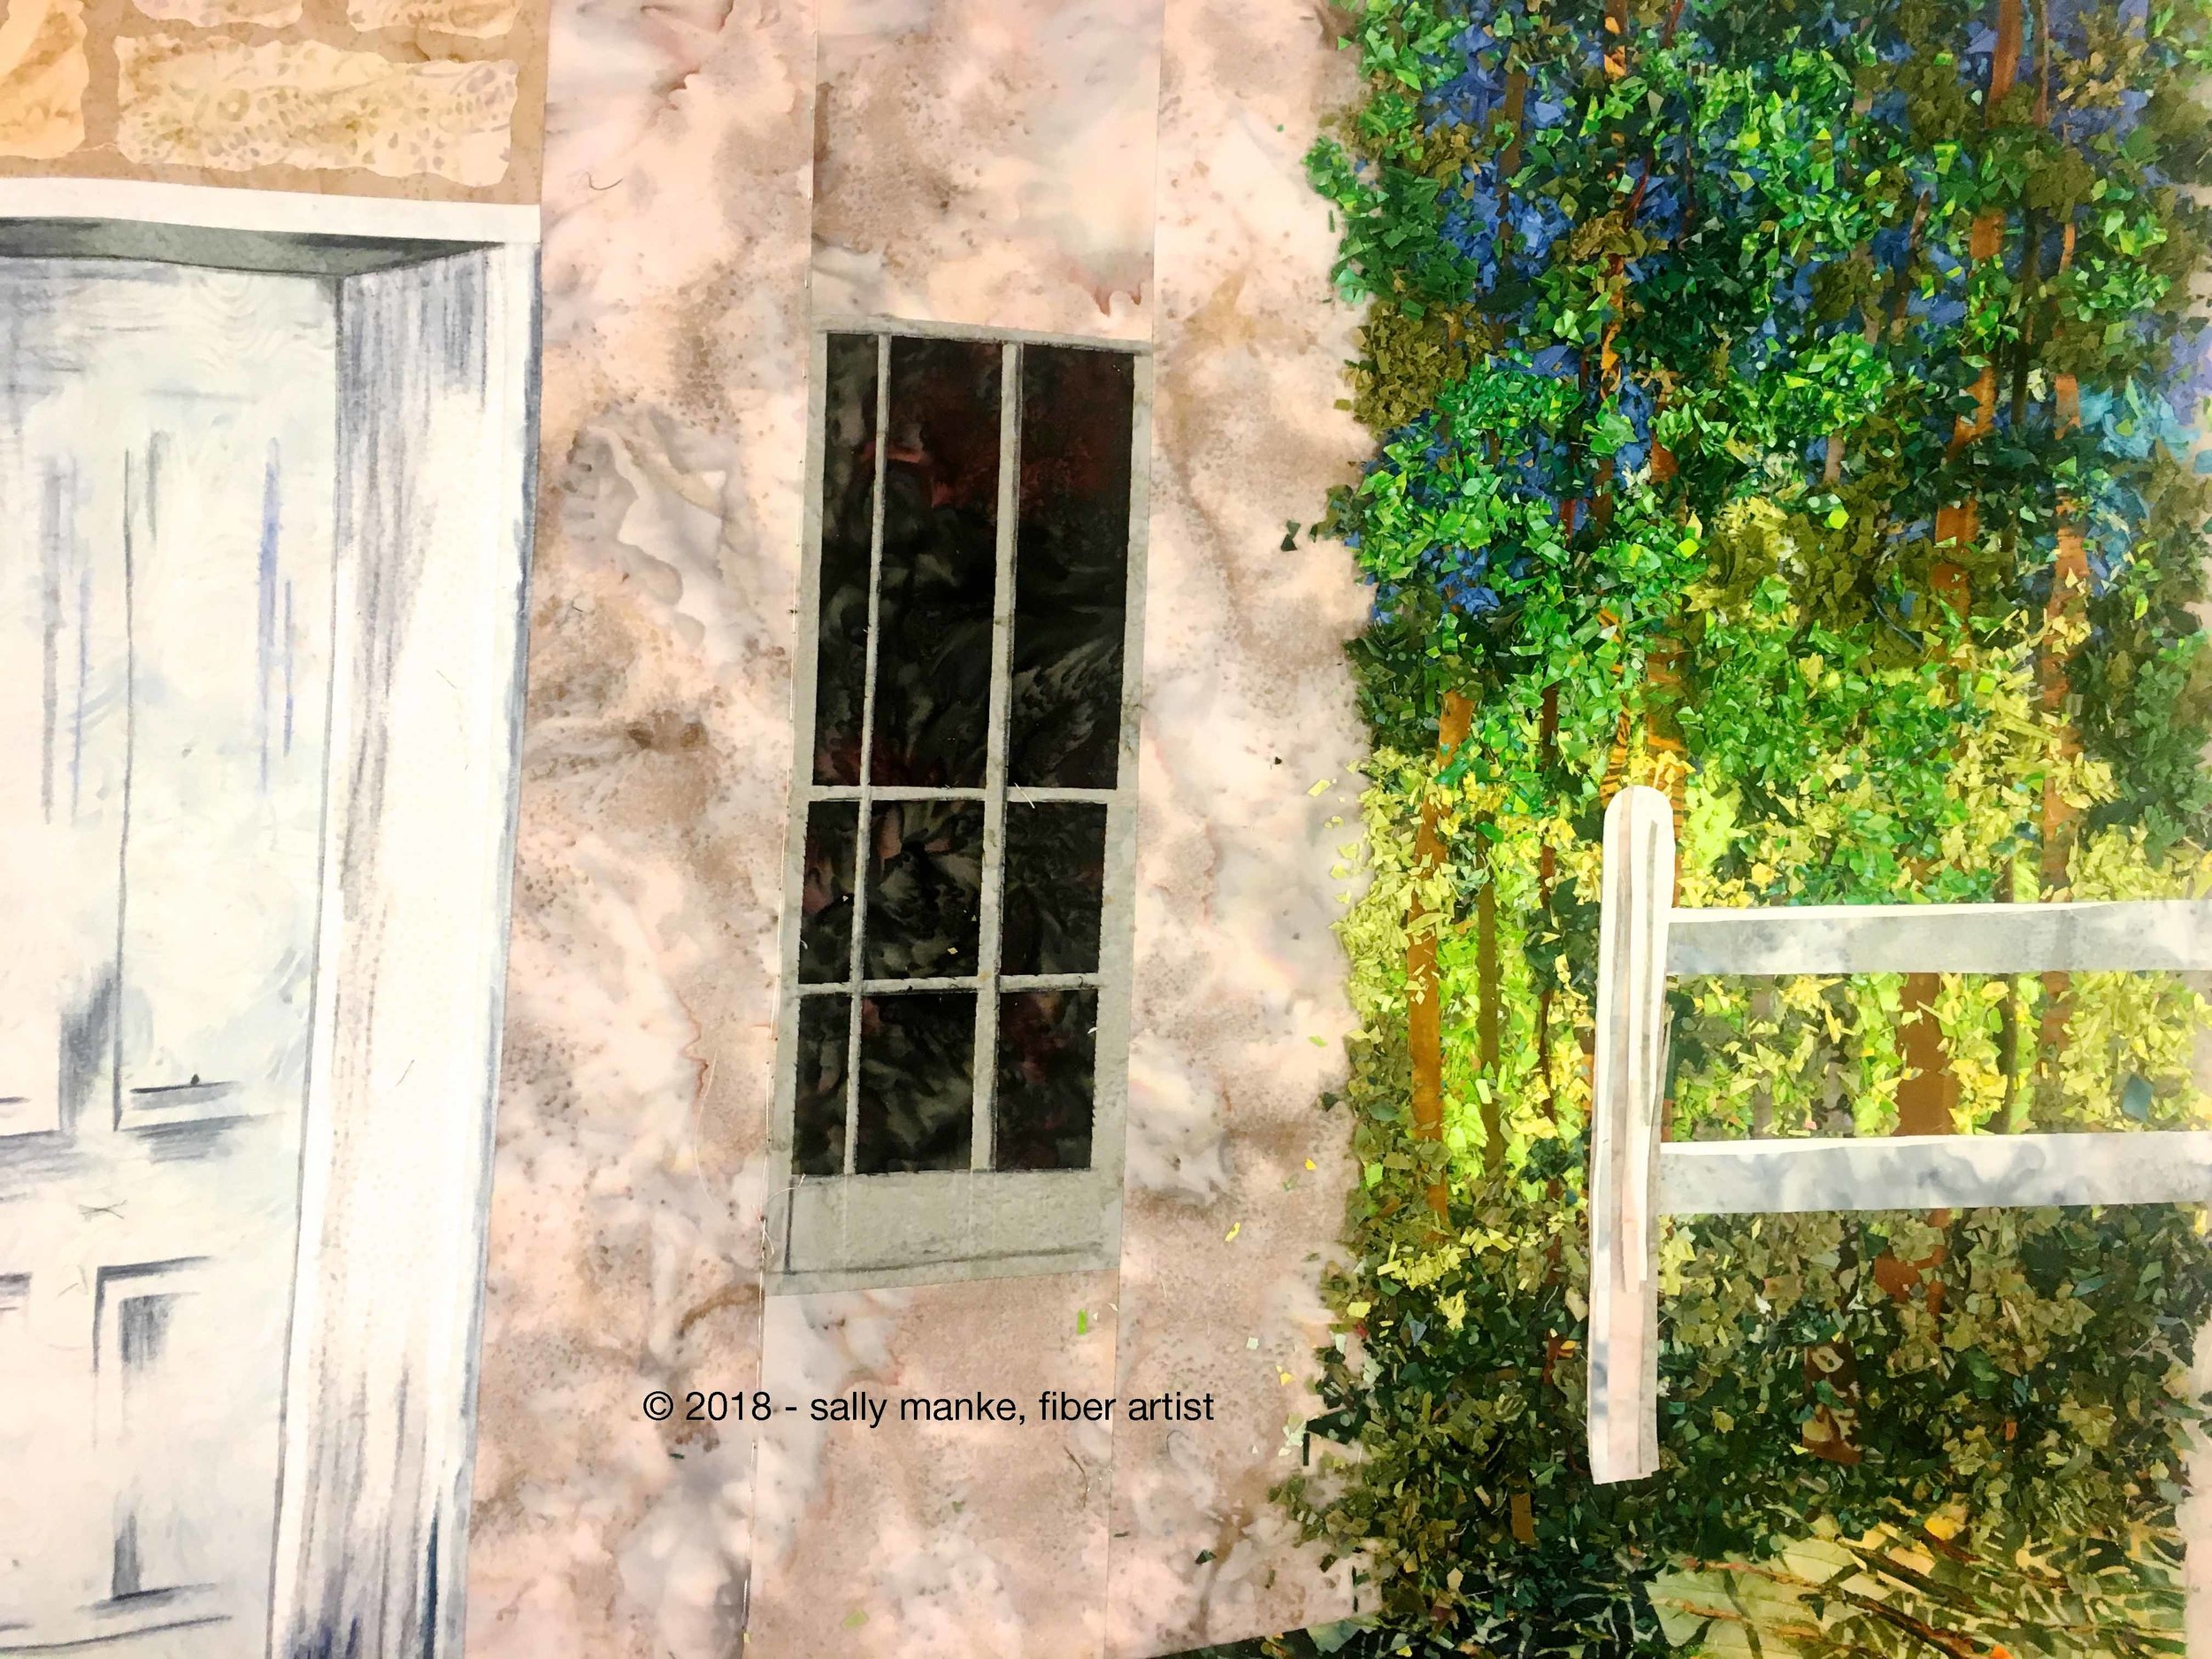
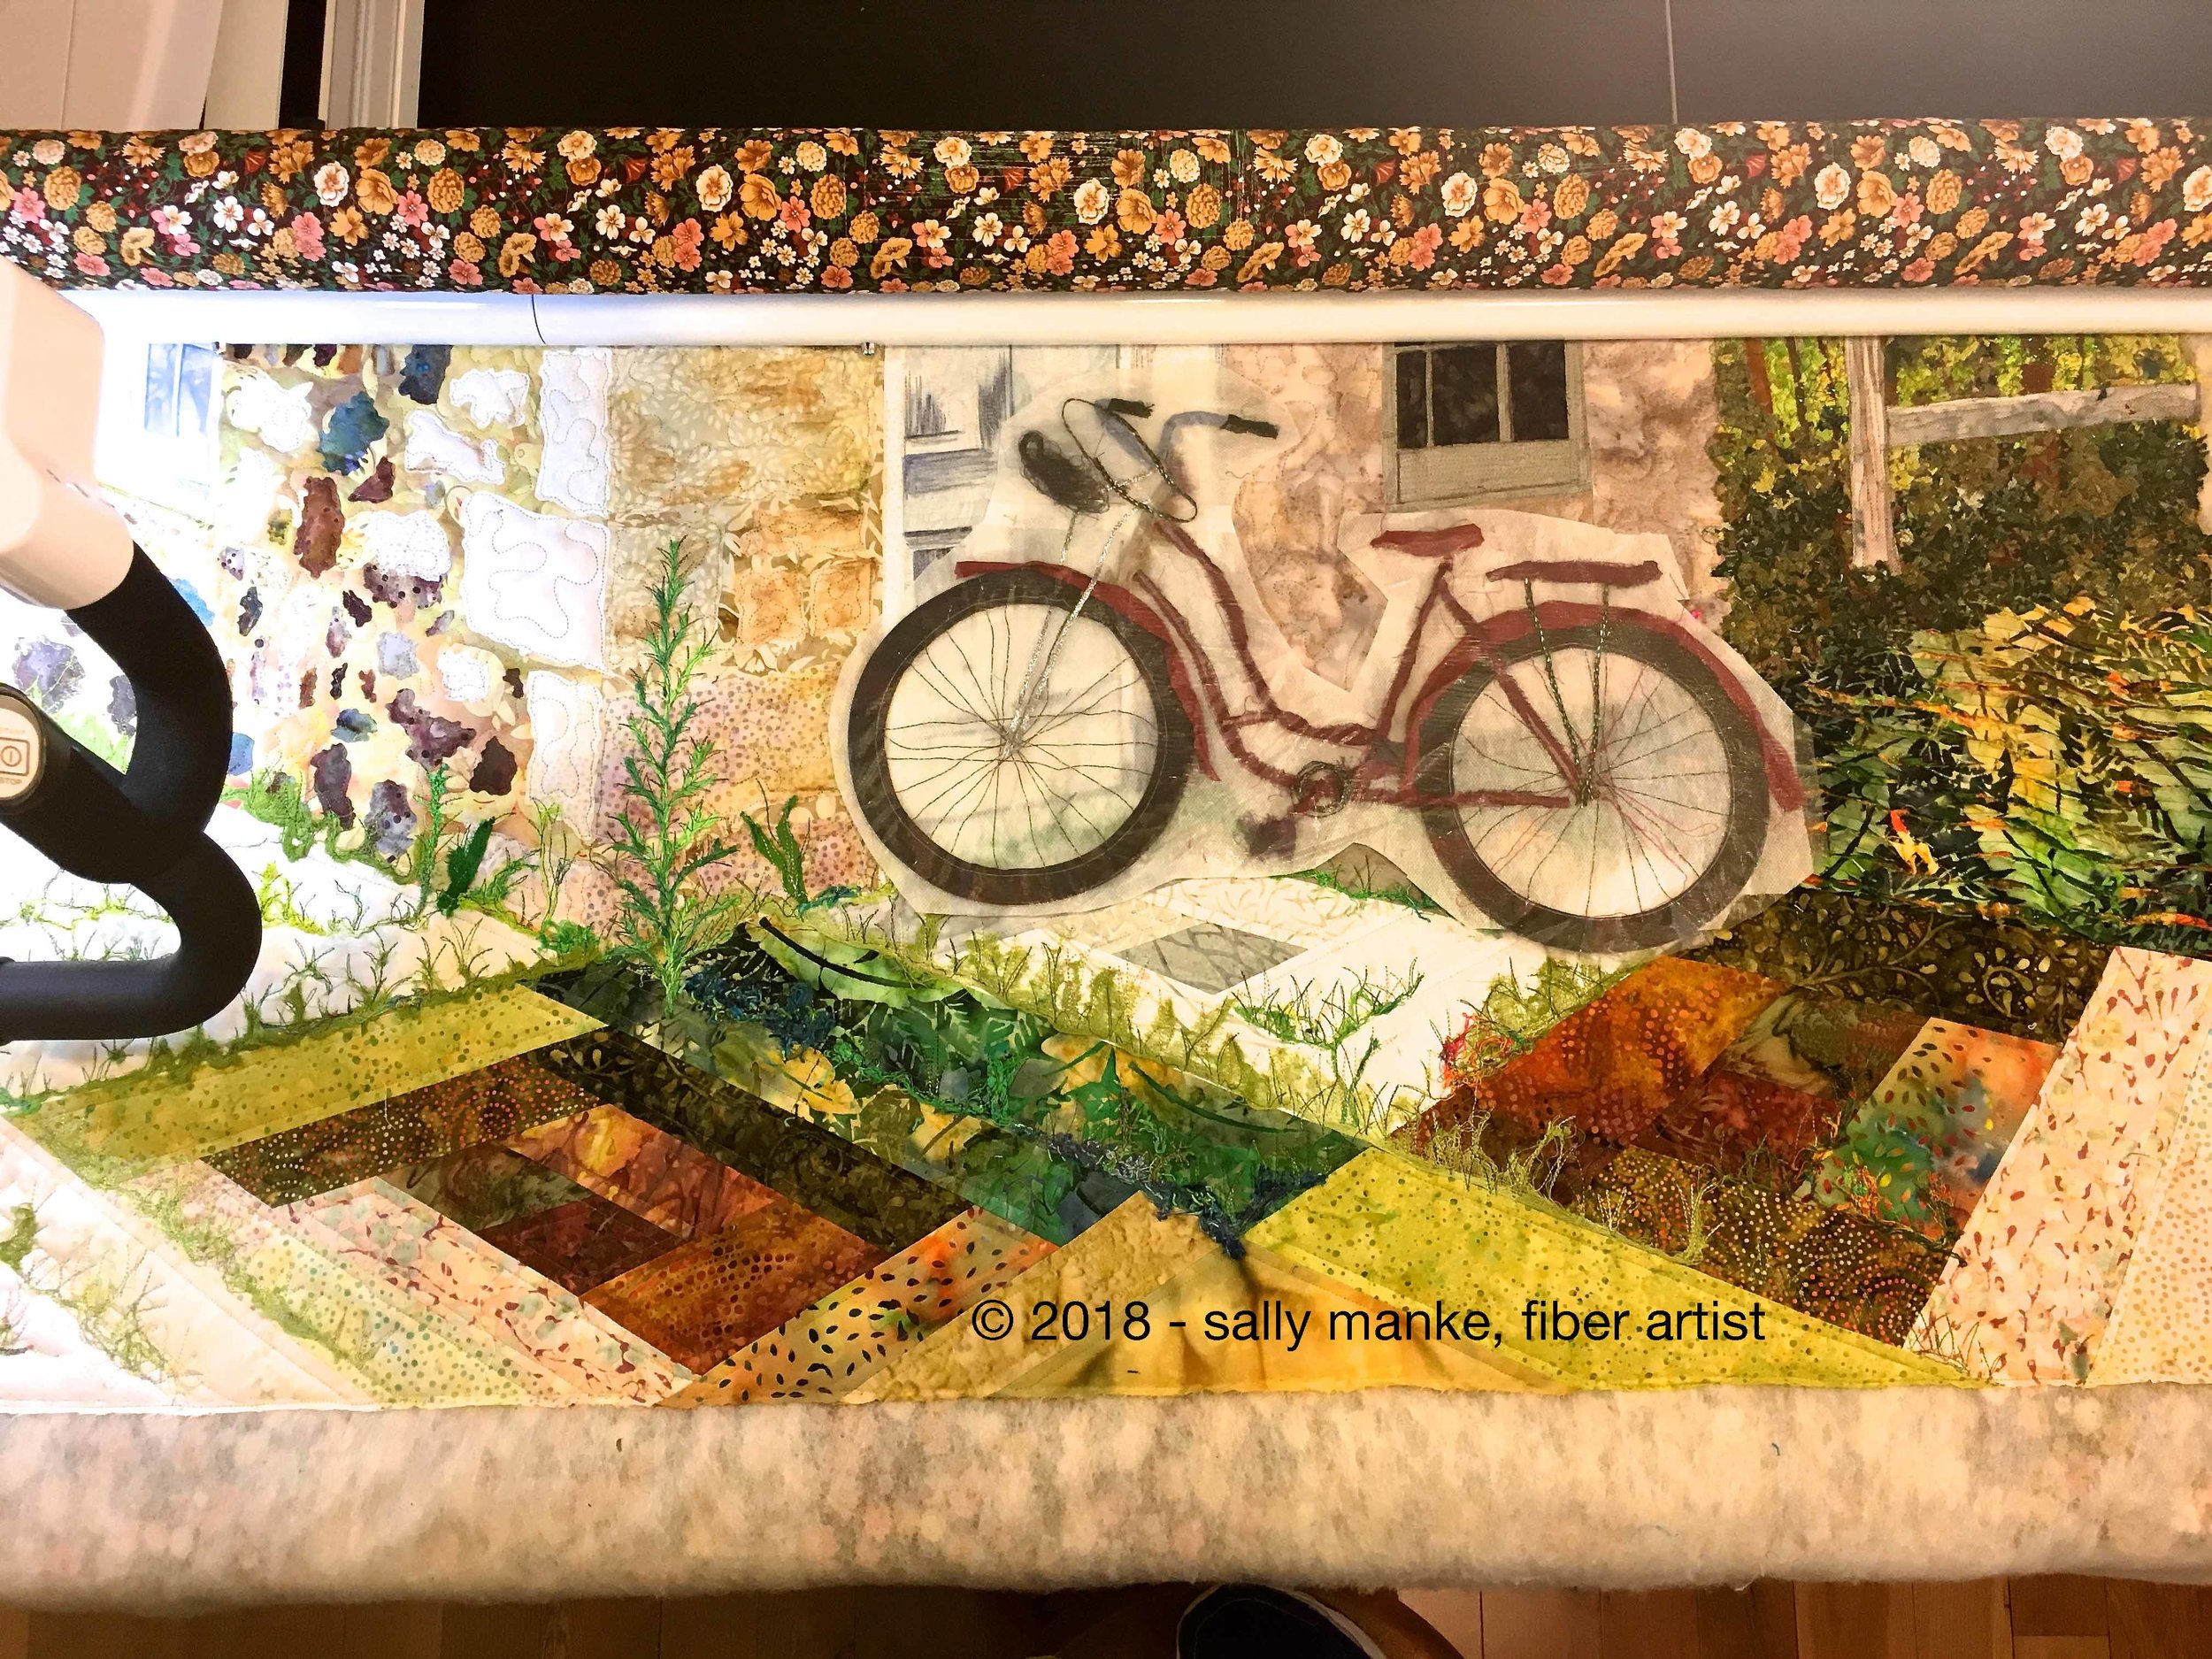
Remember that blank spot over in the top right corner of this quilt? Time to add a bit of nature to the area. Confetti cut sky, trees, and grass are under the old fence.
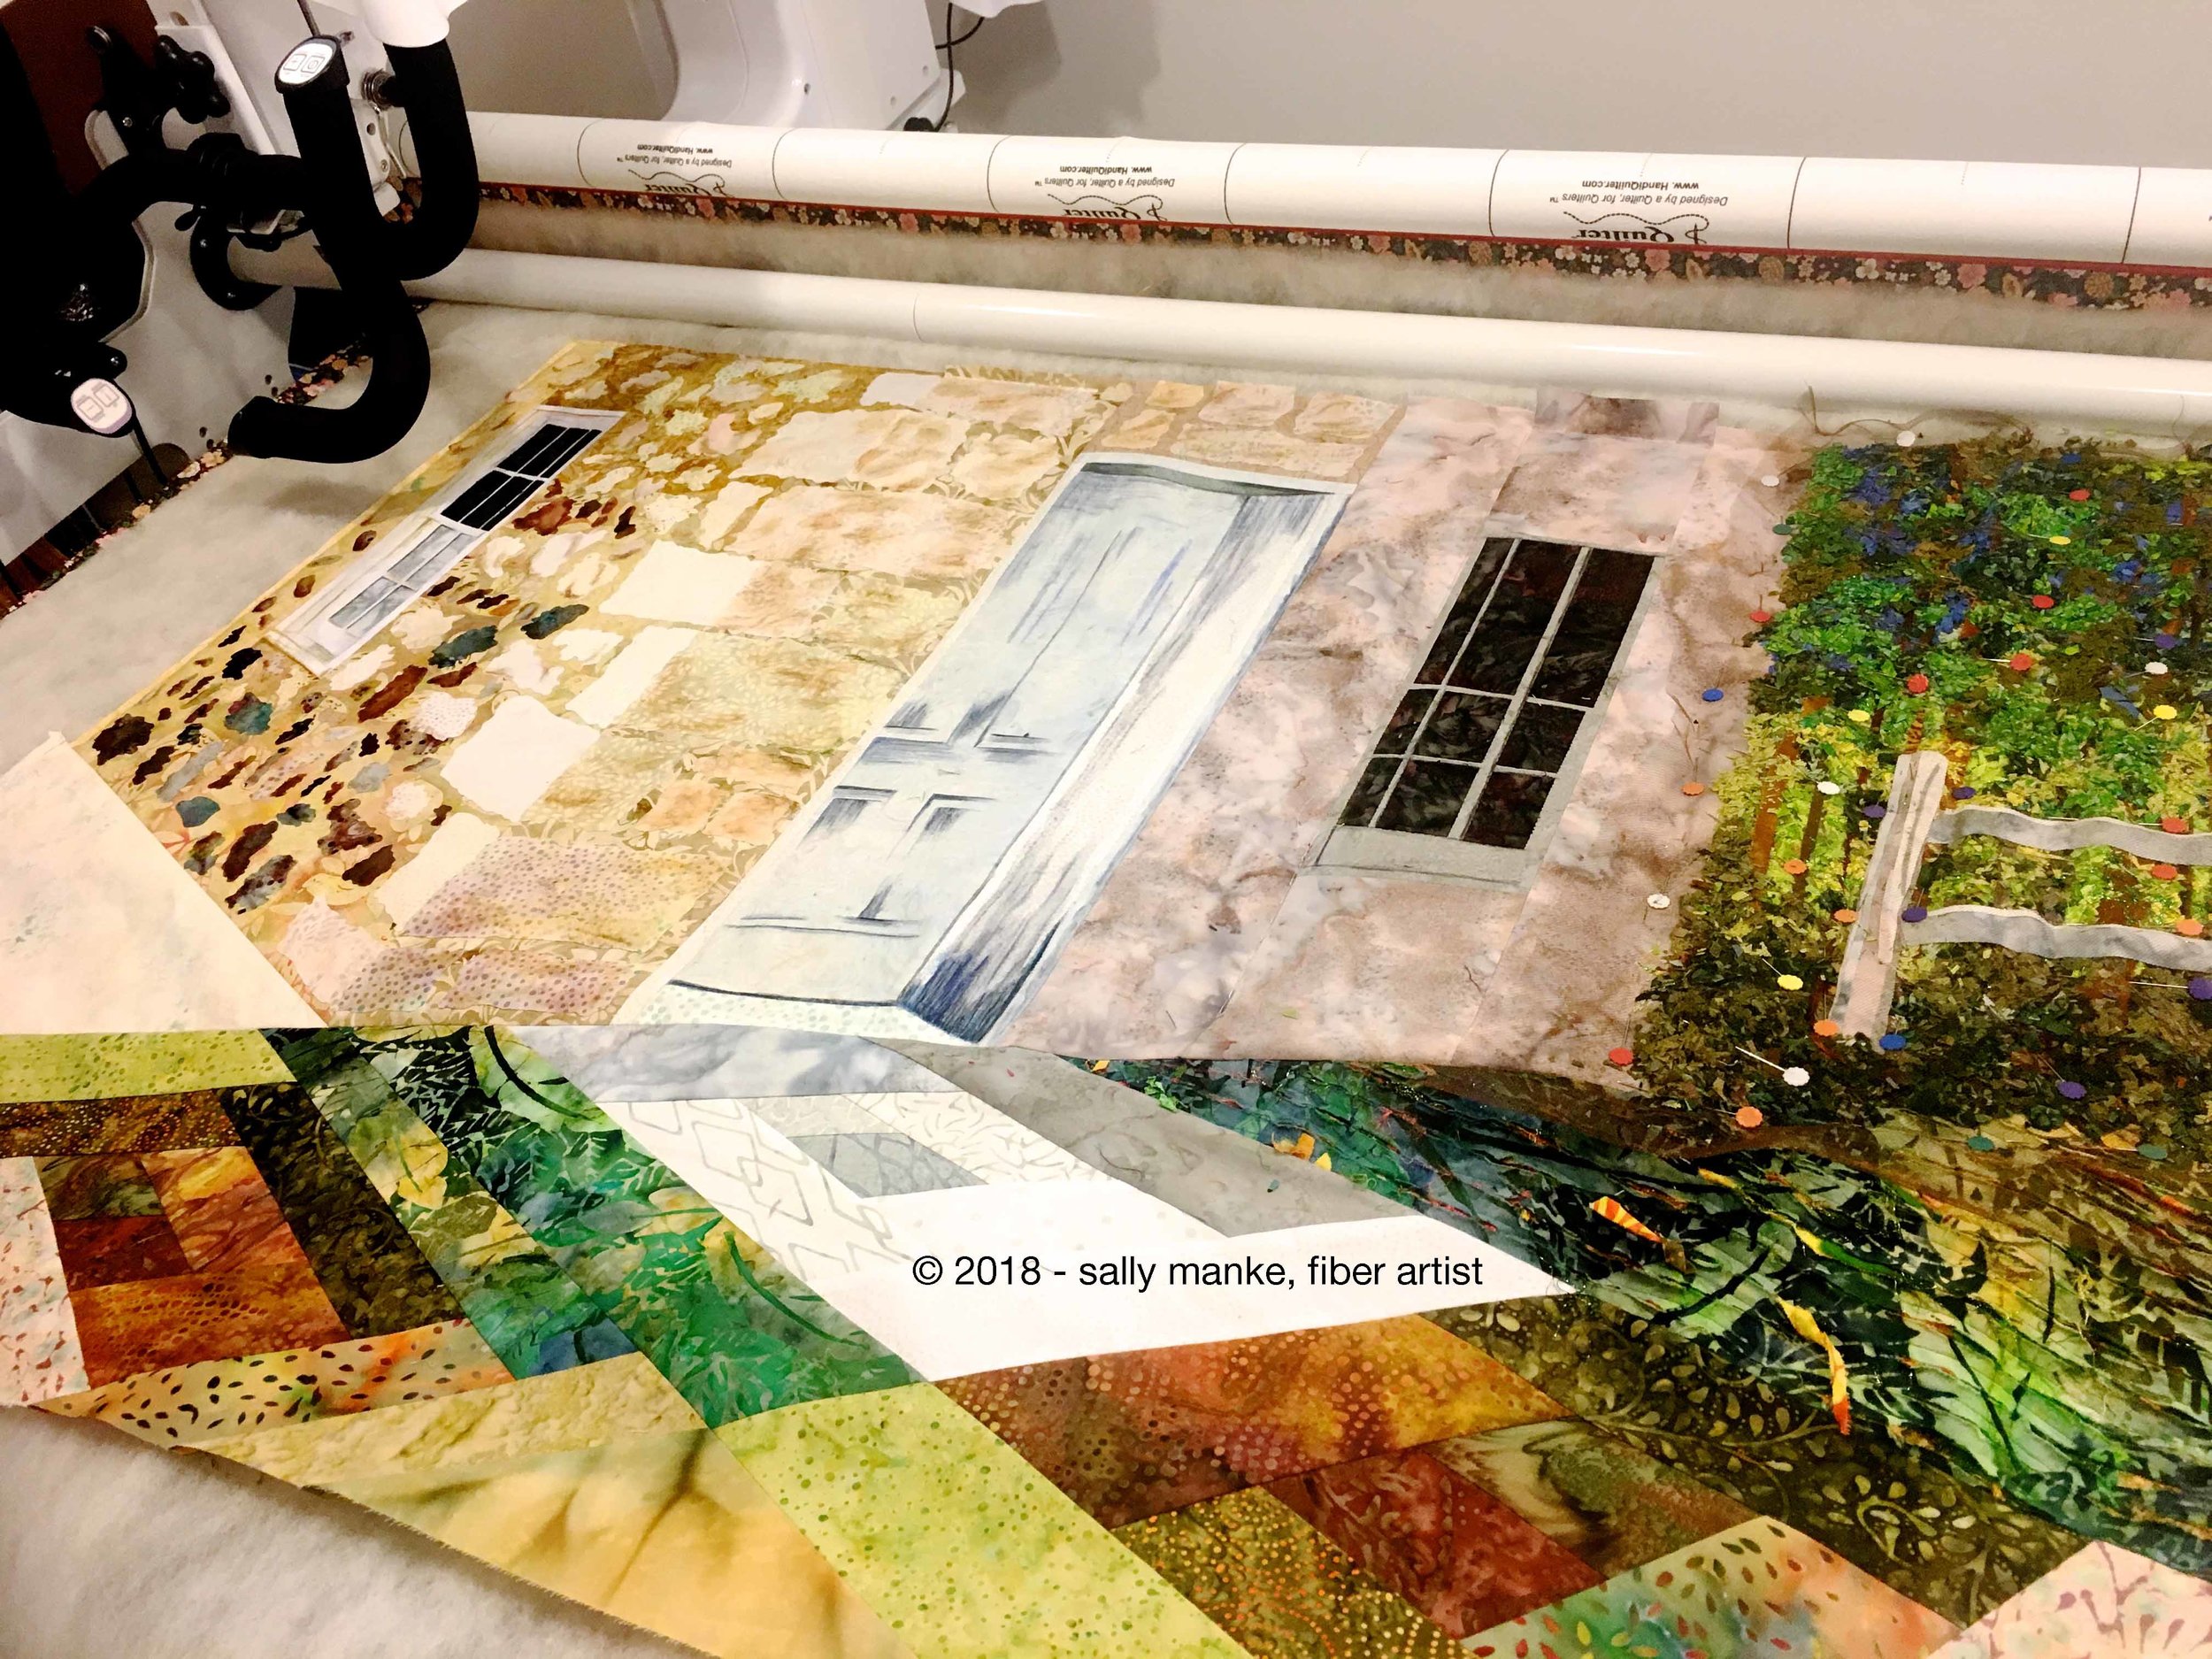
Quilting
Adding a bit of thread painting with Handi Quilter Avante. This adds a bit of texture to the Inktense painted areas and calms the confetti quilted area.
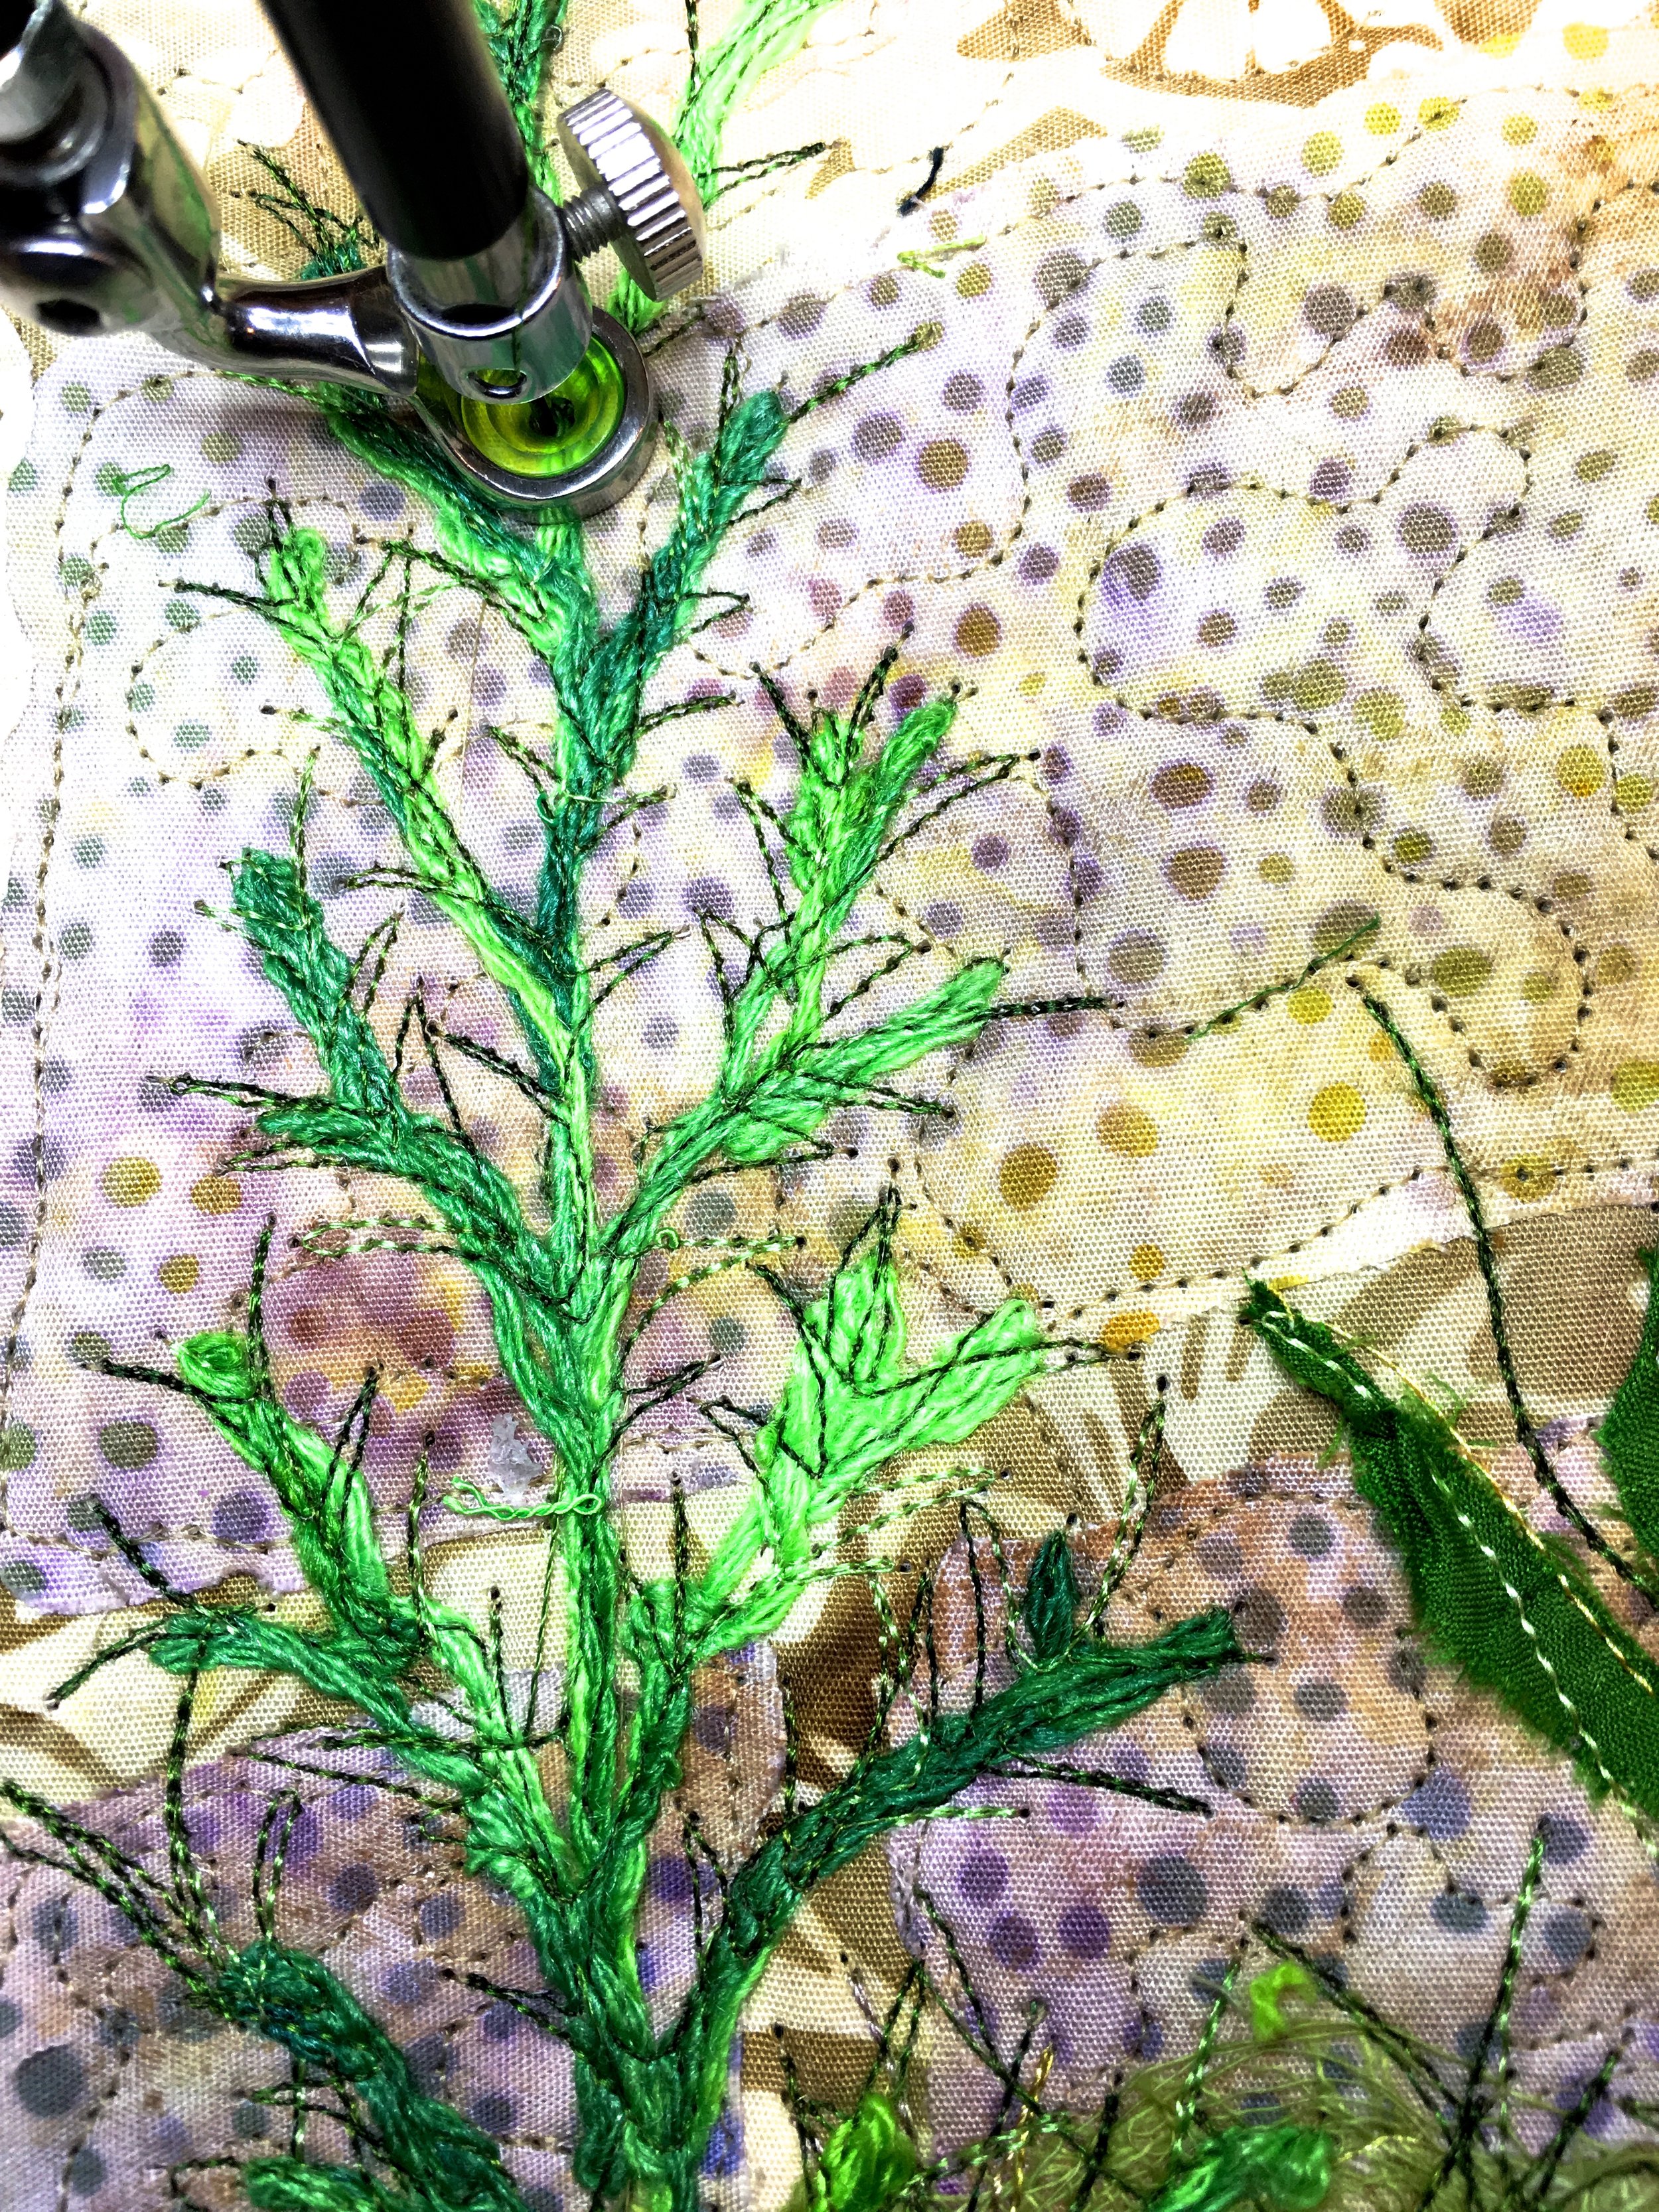
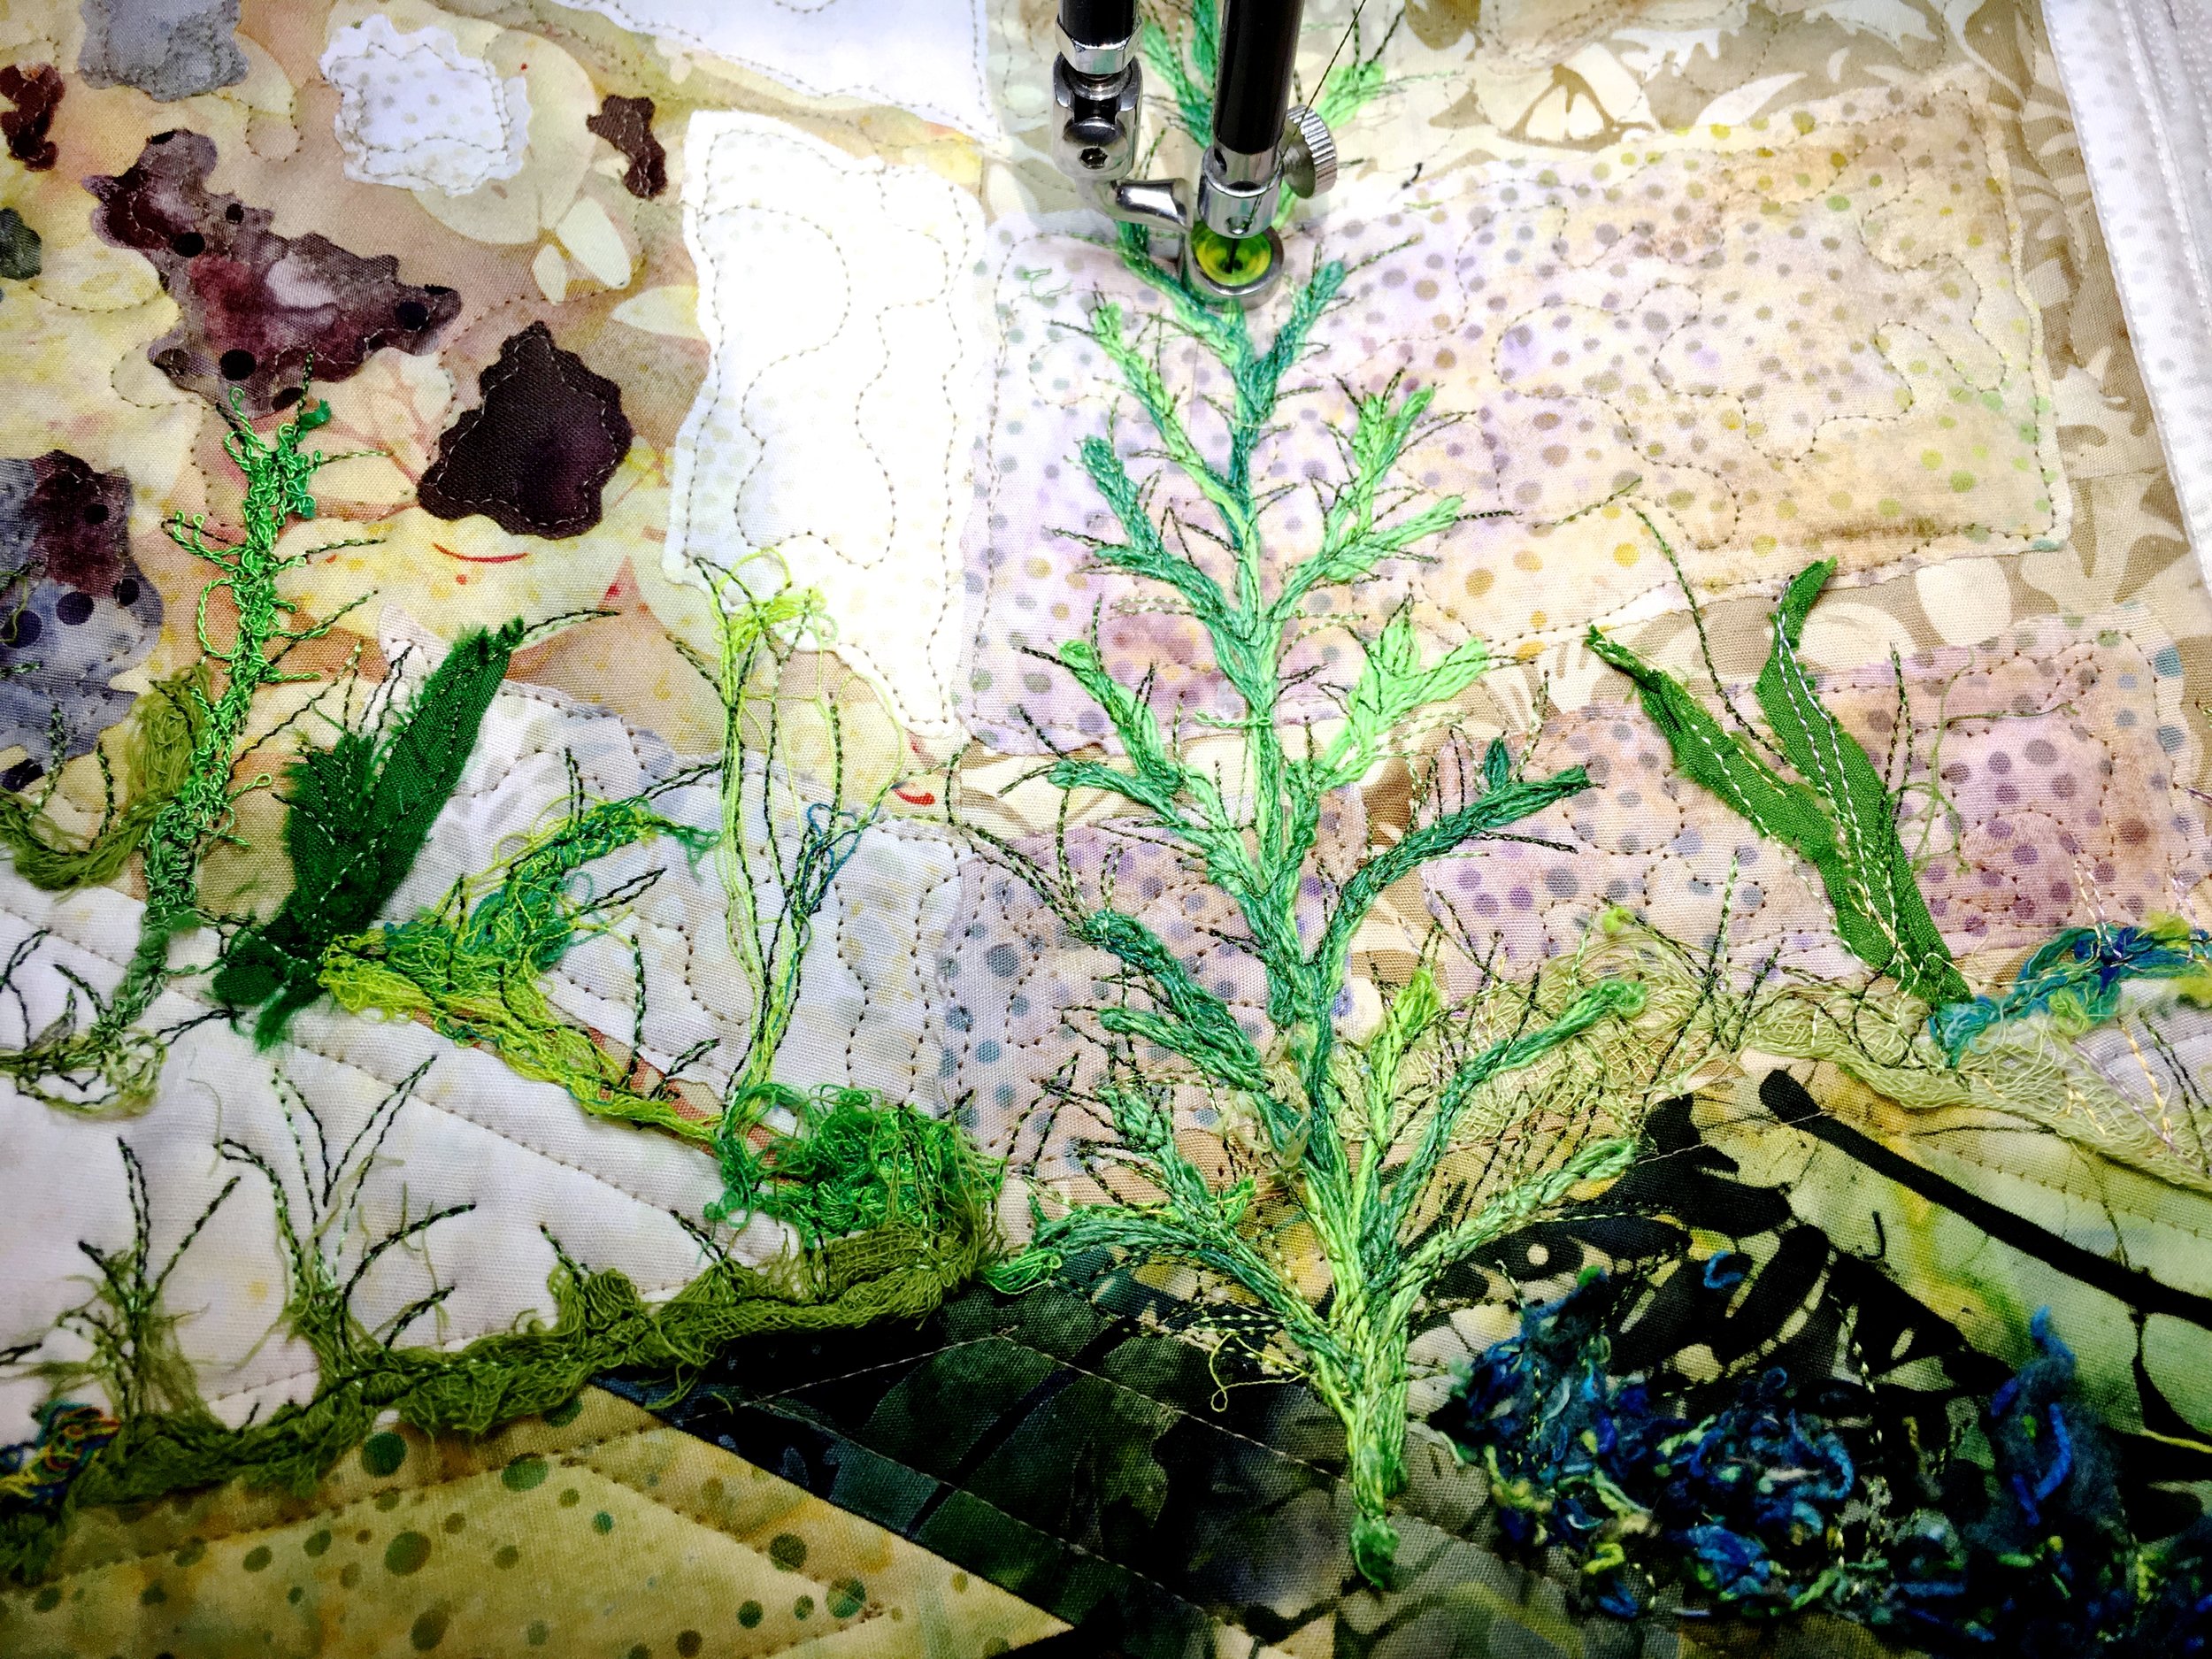
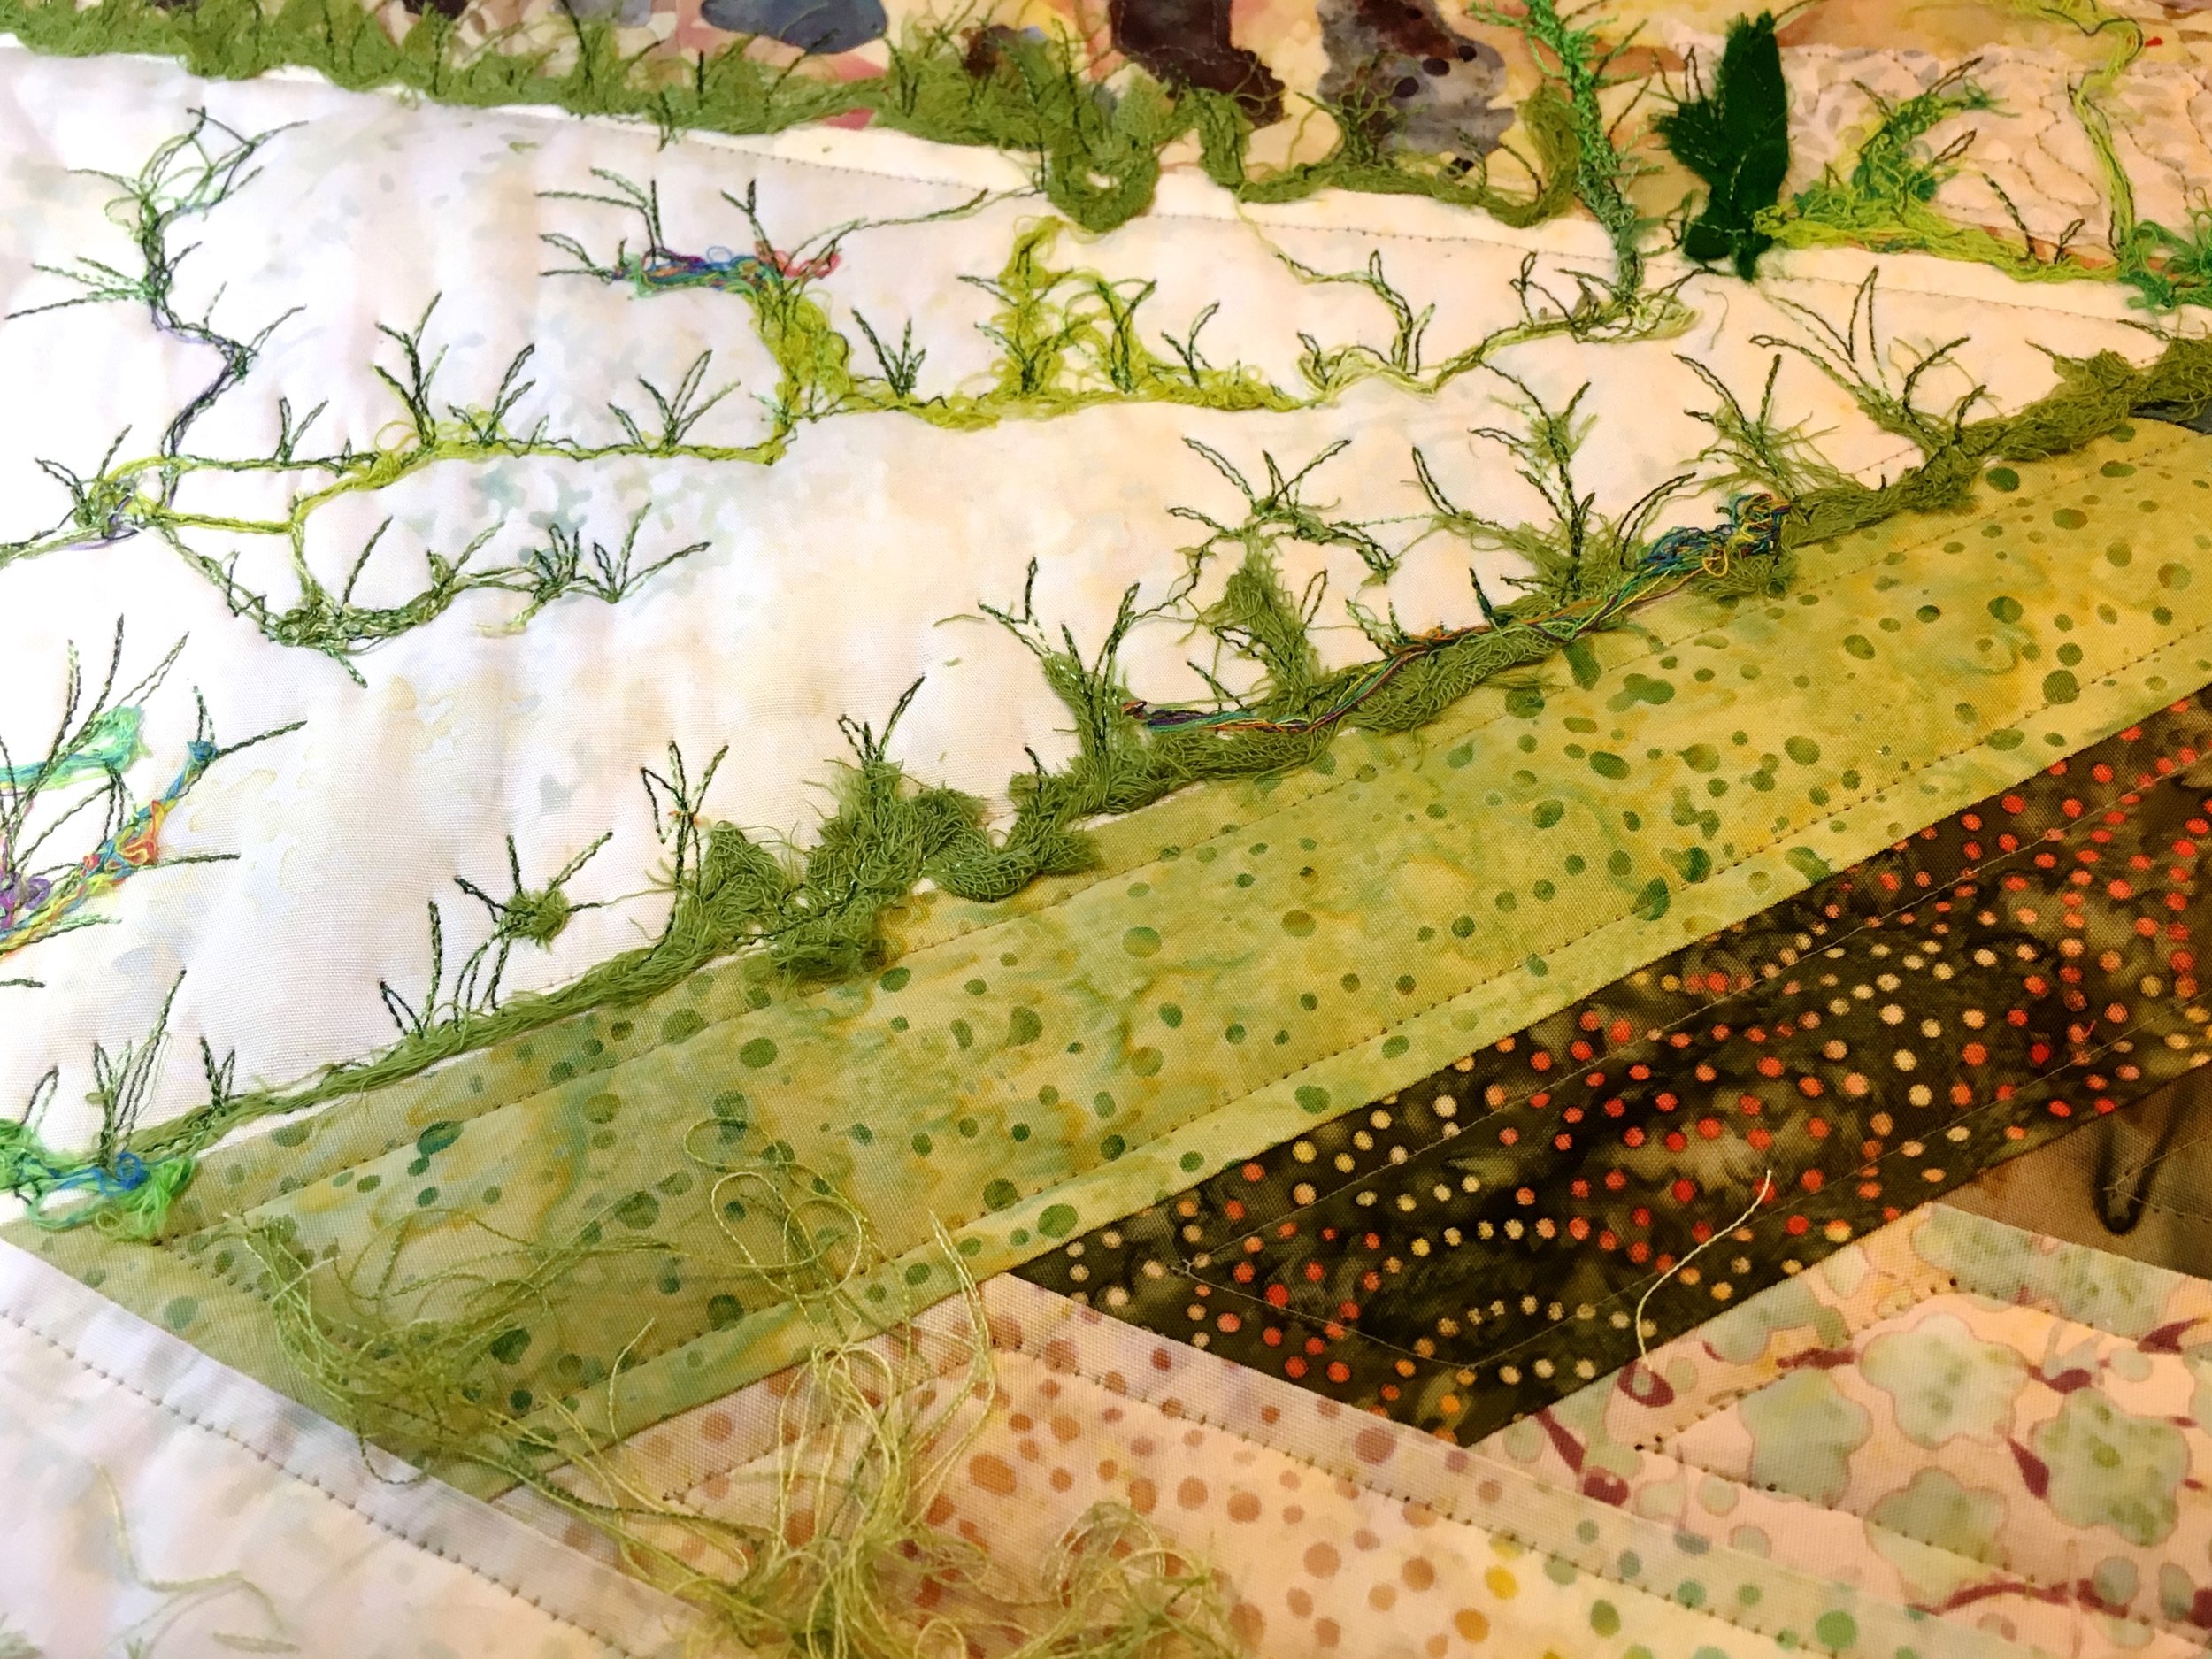
Many know that I save every scrap of fiber in my studio. Today that paid off as I stitched hand dyed cheesecloth, sari silk, novelty yarns, unique trims and even dryer lint while creating grass, weeds and bushes.

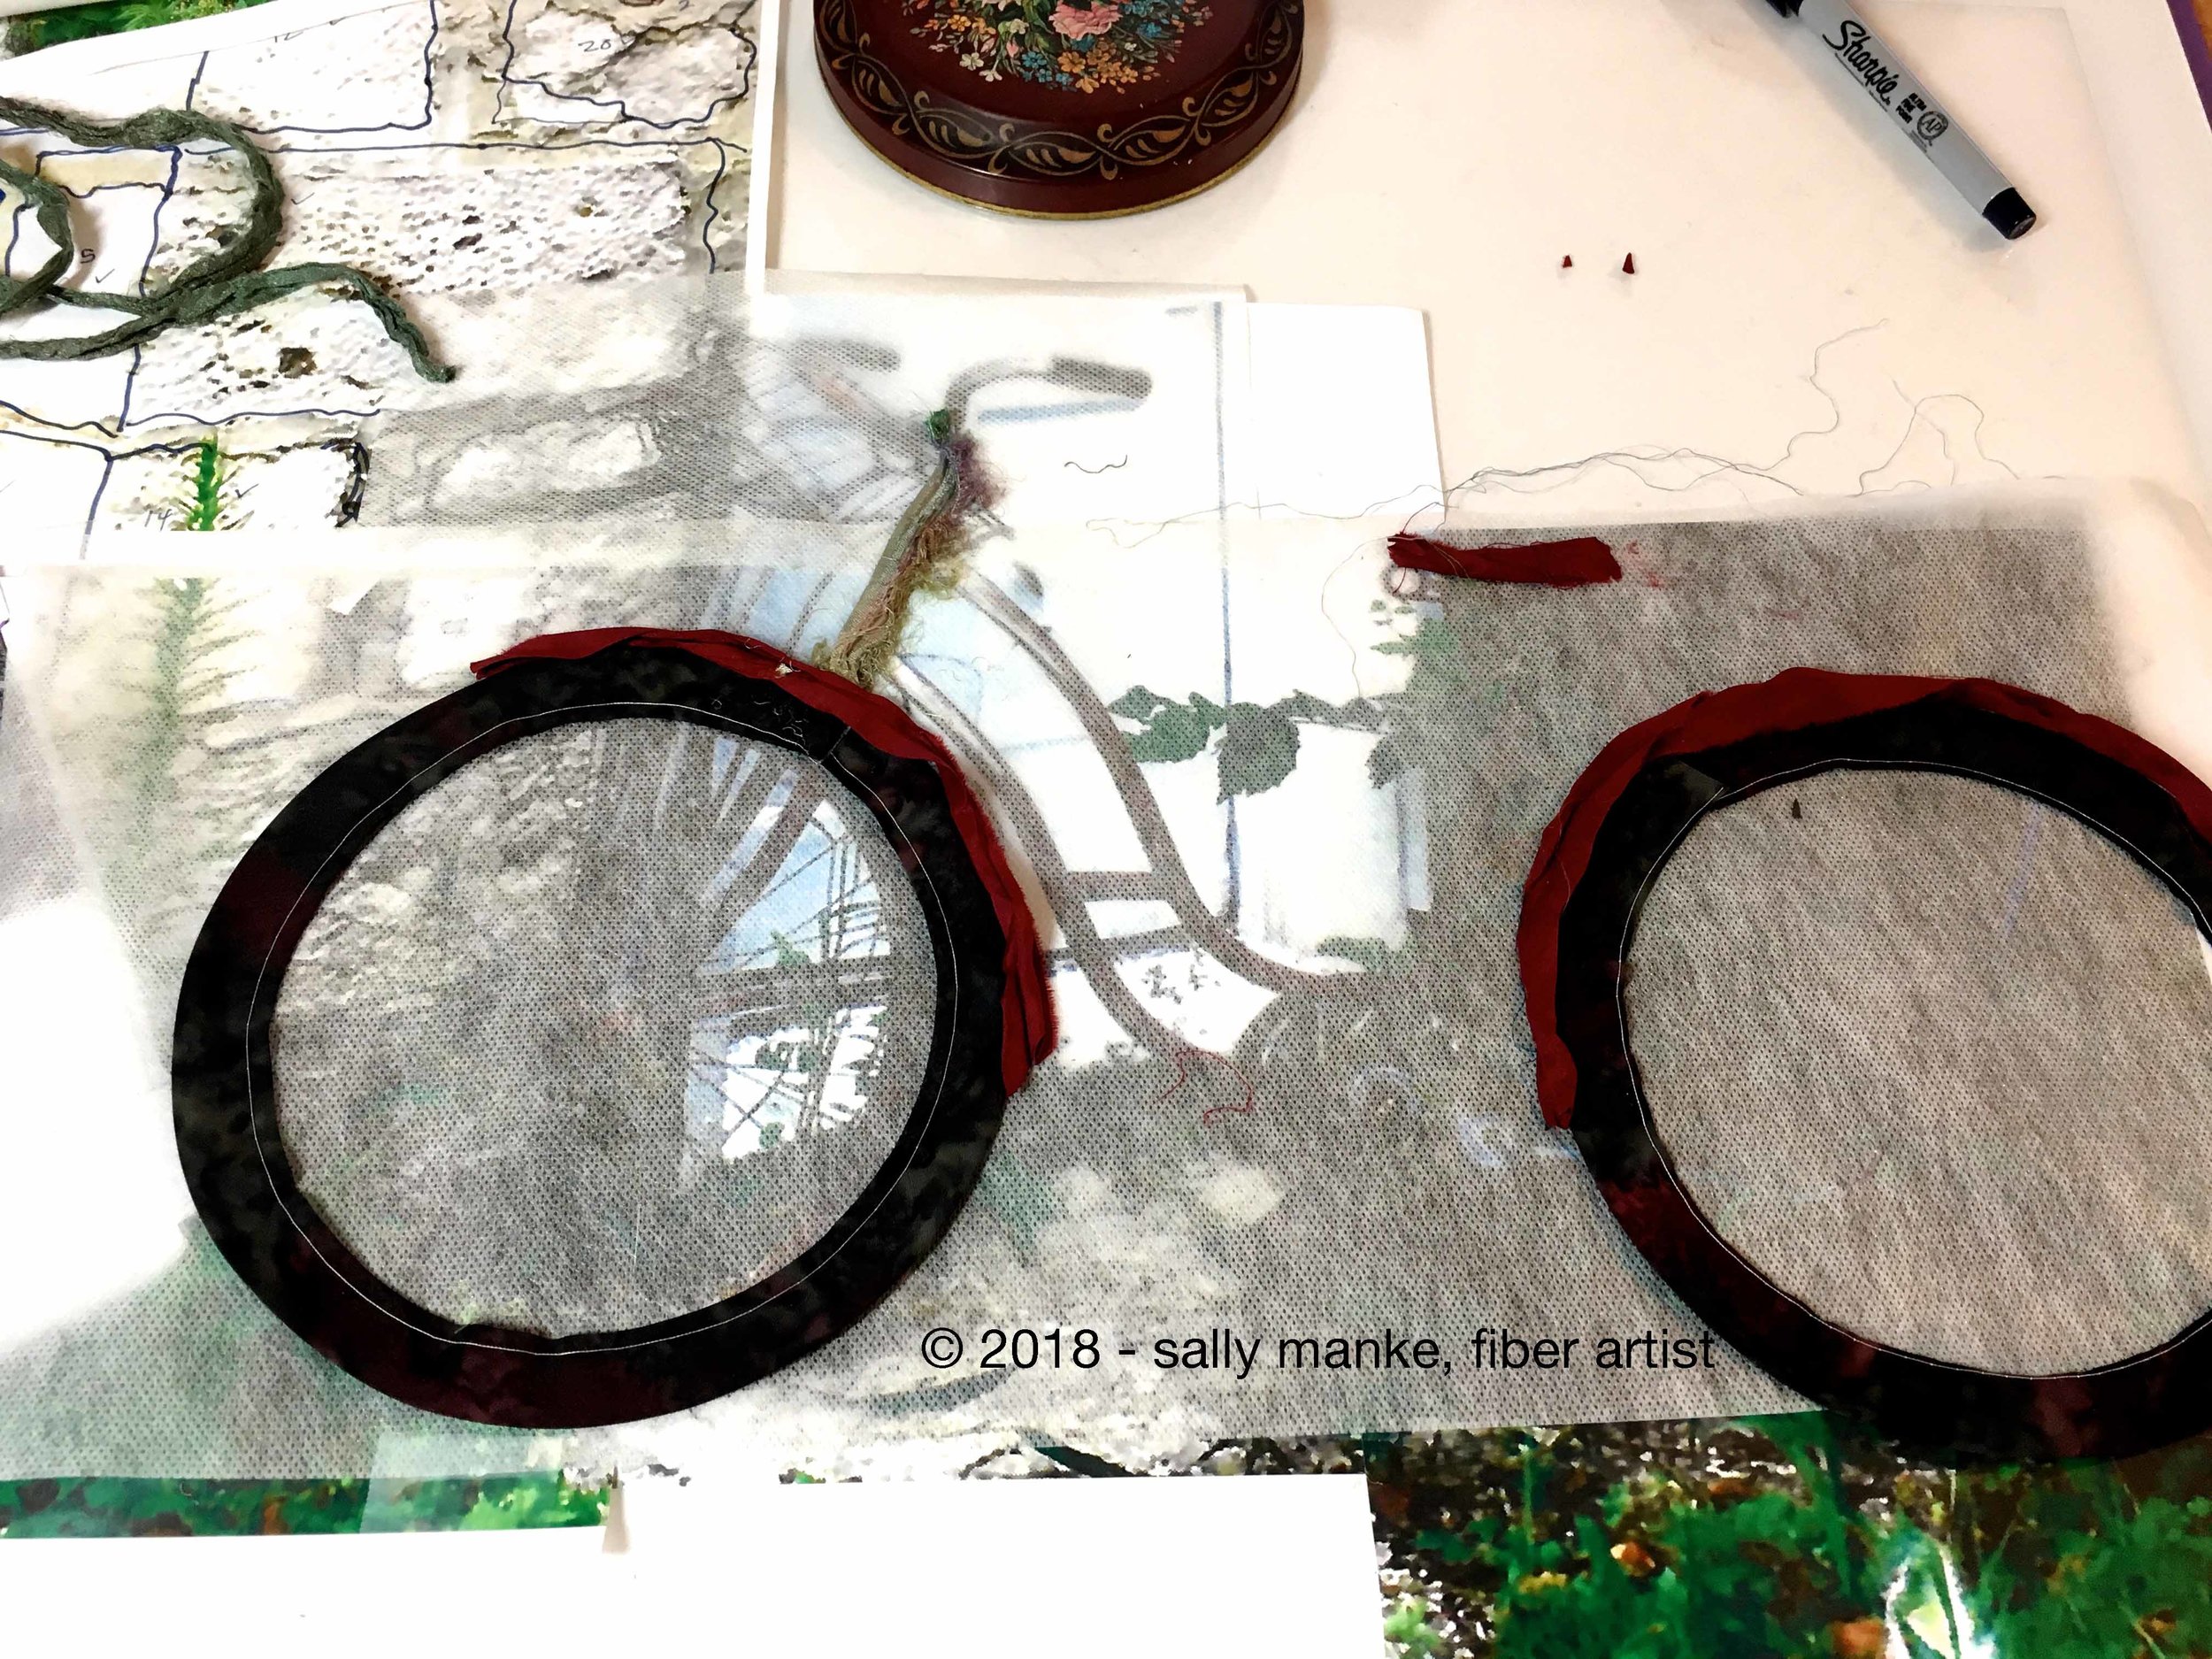
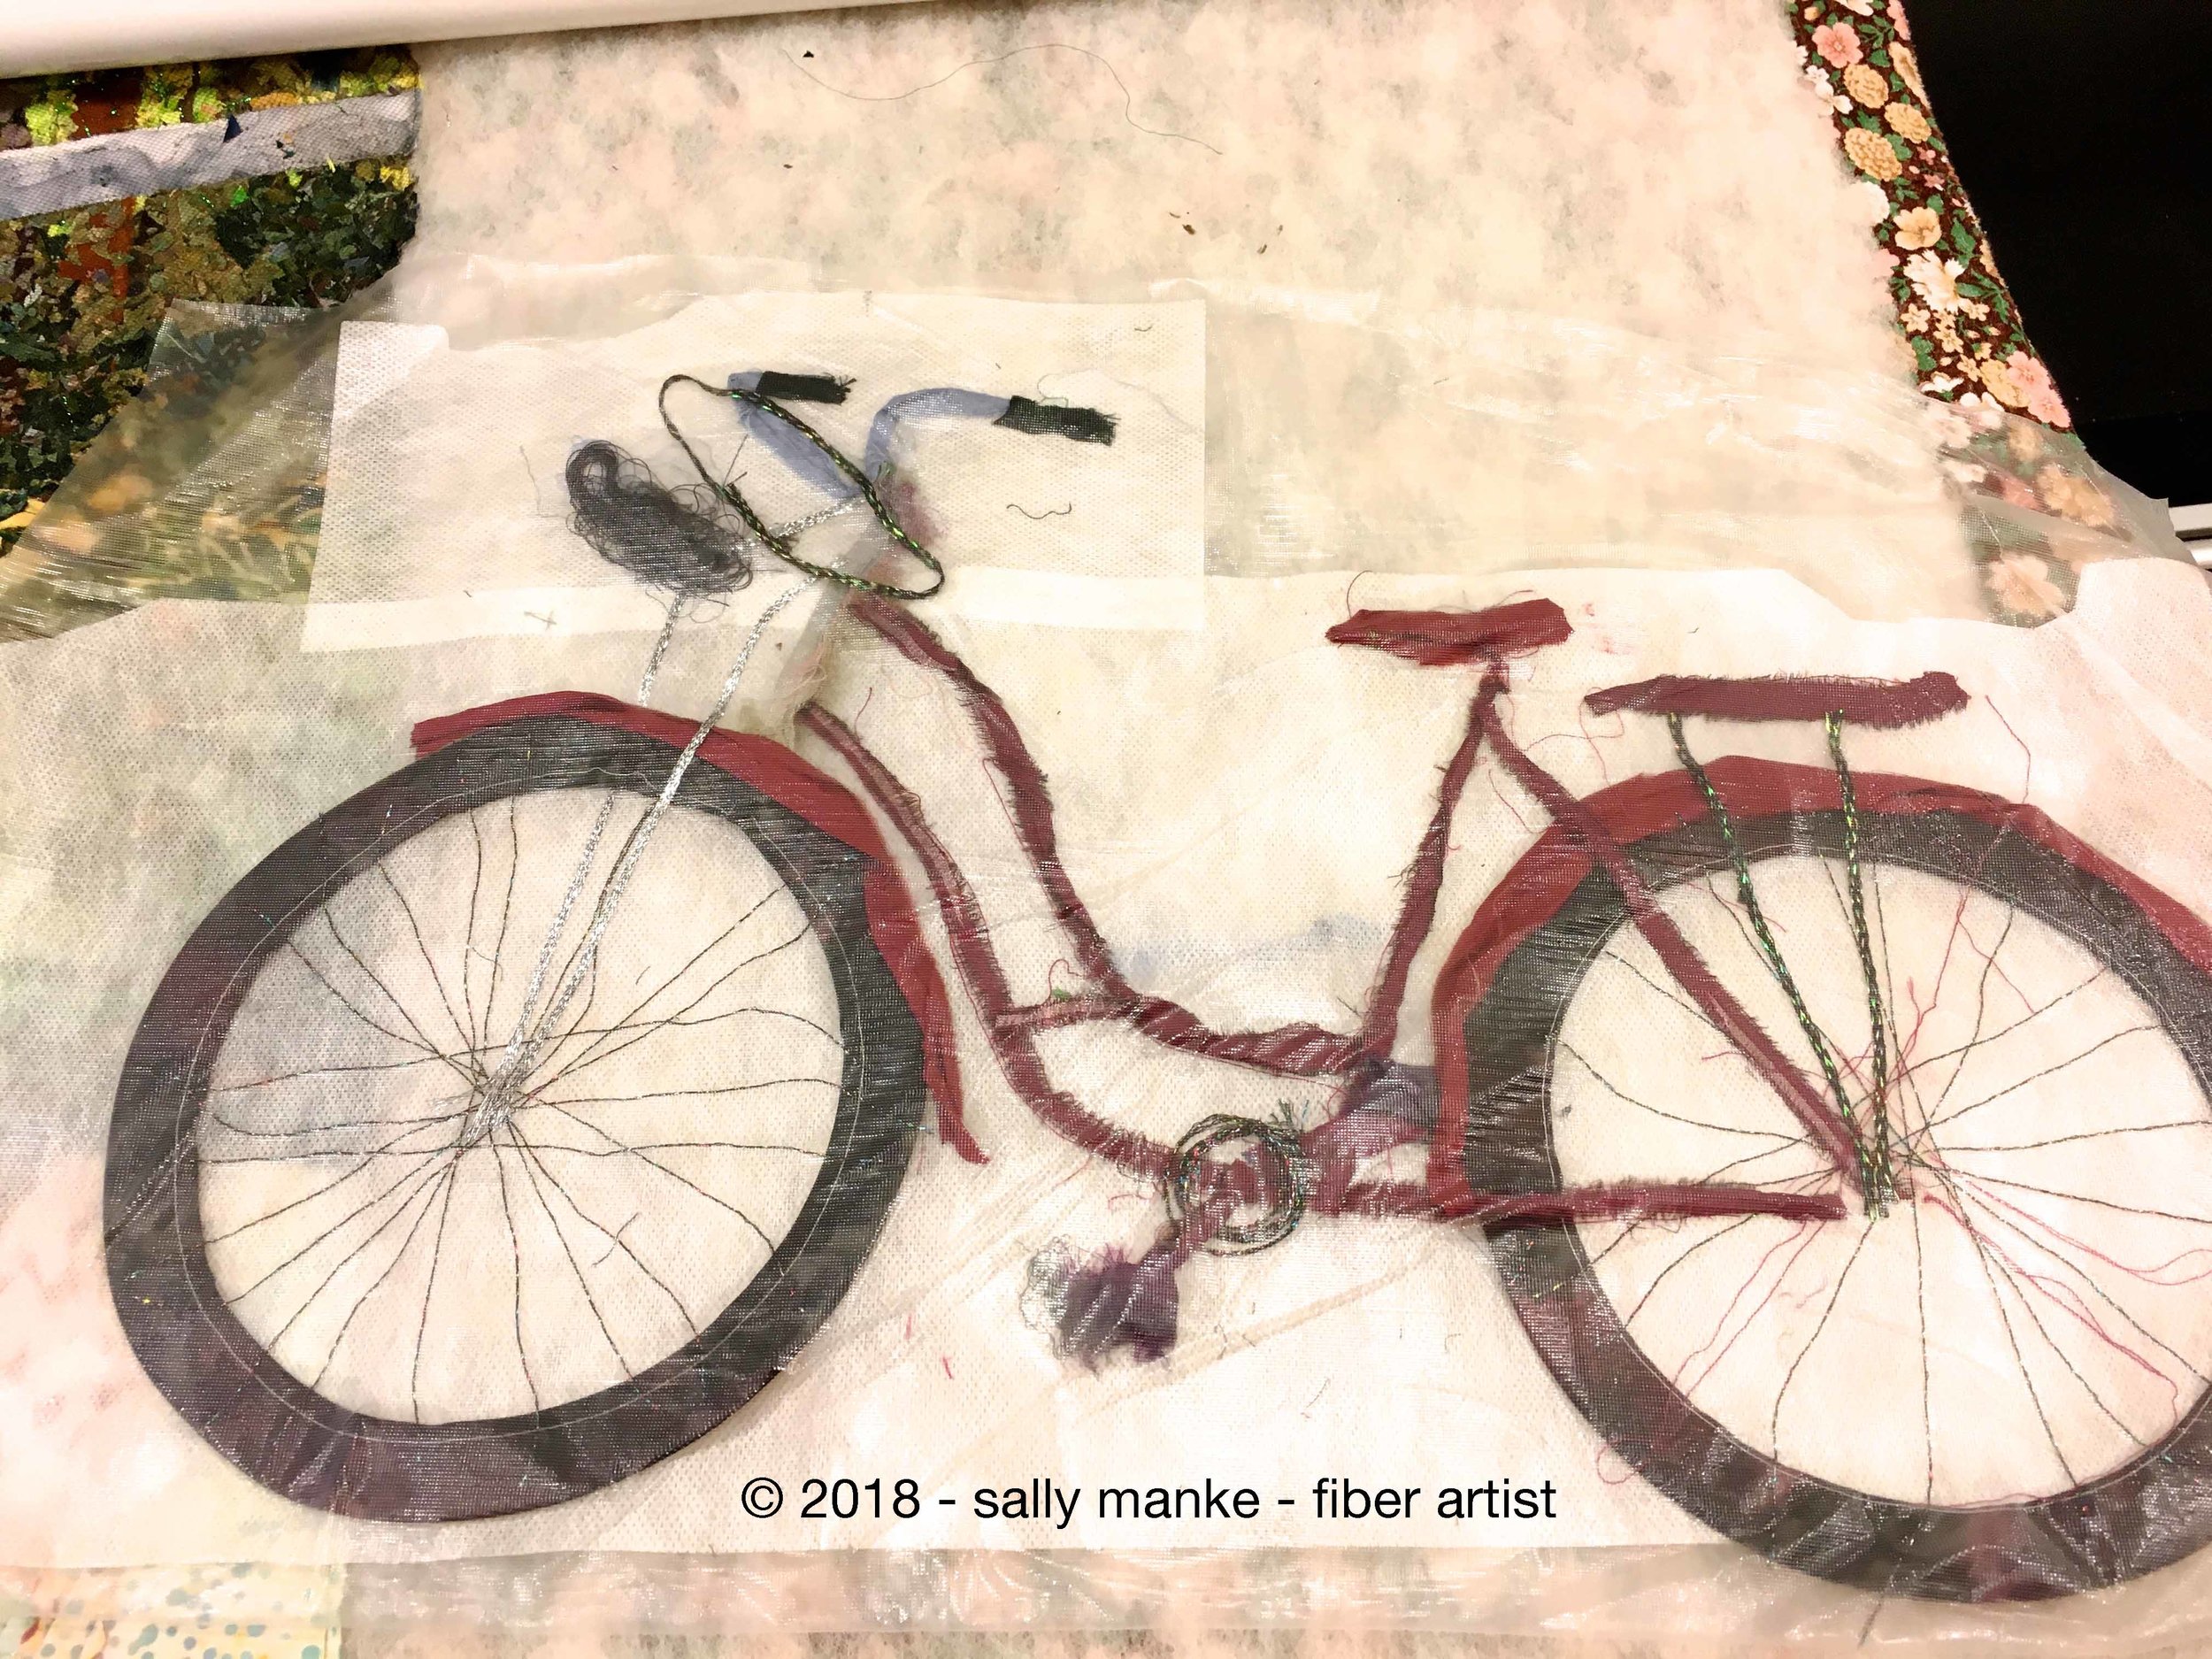
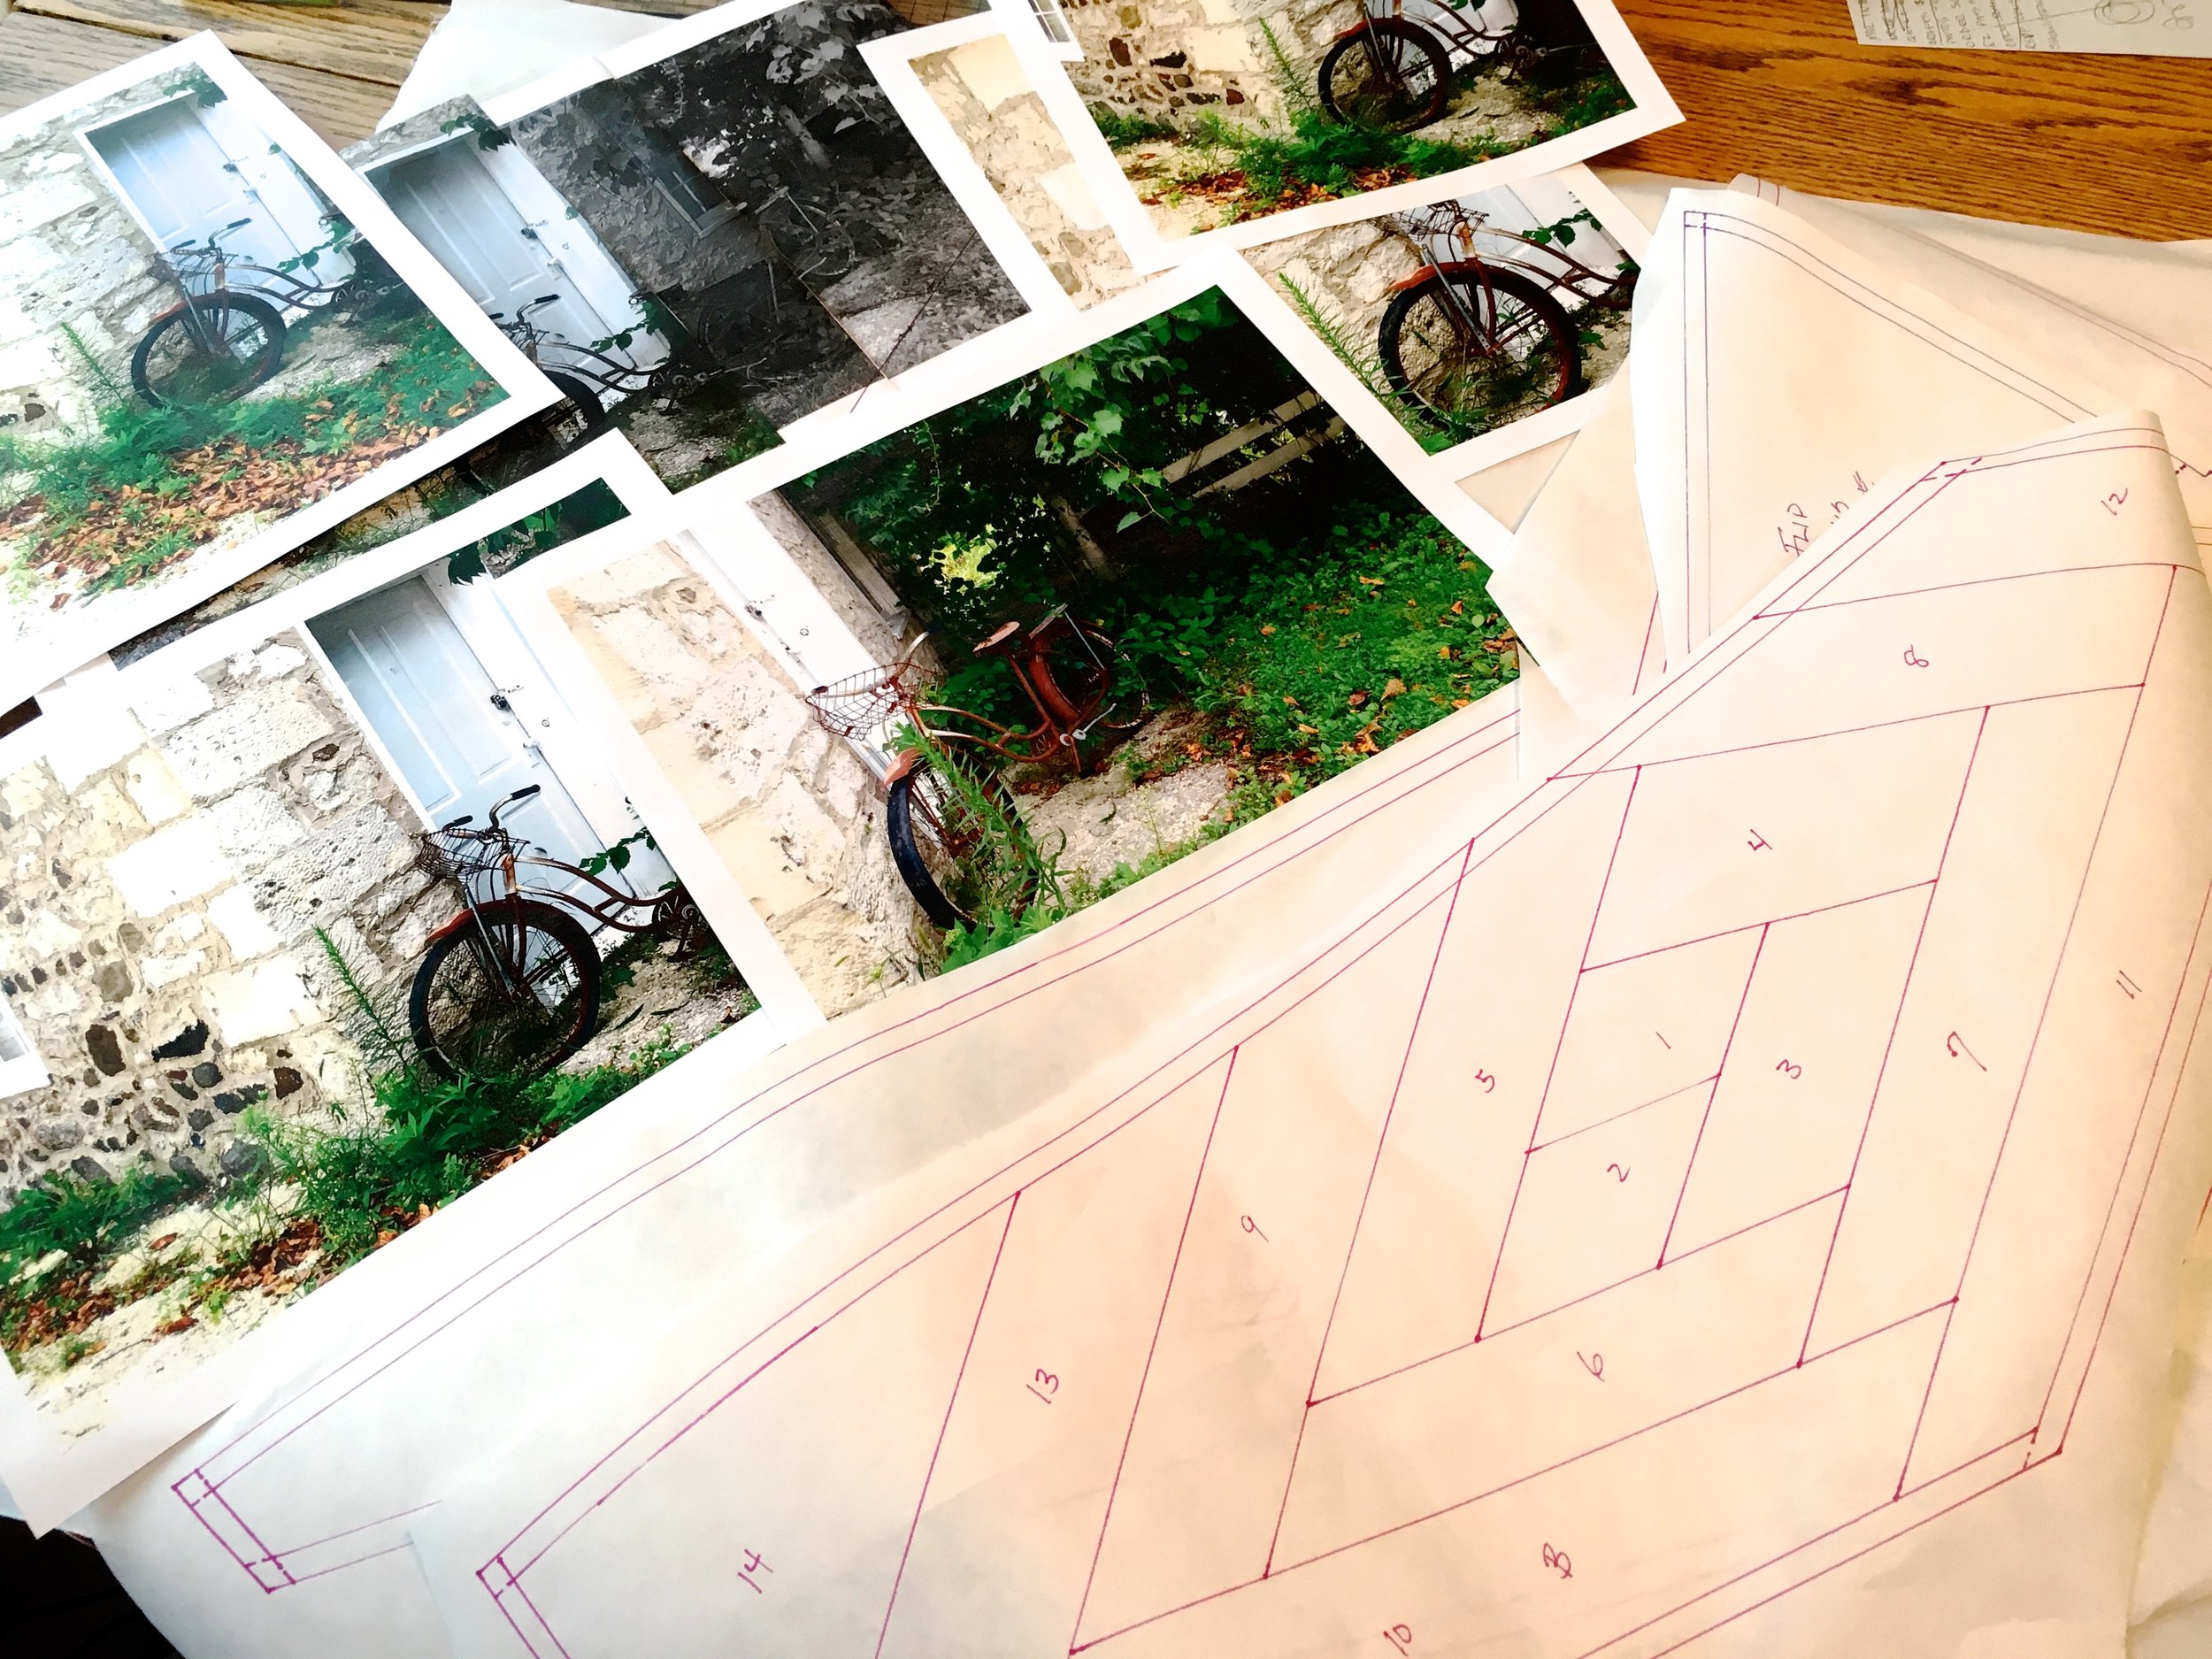
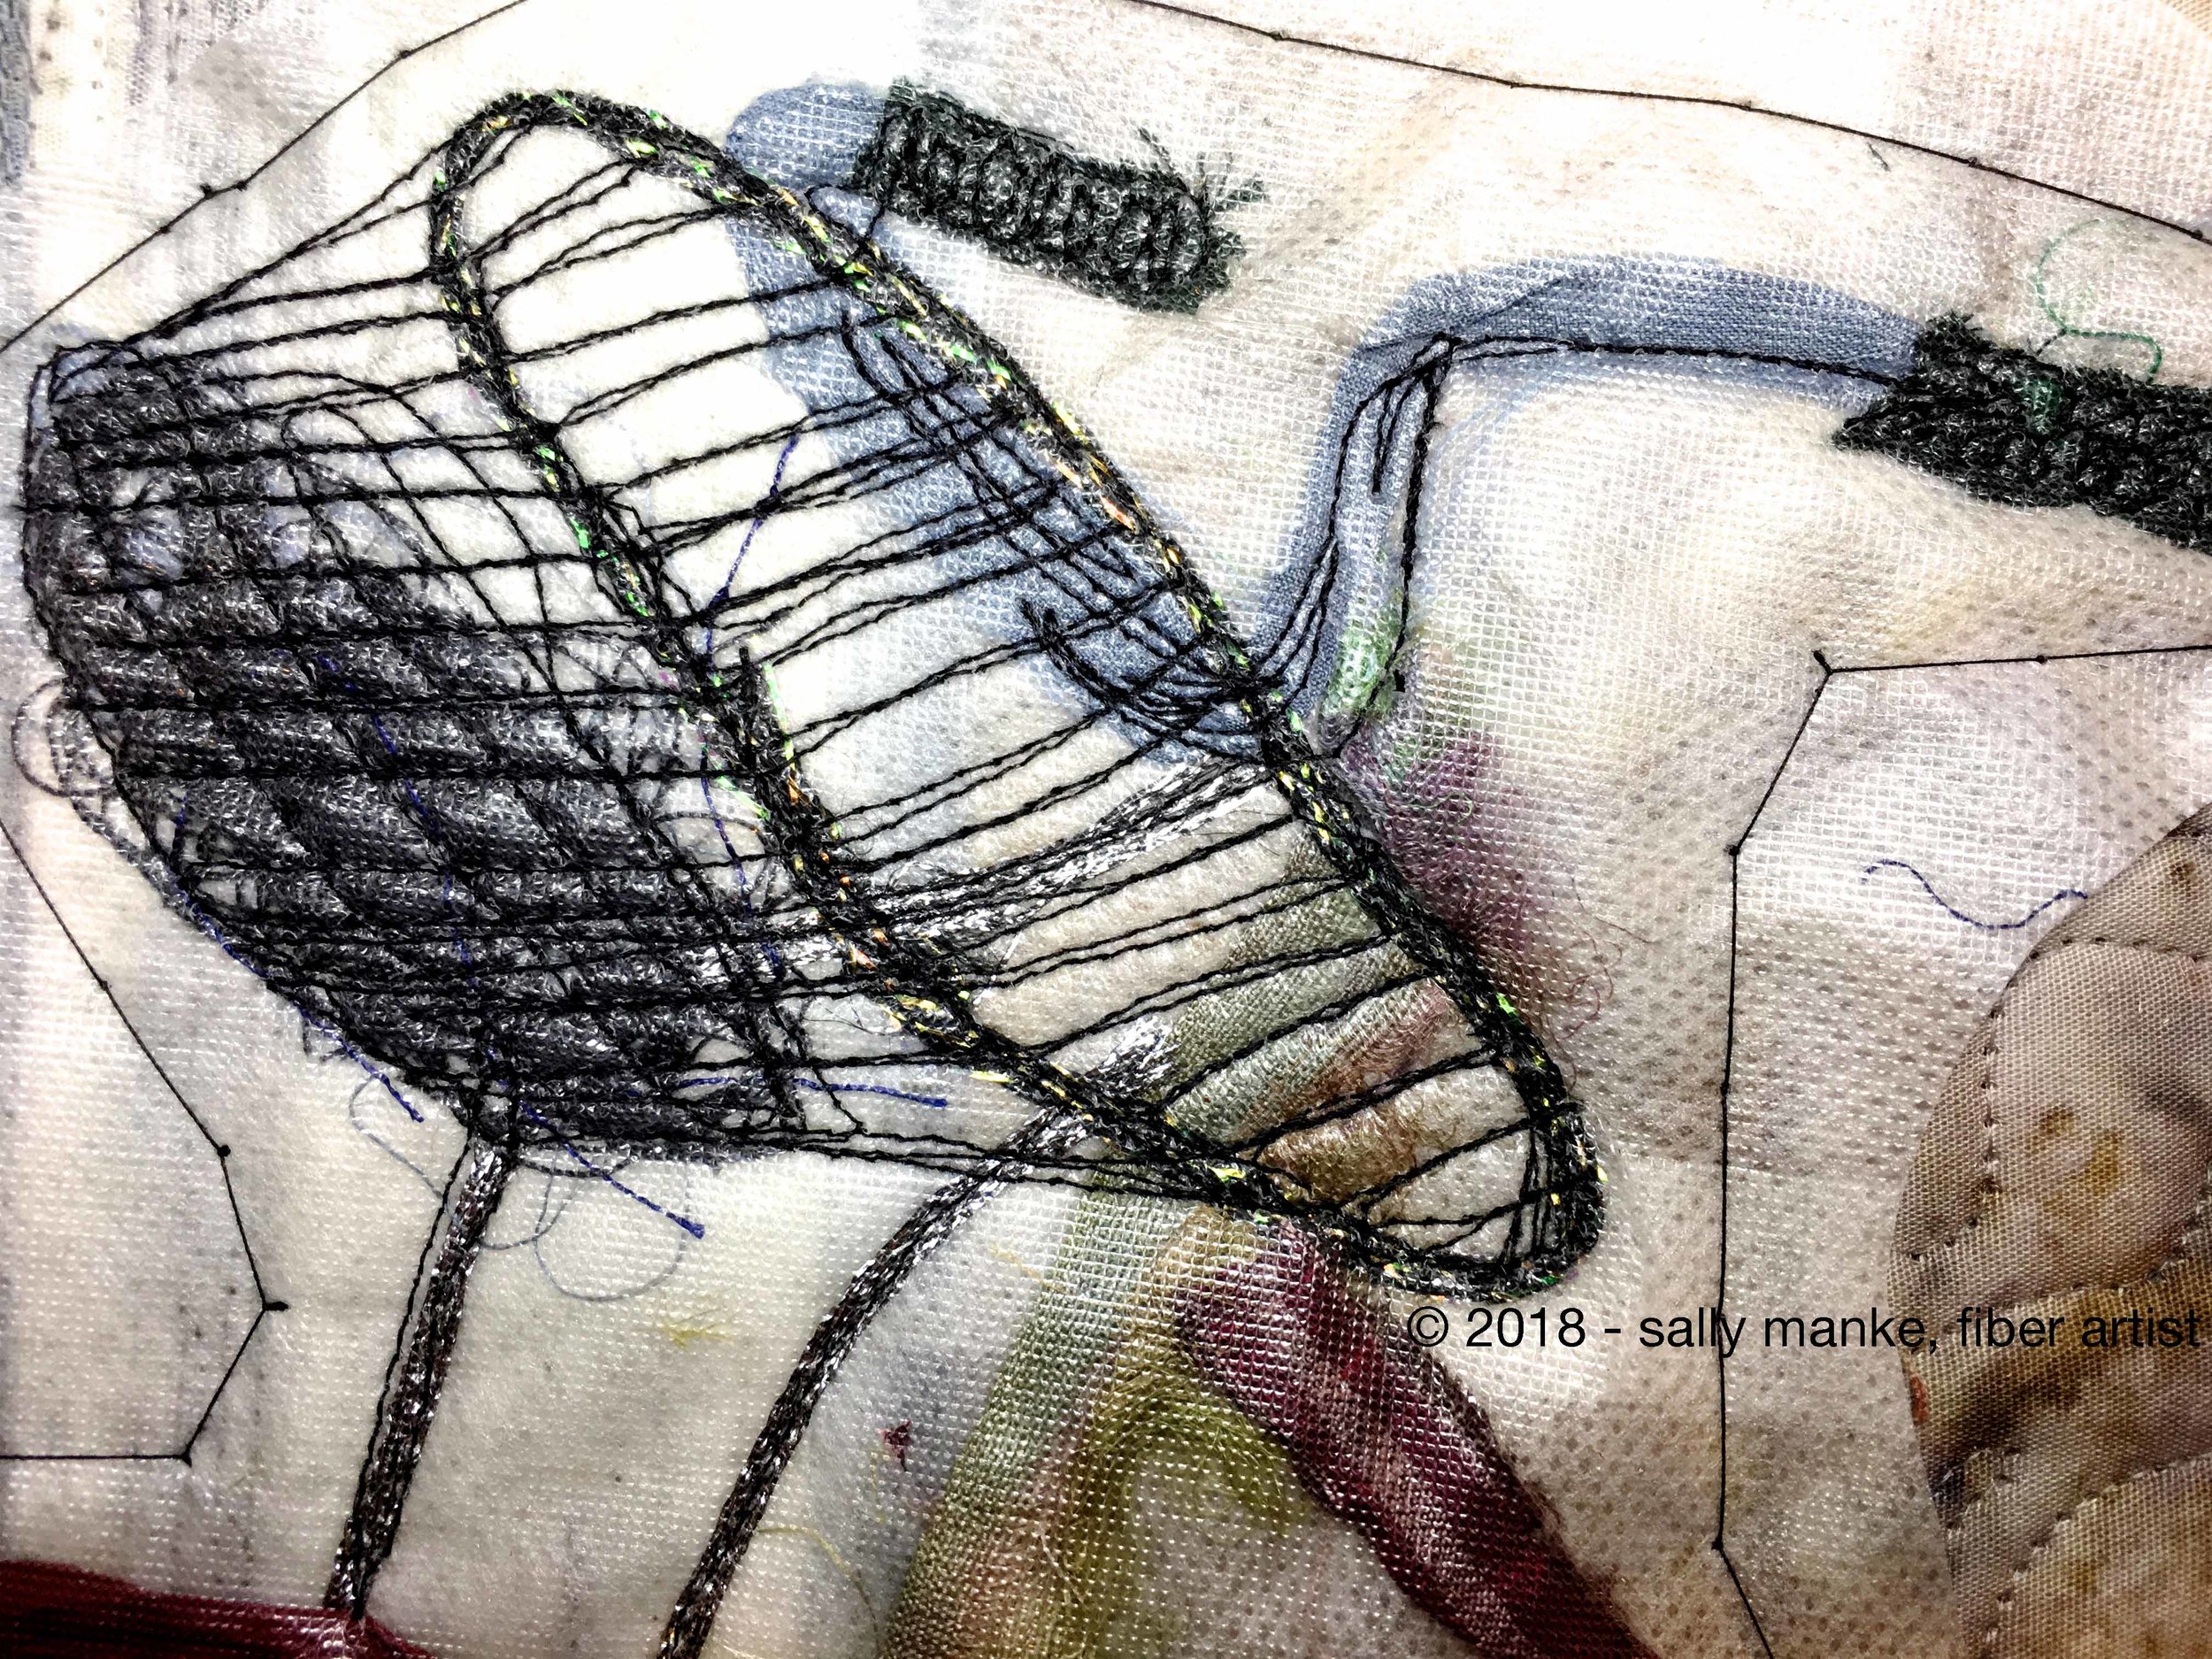
The bike in the photo was old, rusty and well loved. Pulling out the Clover Bias Tape Maker to create the wheels, sari silk for the bike frame and metallic threads for spokes and basket.
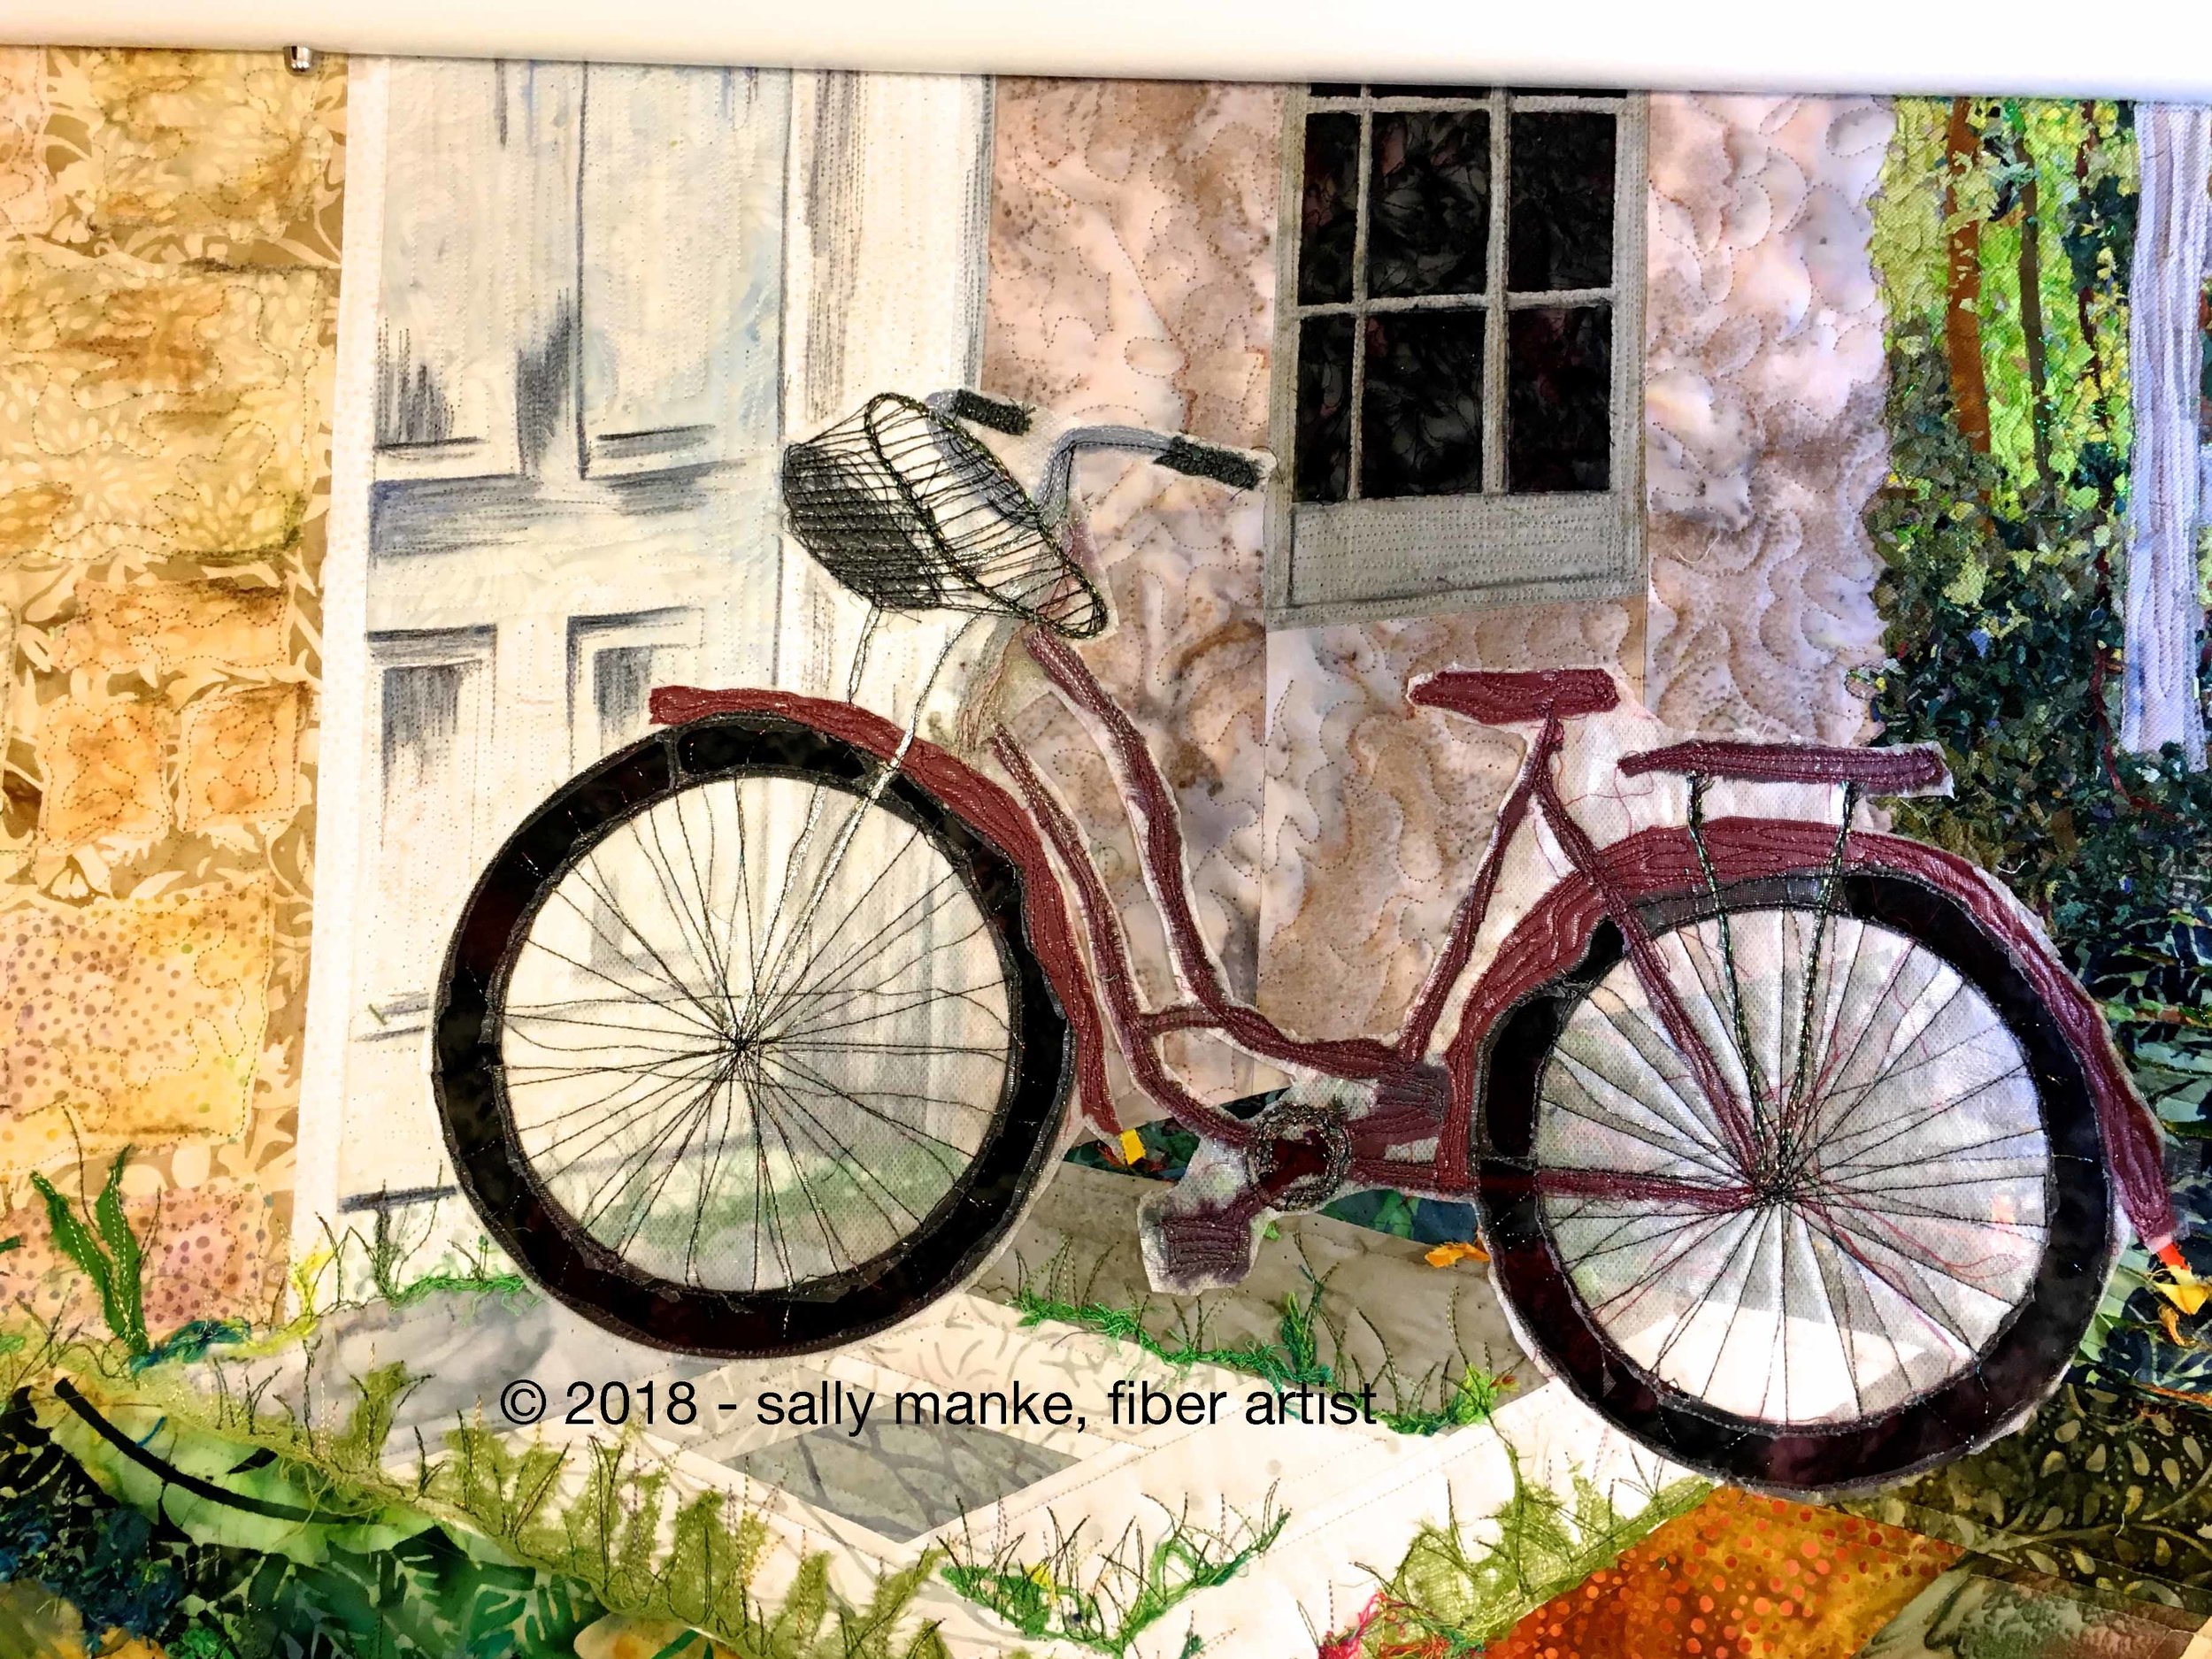
Sulky of America’s Sticky Fabri-Solvy was used as the foundation to create the bike. Solvy Stabilizer was added over the top before quilting it all down. The last photo shows the area wet to remove the Sulky products after stitching.

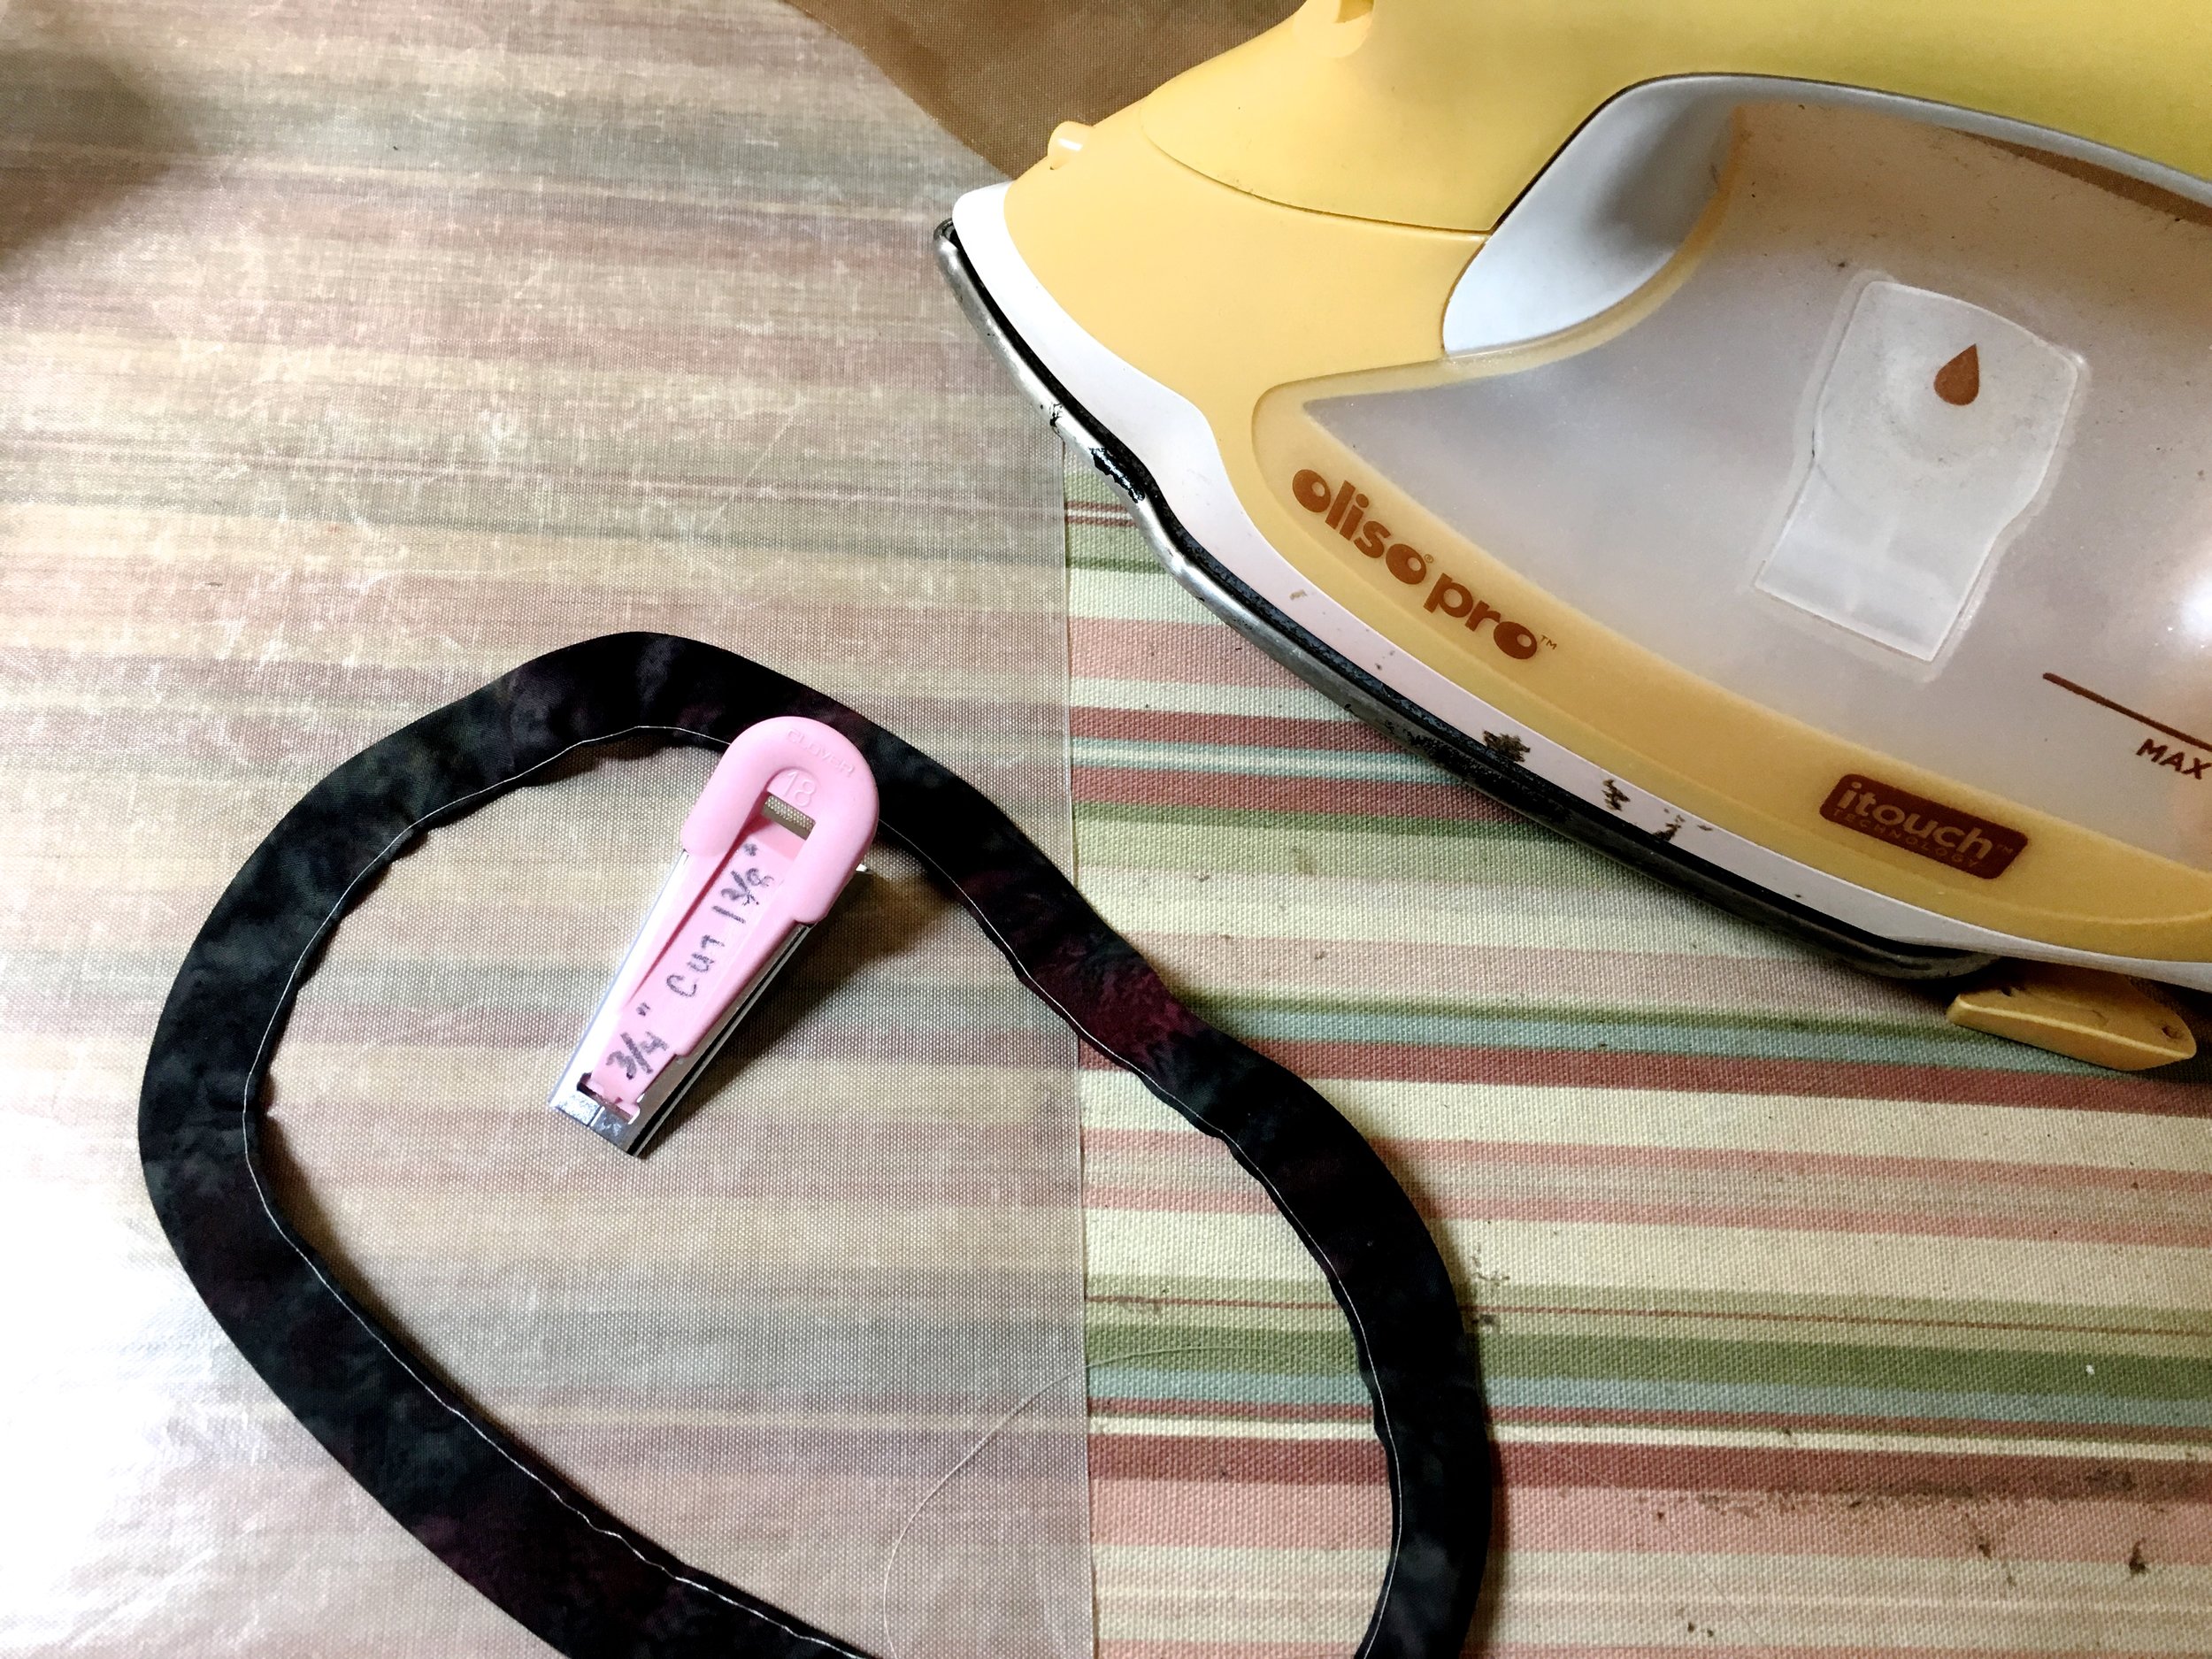
Selected a deep red batik for piping before adding the border. Piping is created with 1/16” cord from Susan Cleveland’s Pieces Be With You web site. Her Precise Piping technique adds just a tiny pop of color
Finished Art Quilt

A FaceBook follower ask if there would be a pattern available for this quilt. A fork lift would be needed to haul the pattern home from the quilt store. Here’s the list of techniques used: piecing, freezer paper piecing, raw edge applique, fabric painting, thread painting, couching, confetti quilting, piping and embellishing. The Hobbs Wool batting will prevent wrinkles and creases during shipping to quilt shows.